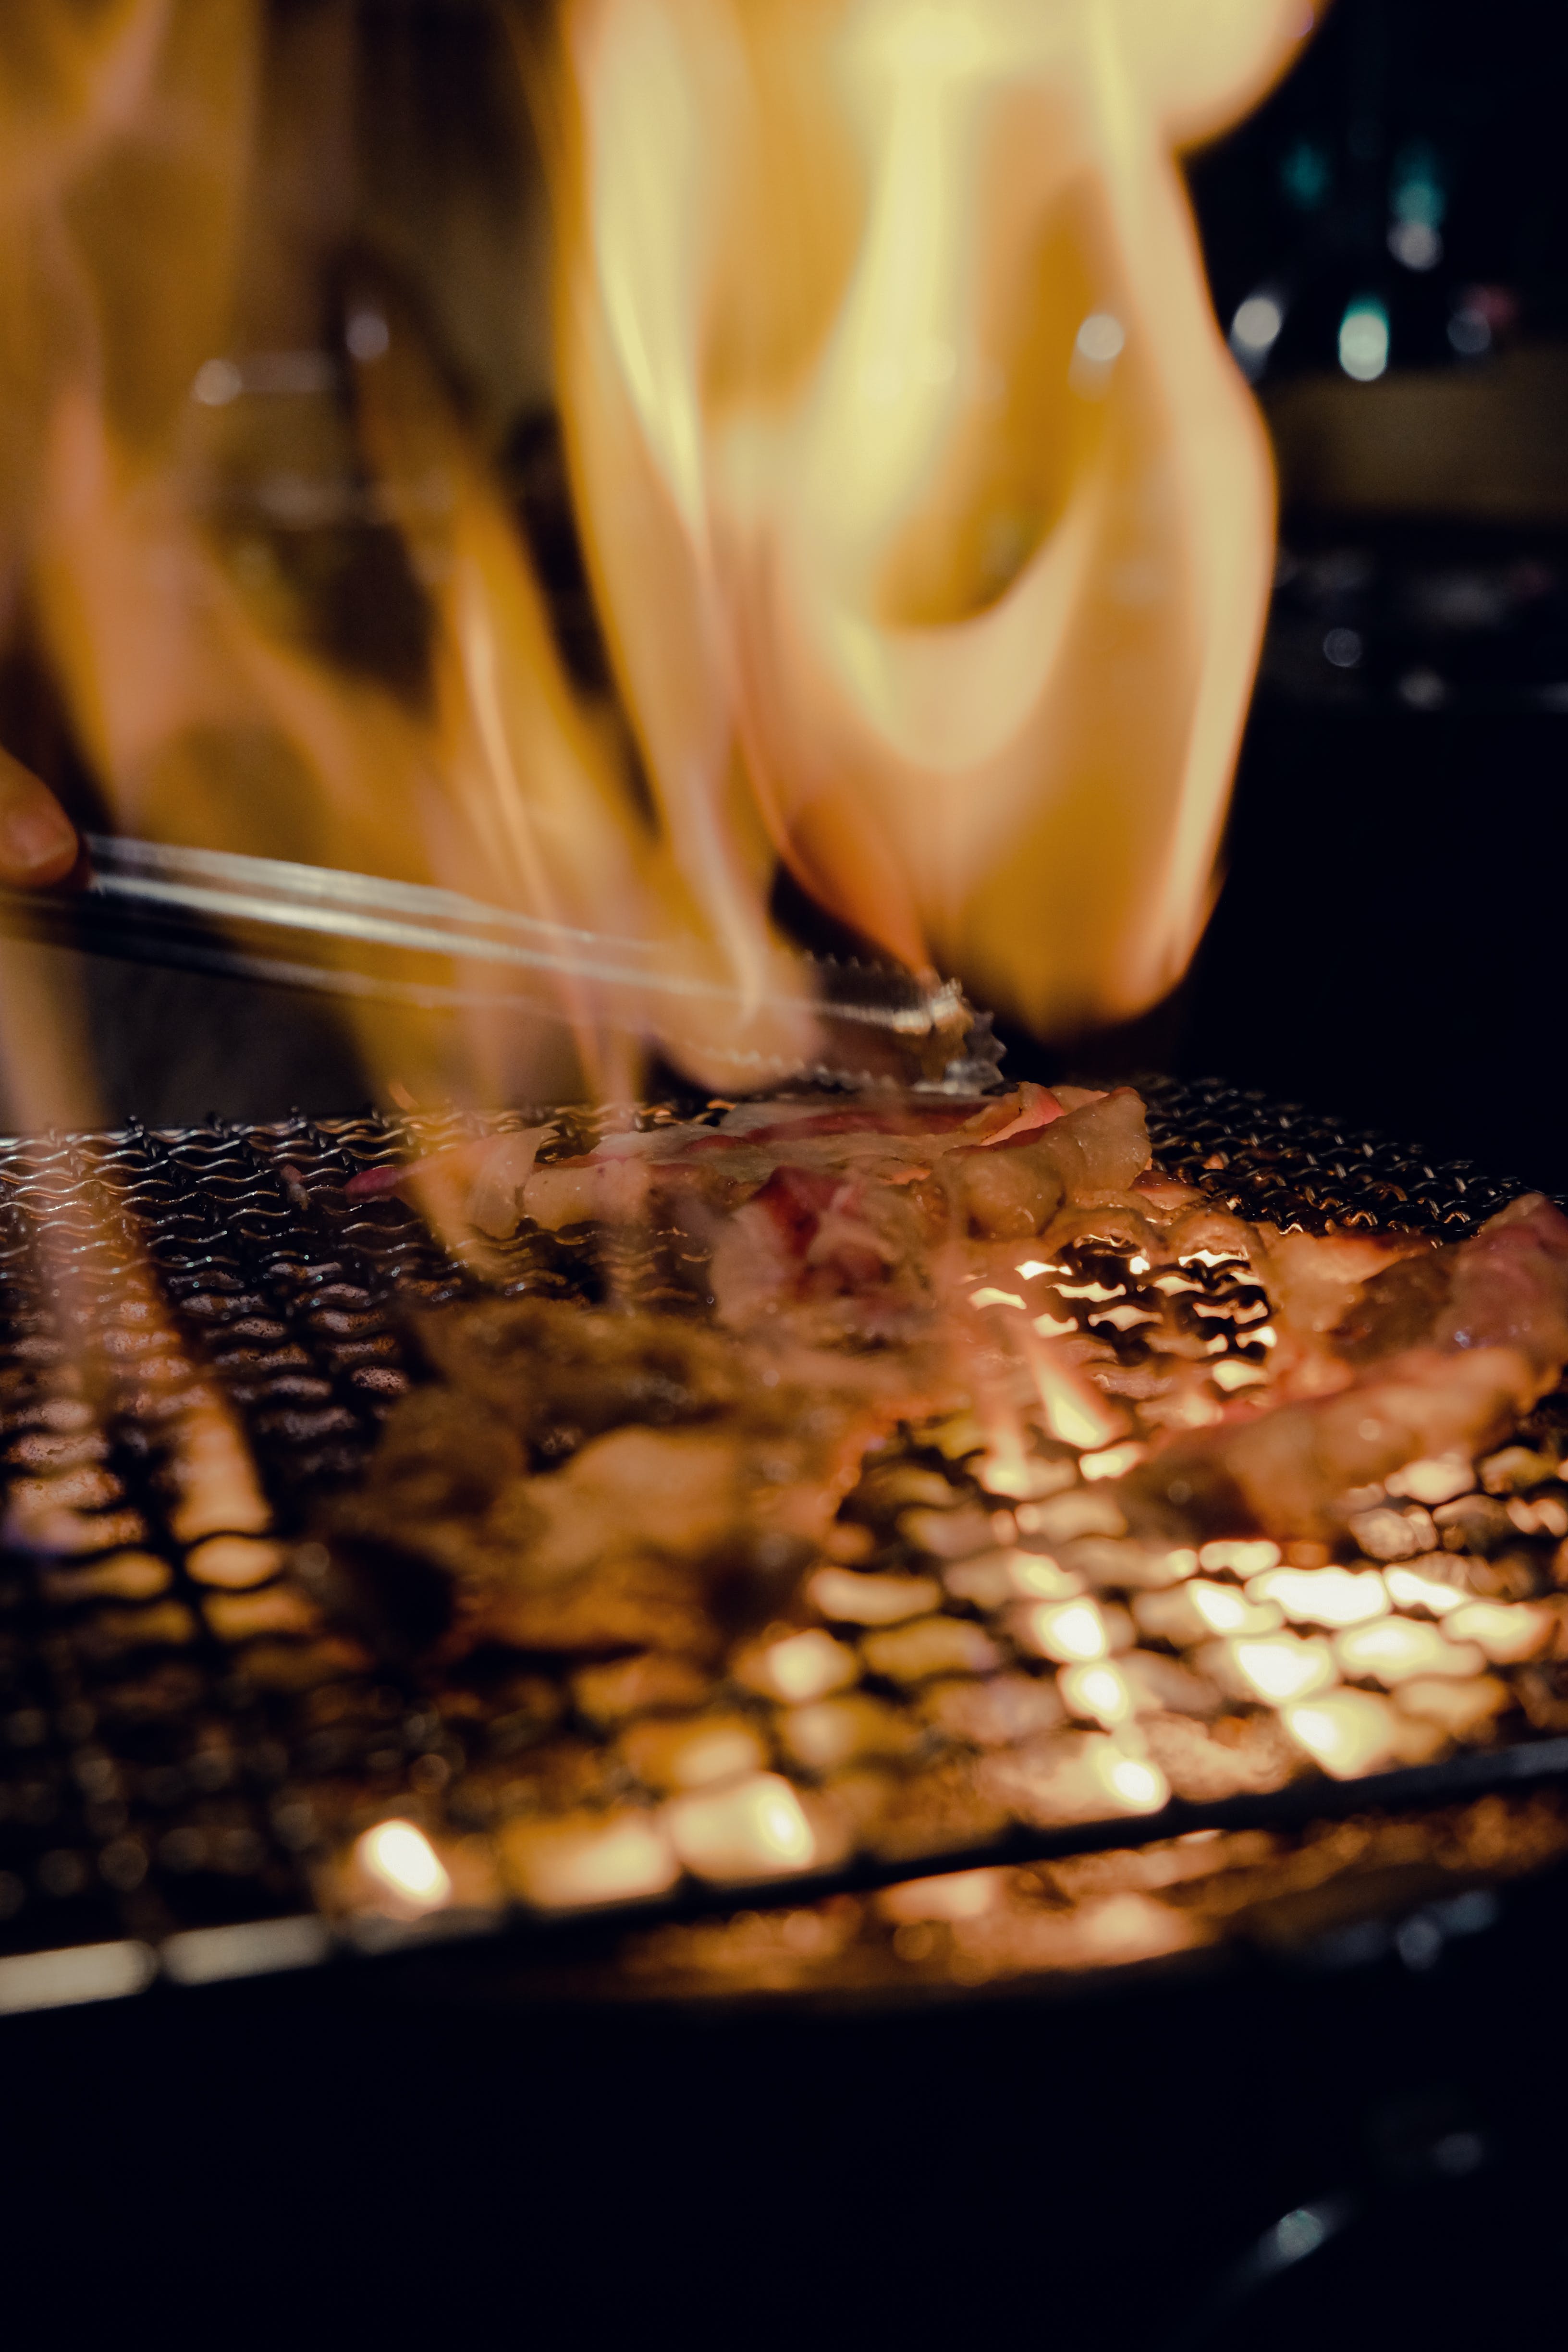
One of the best benefits of owning a fire pit is that you can cook on it outside. Instead of having a separate grill for food, you can recreate those campfire memories in your own backyard. There is something really spectacular about cooking over a fire that makes you feel connected to nature, while being incredibly comforting and cozy, with the sounds of crackling embers and delicious smells rising up around you. Cooking over a fire pit is actually a lot easier than many people think. If you would like to learn how to get started, read on for more.

What Fuel to Choose
If you want to experiment with smokey flavors when cooking in a fire pit, you may use wood, charcoal, or a combination of both. Charcoal has the advantages of being relatively easy to light and burning at a high temperature. It is ideal for beginners or foods that have already been marinated or seasoned. Charcoal will not give your dish with a strong smokey flavor, so the flavors will not be overpowered. If you want to enjoy sitting around the joyful blaze of a wood fire after you cook with charcoal, simply toss some logs on the hot coals after you are done.
Wood is a more traditional fire pit material that is rather straightforward to light as long as you choose the right wood and know how to set it up. The most dependable options for a steady fire seem to be the teepee or log cabin methods. To build your fire, start with tinder, work your way up to kindling, and then lay down the firewood.
Small, quarter-inch thick dry sticks, straw, pine needles, or bark can all be used as tinder. We do not recommend using leaves or paper, since they can quickly produce fly ash, which can start a fire outside of your fire pit or cause burns. Sticks or twigs that are somewhat larger should be used as kindling. If you’re using charcoal, this would be a good time to light it.
After your kindling, add some logs of a reasonable size. A dry, seasoned hardwood is the preferred choice. Oak and other similar hardwoods will burn strong and cleanly. Green woods and softwoods should be avoided, as they will spoil your meals. Softwoods, like as pine, may emit an unpleasant toxic resin that will ruin the taste of your food, while green wood will sputter too much.
How to Set Up
The location of your fire pit is critical for having a safe fire cooking experience. Make sure the fire is not under an overhang or overhanging foliage, on a flammable surface, such as a wood deck, or surrounded by plants if it is in the ground. After you’ve safely placed your fire pit, you will need a fire pit grill to cook on. These come in a number of styles and sizes, but they are really just a cooking grill that stands over a fire. To make cooking over hot coals easier, some of them include adjustable heights and angles. A different kind of grill will sit above your fire.
Next, you will need something to cook with! You should stock your outdoor cooking set up with some basic barbecuing utensils, including a pair of tongs, a spatula, and a grill brush. Make sure these utensils have lengthy handles so you do not have to worry about scorching your fingers while you are cooking.
Digital and surface thermometers are useful instruments to keep on hand, particularly if you are a newbie. A surface thermometer can tell you how hot your grill is, and an instant read digital thermometer can tell you if your meat is cooked properly. A lid is also a handy item to have on hand for your fire pit grilling activities, since it expands your cooking options. You can use indirect heat to grill bigger chunks of meat and make baked dishes if you use a cover to keep the heat in.
Make sure you set up you fire pit in such a way that you can avoid cooking directly over the flames, using too much heat, or letting your food cook over too much smoke. Creating a two-zone system is the simplest approach to achieve this. The fire will burn down logs into embers on one side of the fire pit, and then the embers can be pushed to the other side, where you may cook over and around them. If you use this method, your food will not be burned by the flames, and if your embers start to die, you have plenty more you can quickly add from the fire zone.
Heat Management
To manage the heat you are cooking over, you will likely require some experience, but it is not difficult to master. It is best to begin with cooking smaller chunks of meat if you are just learning how to cook over a flame. Starting with one-inch chunks will help you understand how to how things cook on a grill and how to moderate the smoke levels of your meal.
There are the two basic ways to manage how much heat your food is cooking over. Be aware of how close your food is to the embers and how many embers there are. If the fire is too hot, you may either shift the embers away from the food or move the food away from the embers and closer to the grill’s borders. You can also vary the angle or elevate the cooking surface on certain fire pit grills.
If your food isn’t getting enough heat, simply reverse the process. More hot embers should be placed under the meal, or the food should be moved closer to the embers by moving it to a more central position on the grill or by moving the grill itself. To obtain the desired amount of smokiness, follow the same steps.
Cooking with Direct Vs. Indirect Heat
Starting with the slowest-cooking foods ensures that everything is ready at the same time. Keep in mind that thicker cuts of meat will need to rest for a few minutes after being pulled from the grill, and that they will continue to cook for a few more minutes after being removed. This means you’ll want to remove them from the grill just before they’re done, or else they will be overdone. A thermometer is a great tool for nailing down the proper time and temperatures.
Smaller slices of meat and cuts that don’t need to be cooked all the way through, such as steaks, can be cooked over direct heat from the coals or embers. It is perfect for getting a nice sear or cooking small portions of meat, like kebabs. Hot dogs, hamburgers, and similar foods can also be cooked over direct heat.
Larger cuts, like roasts, will sear and char on the outside before cooking on the inside. Therefore, they will benefit from indirect heat. You’ll need a lid for this procedure. Place the meat around the embers rather than right over them, then cover the fire pit with the lid. This will trap the heat, and the hot air and smoke convection will slowly cook your food through without scorching the outside and leaving the inside uncooked. A surface thermometer is a useful tool for monitoring the temperature beneath the lid.


