Outdoor cooking is a wonderful way to enjoy the great outdoors while preparing delicious meals. Selecting the right equipment can make a significant difference in your cooking experience.
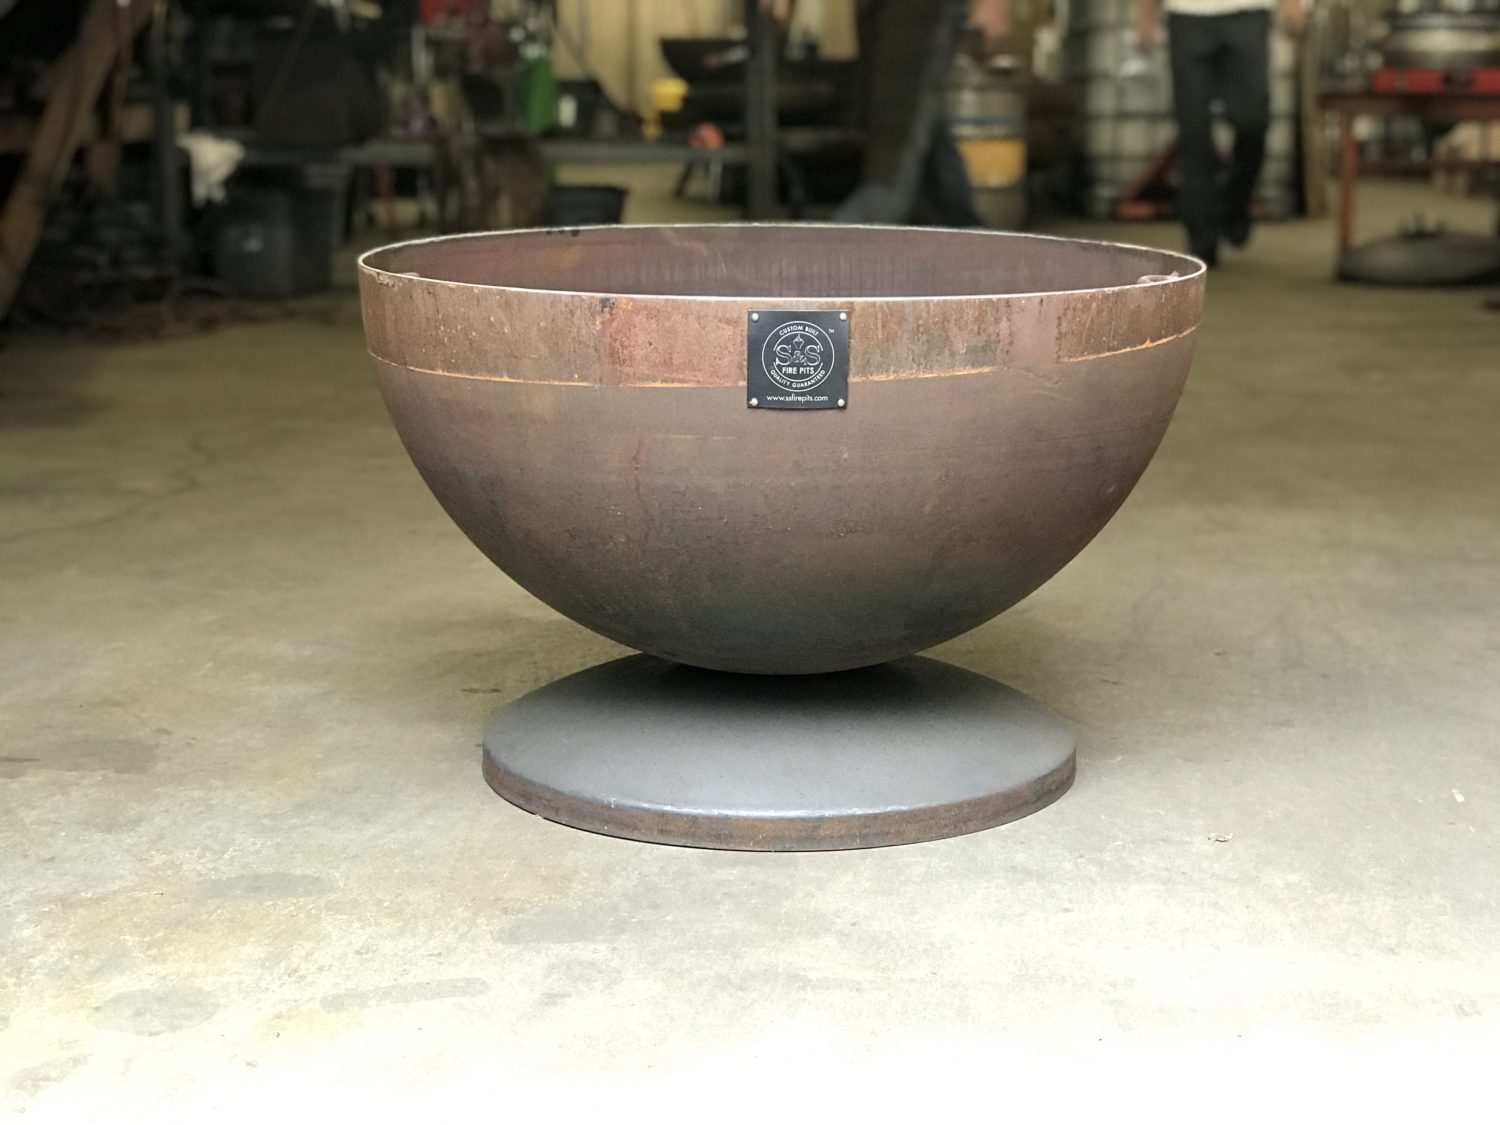
At S&S Fire Pits, we are passionate about helping you elevate your outdoor cooking game. From choosing the perfect cooker to maintaining your gear, we’ve got practical tips to ensure success.
What Should I Look for in Outdoor Cooking Equipment?
Choosing the right outdoor cooking equipment is vital for a successful outdoor dining experience. The options you choose can greatly influence your cooking efficiency and the quality of your food. Here’s what you need to know.
Types of Outdoor Cookers
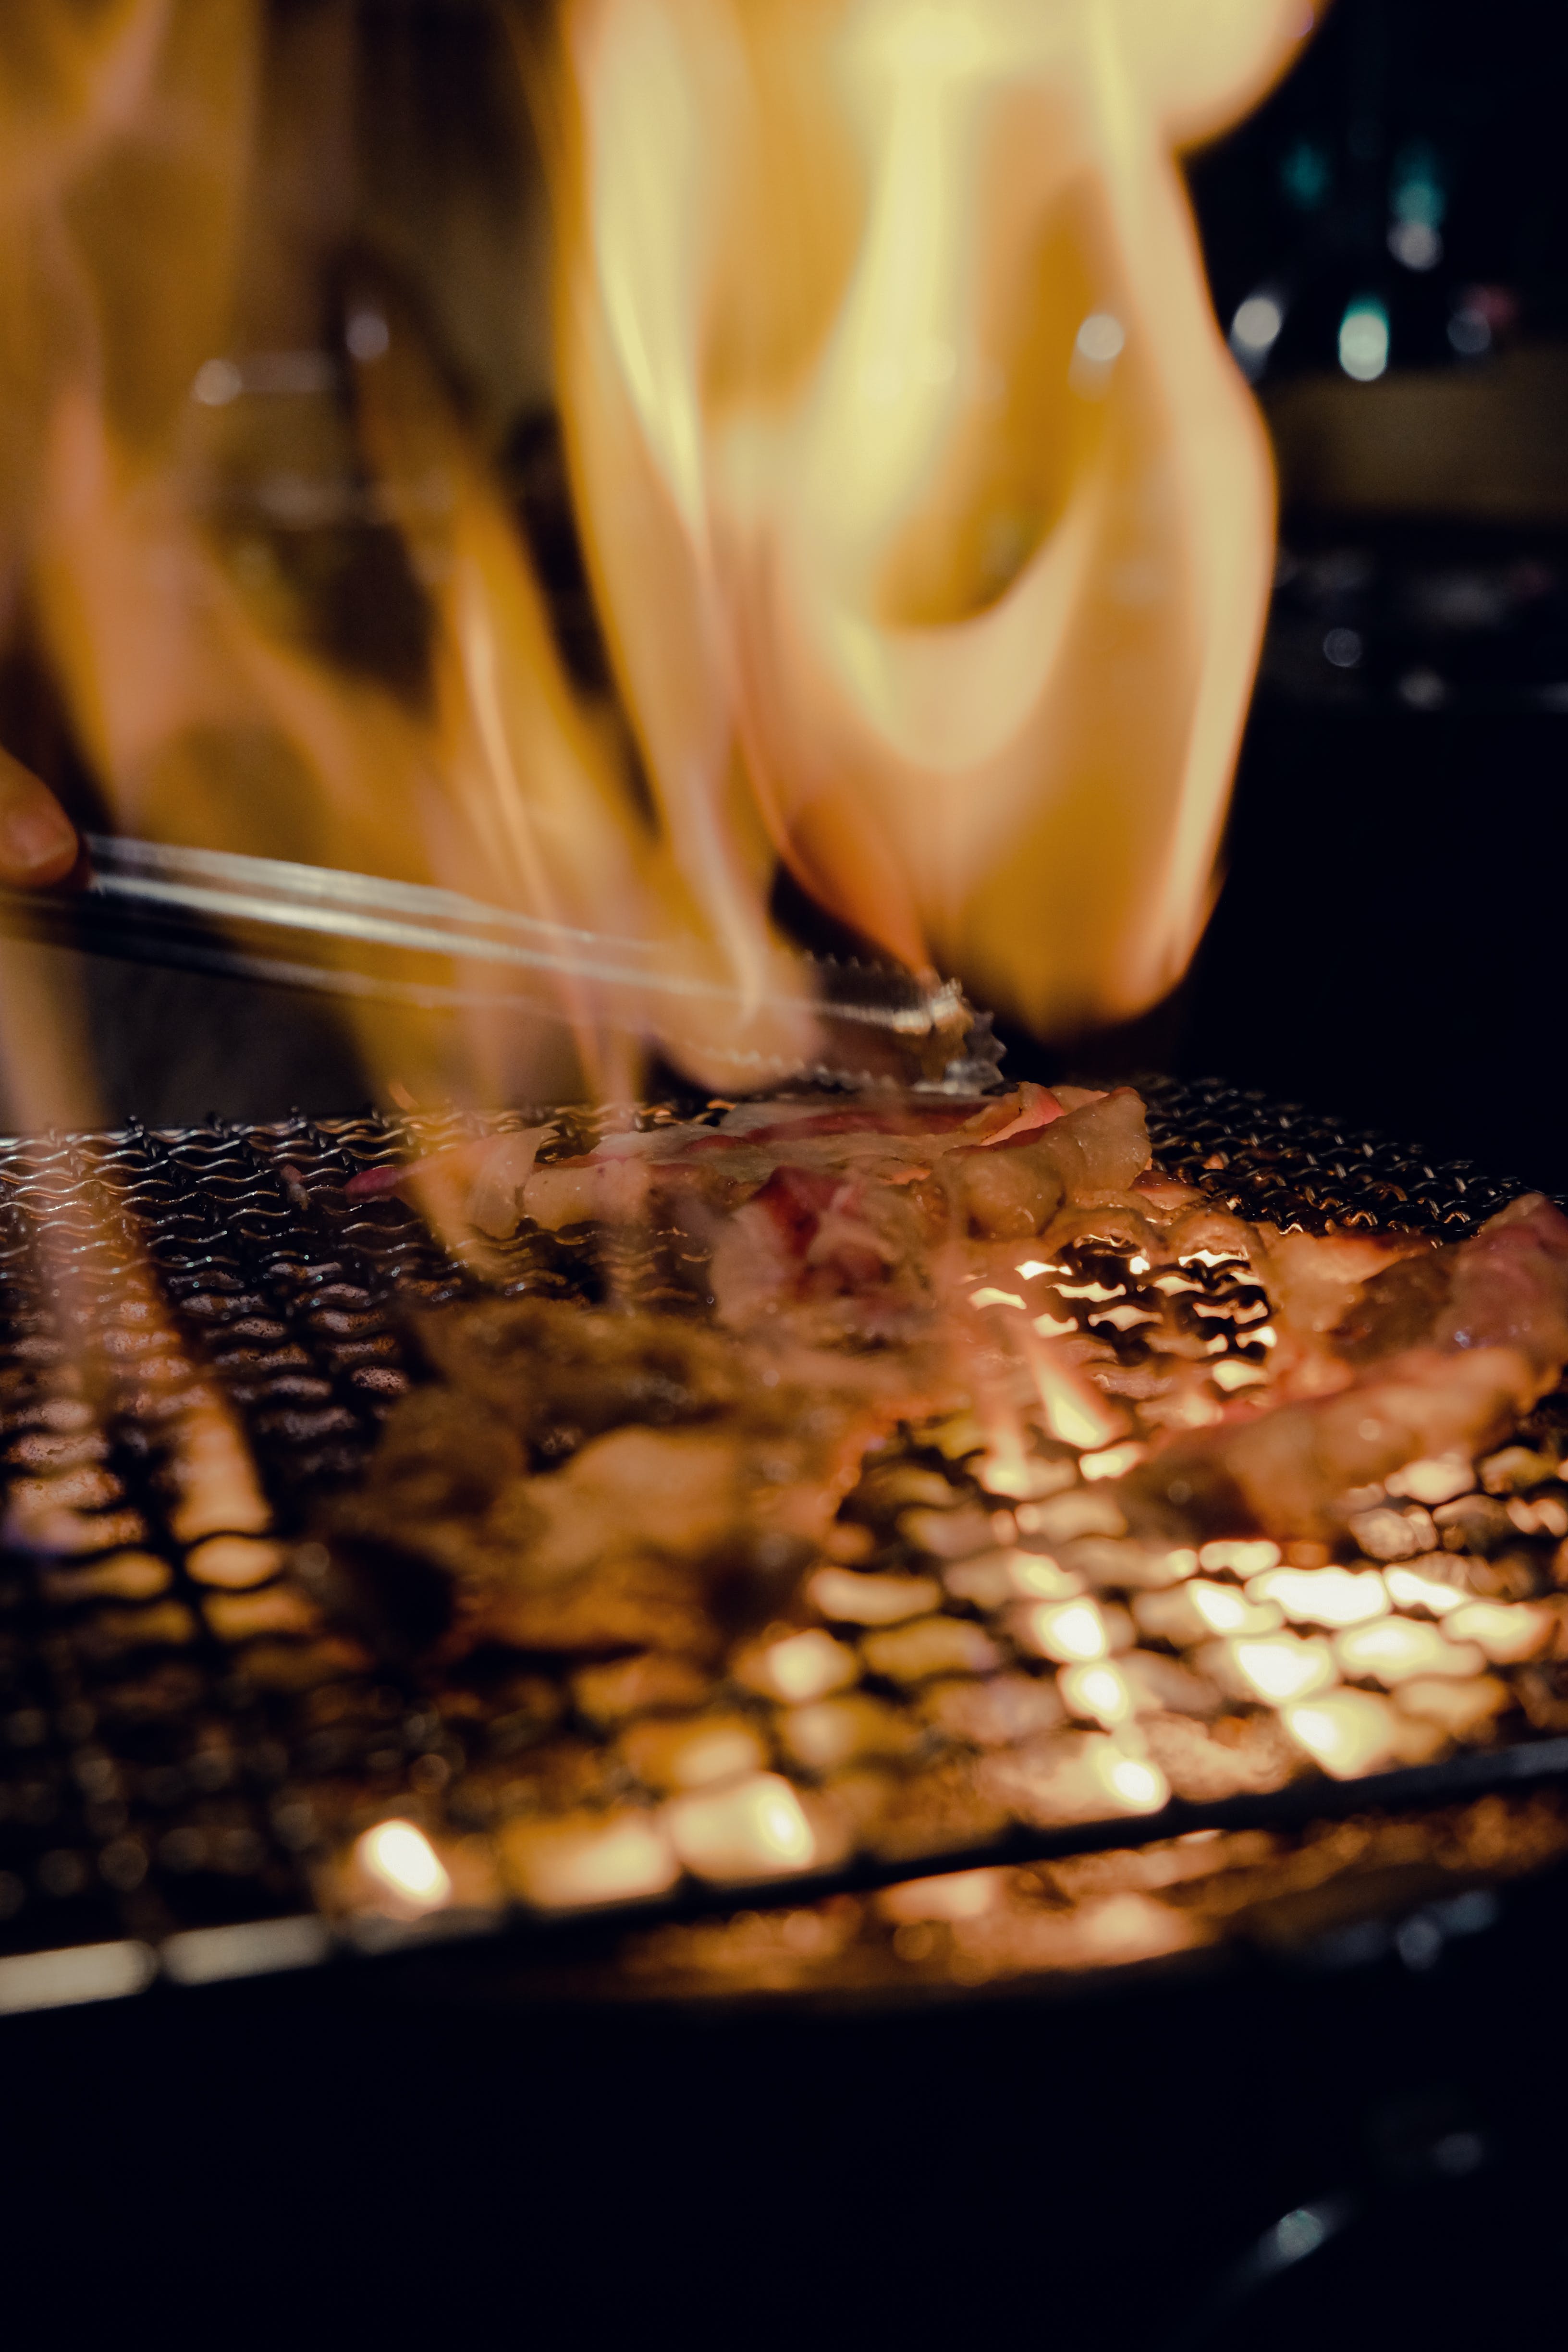
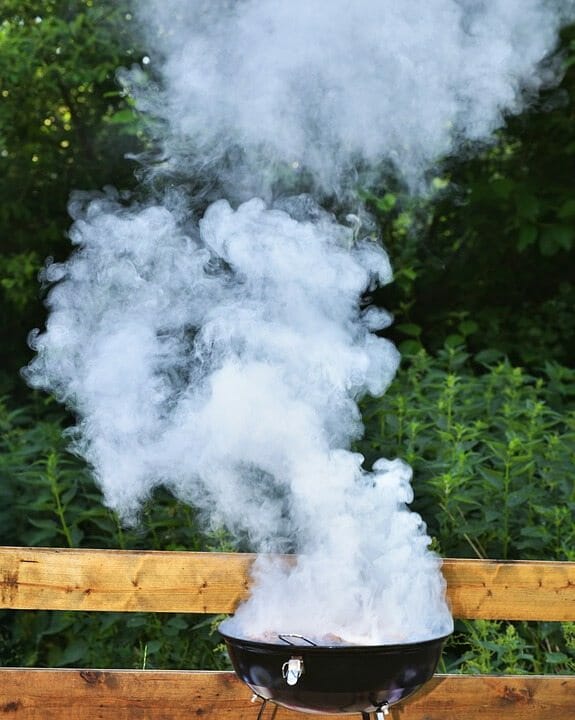
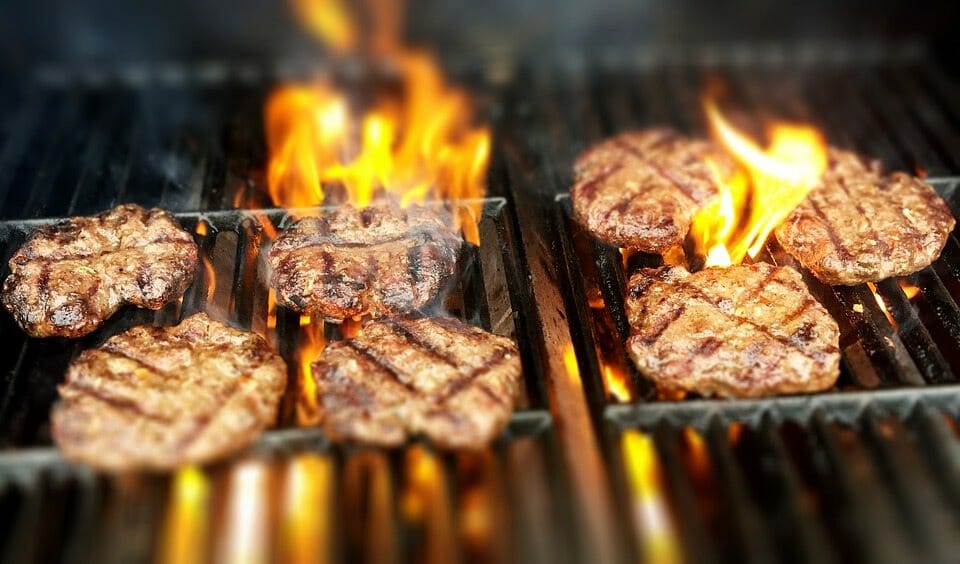
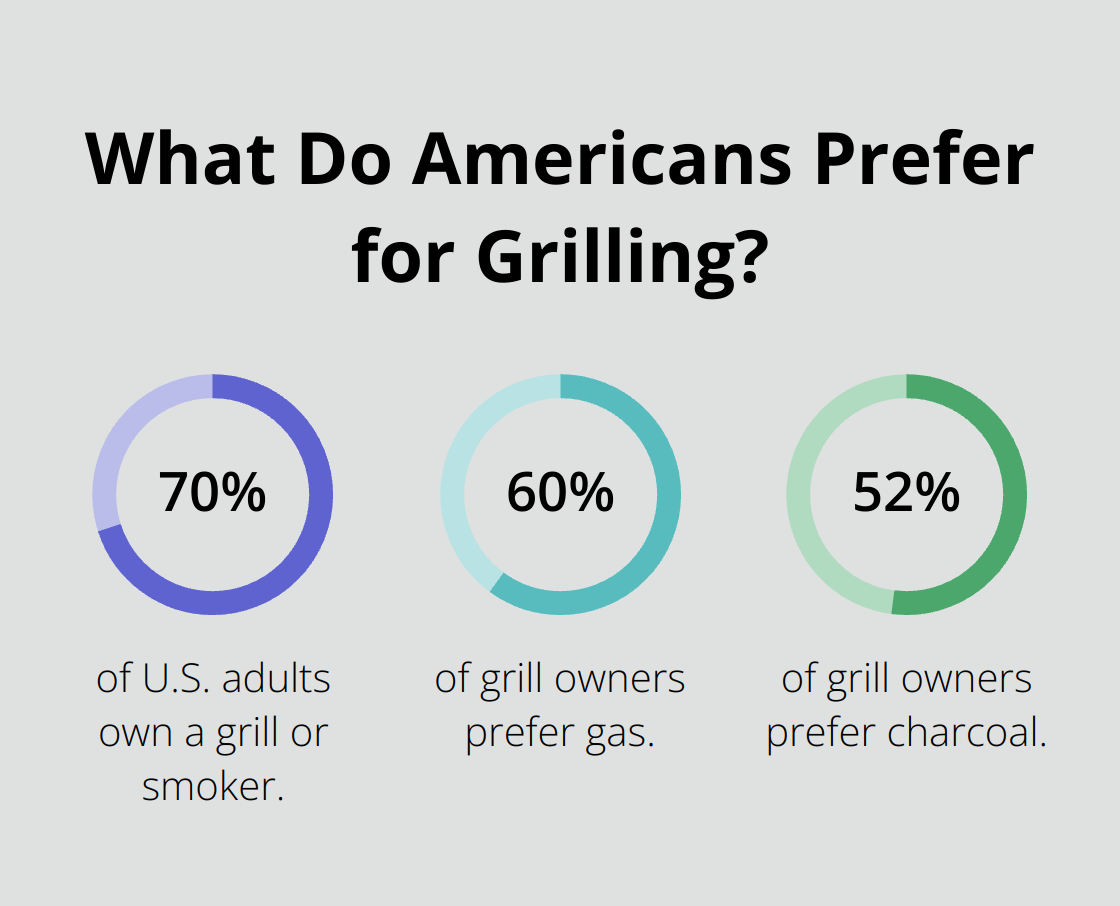
Outdoor cookers come in various types, each suited for different cooking styles and needs. Grills, both charcoal and gas, are popular for their versatility. Charcoal grills often provide a smoky flavor that many enthusiasts love, while gas grills offer more convenience and temperature control. Portable grills can be perfect for camping trips or small gatherings. Options like smoker grills are ideal for those who enjoy slow-cooked, flavorful meats. According to the Hearth, Patio & Barbecue Association, 70% of U.S. adults own a grill or smoker. This highlights the growing preference for outdoor cooking.
Camp stoves and griddles offer a more traditional approach to outdoor cooking. These are great for cooking breakfasts or meals that require flat, evenly heated surfaces. Outdoor pizza ovens are gaining traction as well, loved for their ability to deliver restaurant-quality pizza with crispy crusts and gooey cheese.
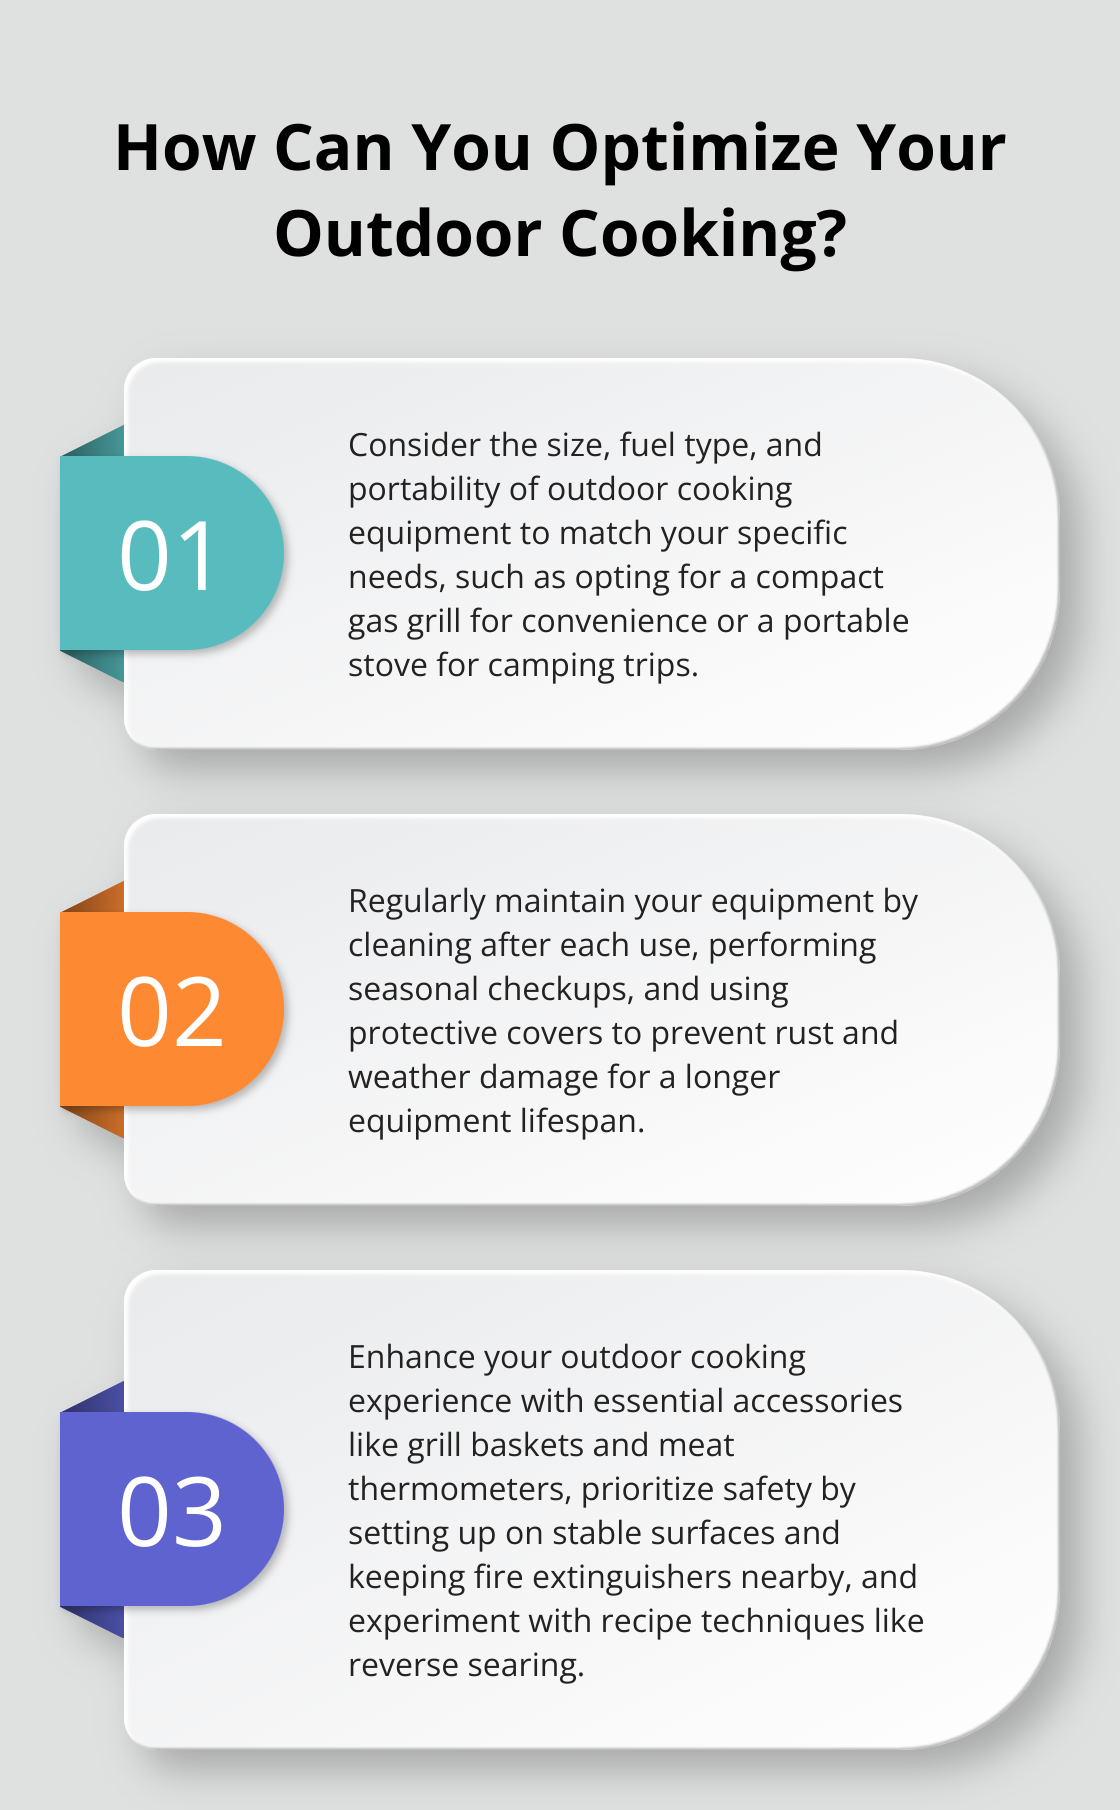
Key Considerations: Size, Fuel Type, and Portability
When evaluating outdoor cooking equipment, it is essential to consider the size that will suit your needs. A family of four may not require the same grill size as someone who hosts large parties. The size of your cooking equipment can impact both your cooking capacity and the space it occupies in your yard.
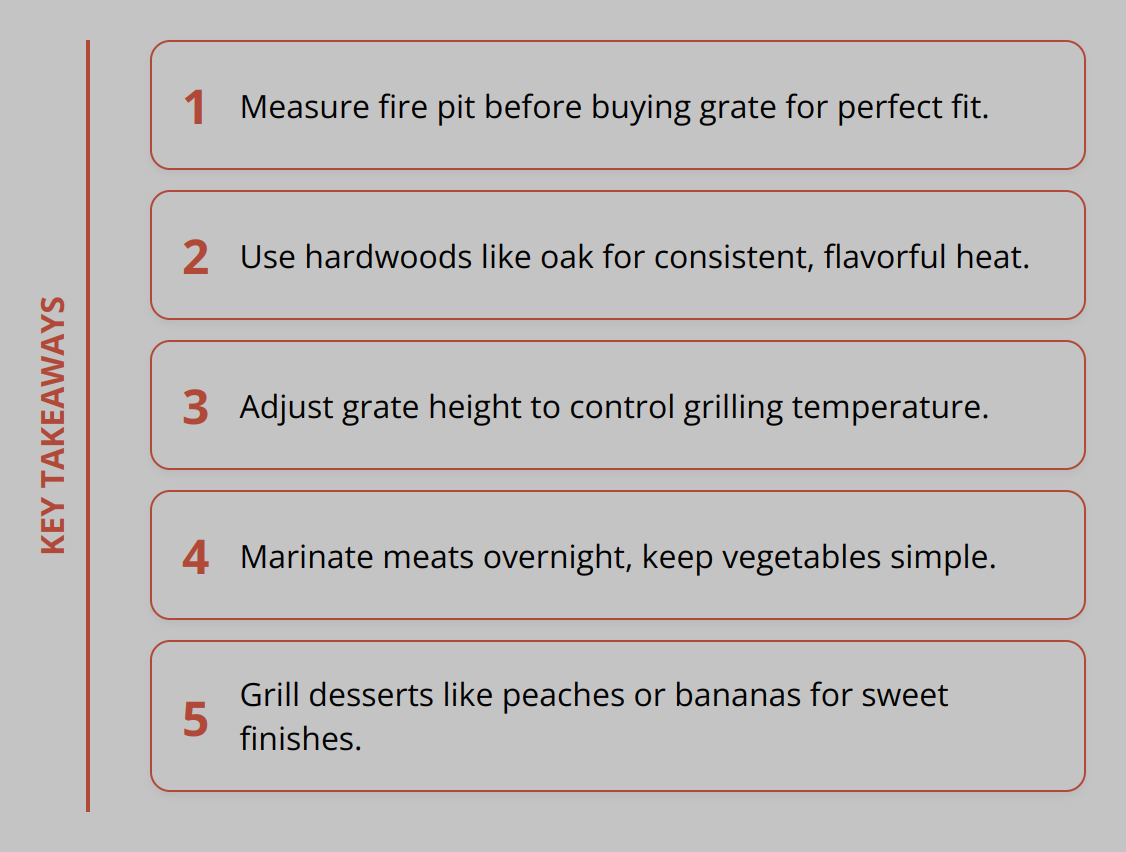
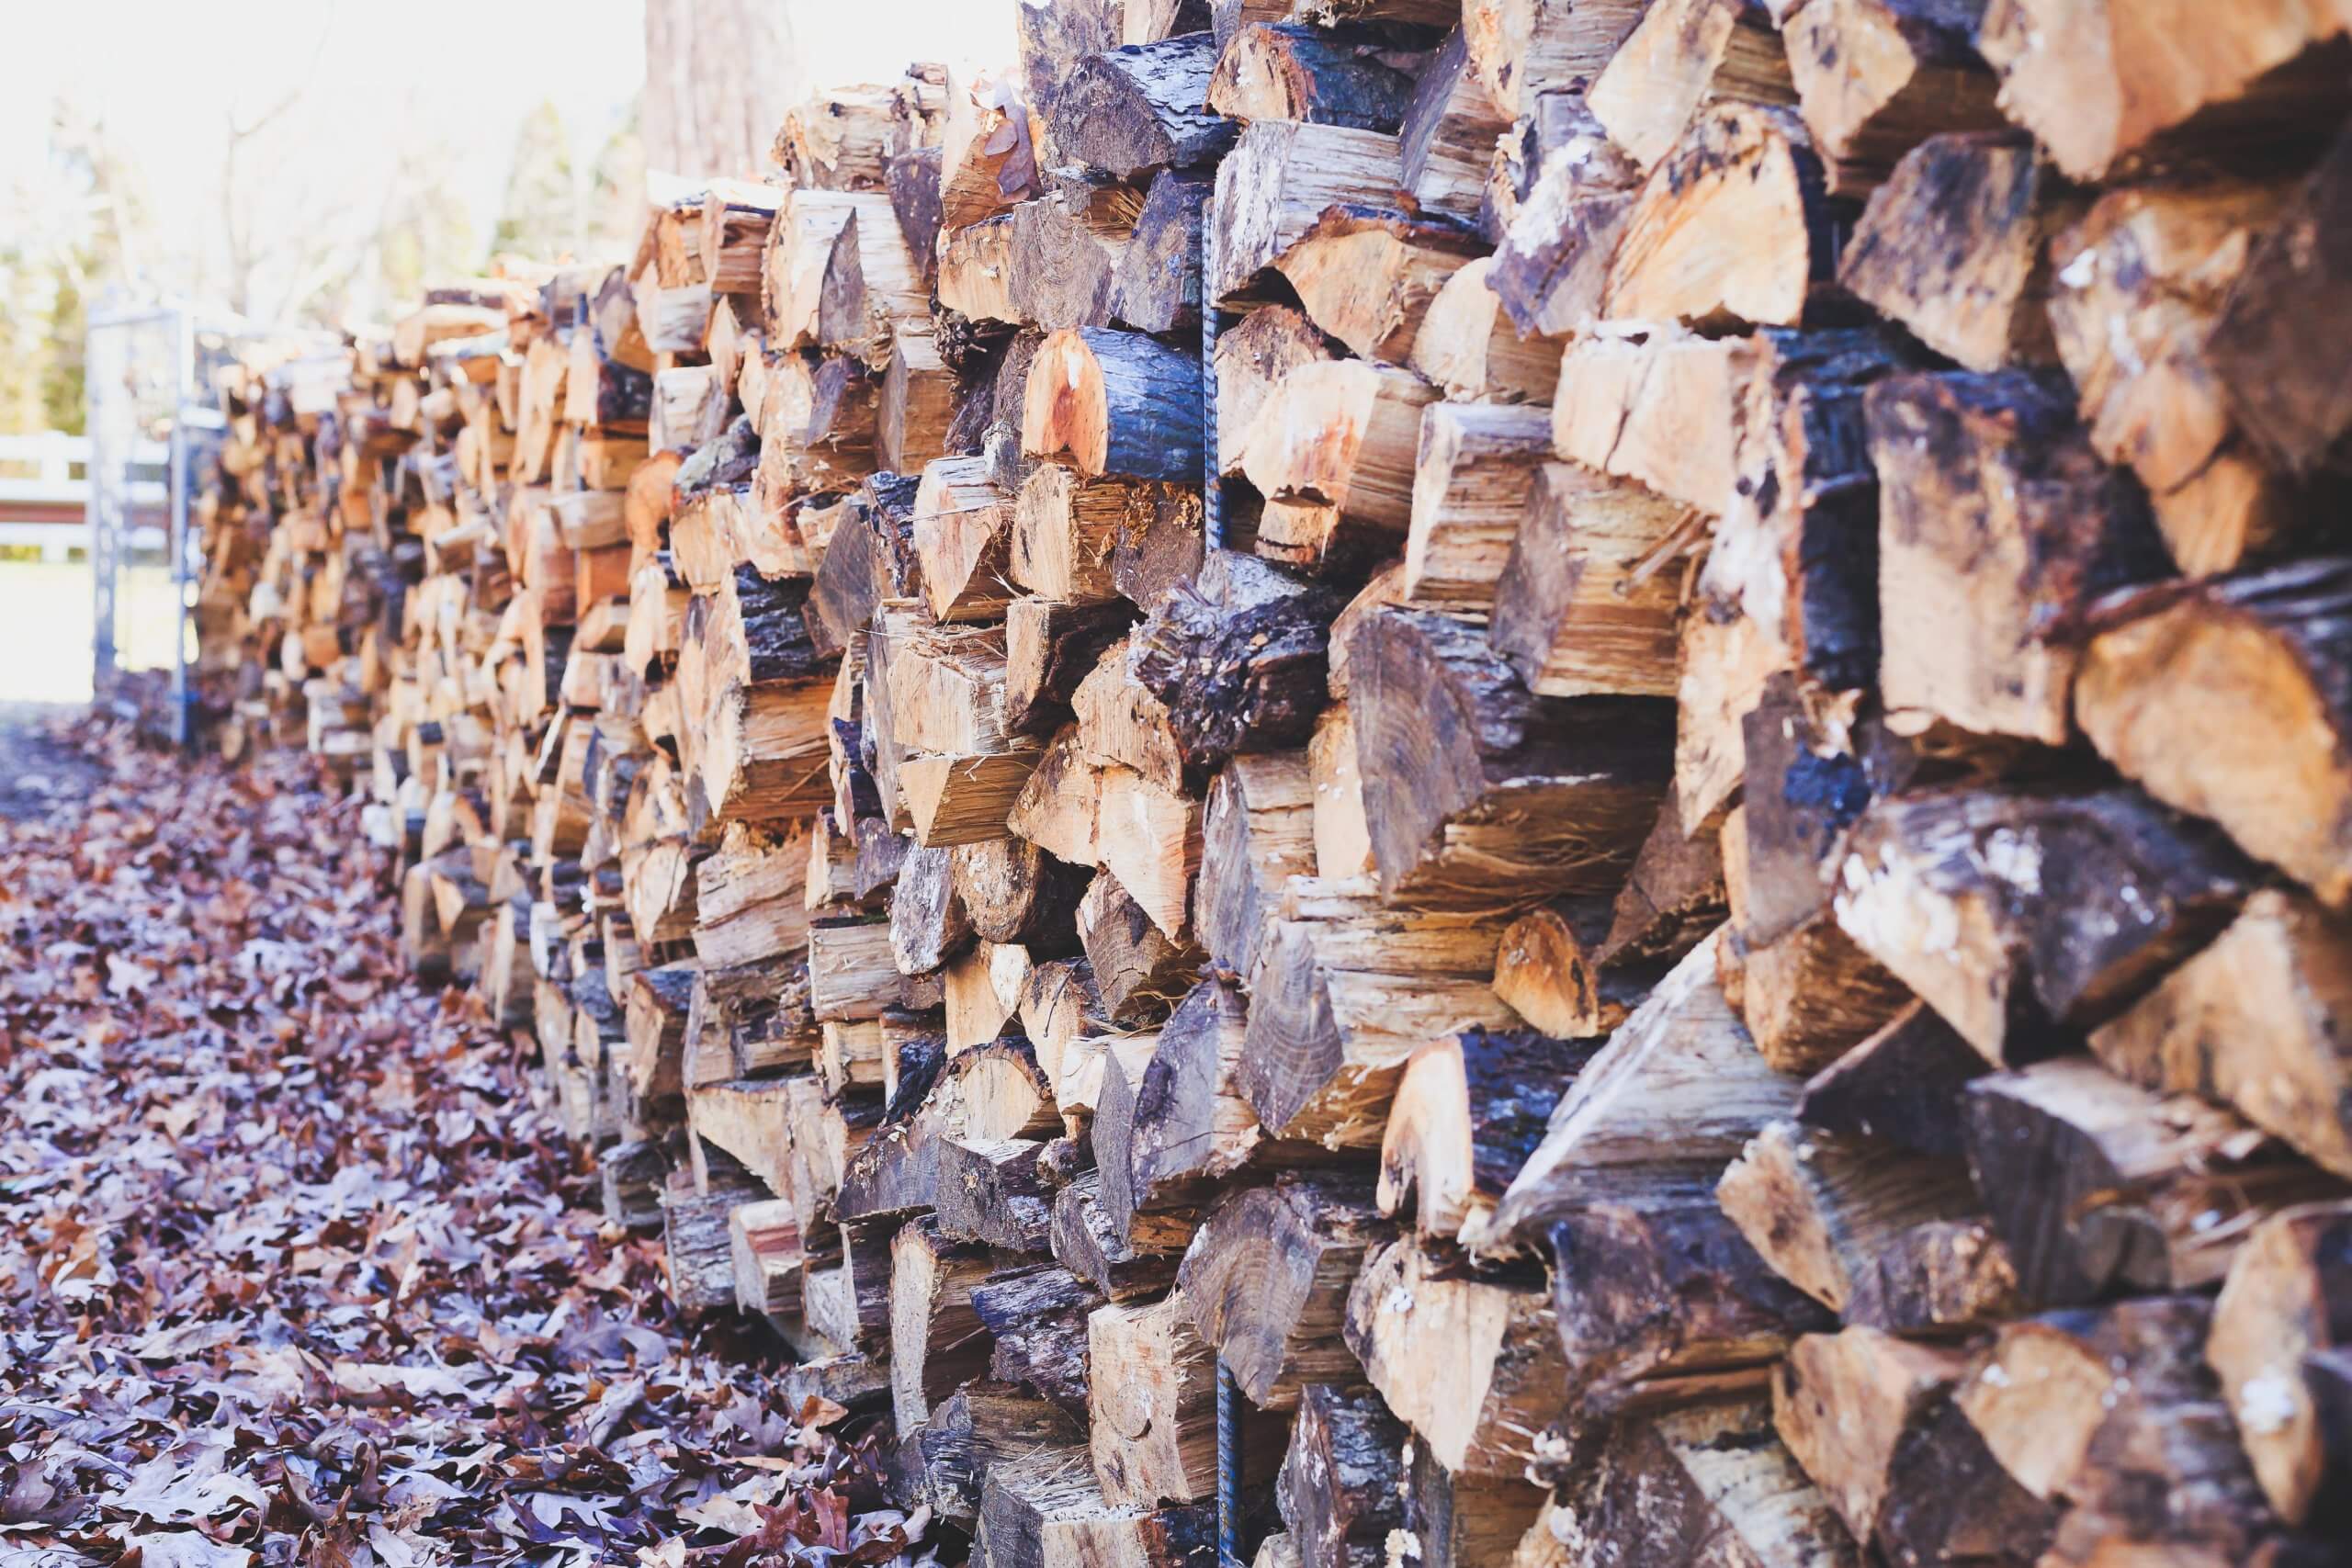
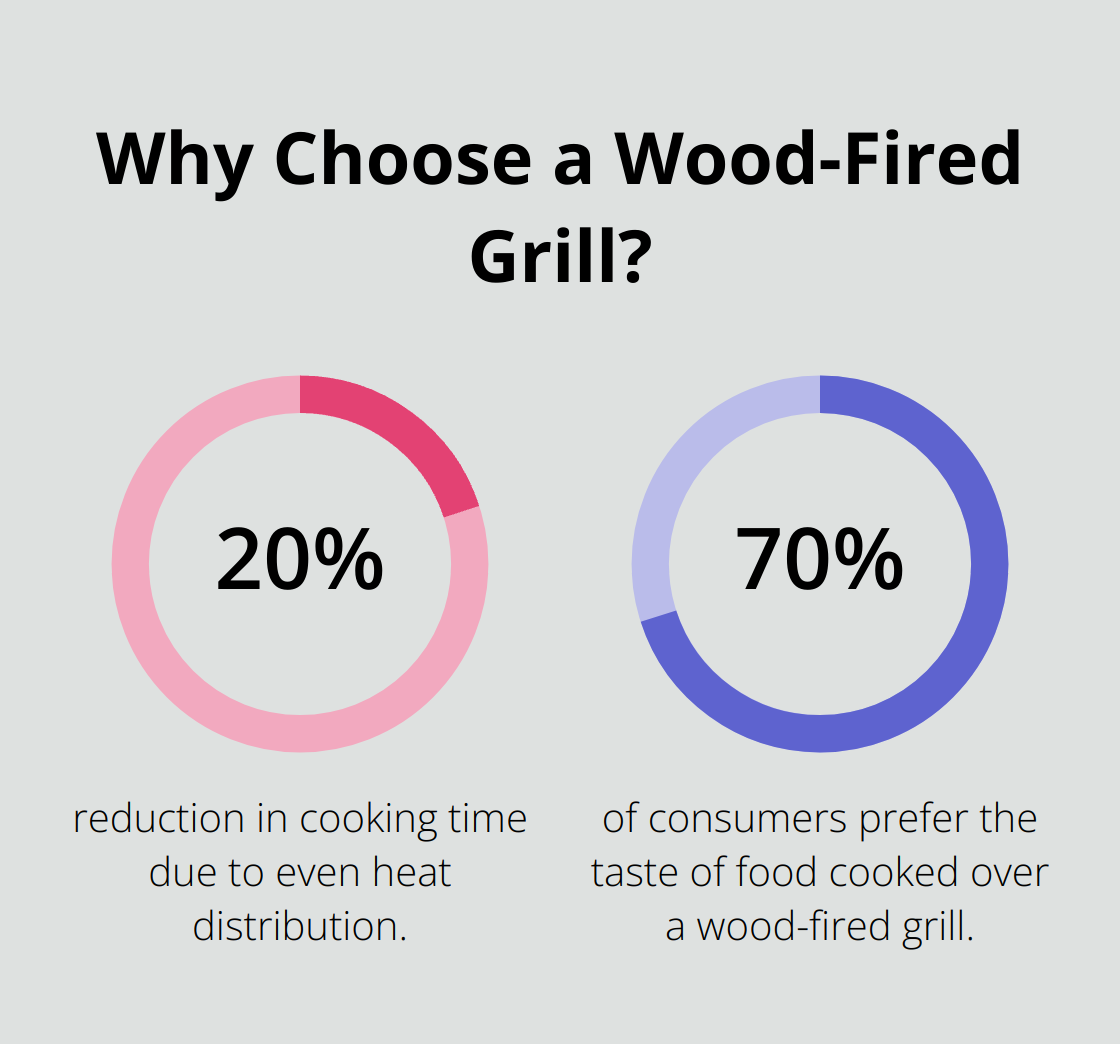
Fuel type is another major factor. Charcoal grills, while often favored for the flavor they impart, can be messier and require more preparation time. Gas grills, on the other hand, offer immediate heat and easy cleanup but may lack the depth of flavor. For those seeking a versatile option, wood-burning fire pits allow for both grilling and the traditional campfire experience. Data from Statista shows that 60% of grill owners prefer gas while 52% prefer charcoal, indicating that fuel type is a major decision point for many people.
Portability is also a crucial aspect to consider, especially for those who enjoy camping or tailgating. A portable grill or stove should be lightweight and easy to set up, without compromising on cooking power. For instance, compact gas grills or foldable camp stoves are practical for outdoor enthusiasts always on the go.
Popular Brands and Models
Several brands are recognized for their reliability and performance in outdoor cooking. Weber is a household name, known for its durable and user-friendly grills. Traeger Pellet Grills are also quite popular, particularly for those interested in smoker grills. They’ve been noted for their innovative designs and robust temperature control.
Similarly, brands like Coleman offer a range of portable cooking solutions, perfect for camping and outdoor gatherings. Big Green Egg is another brand that has made a name for itself in the smoker grill category, offering versatility and high-quality cooking results.
For those looking to make their outdoor kitchens more comprehensive, Bull Outdoor Products offers a range of built-in grills and outdoor kitchen accessories.
In your quest for the perfect outdoor cooking setup, these practical tips and recommendations can steer you toward equipment that meets both your needs and preferences. From the fuel type to size and portability, carefully considering these factors will make your outdoor cooking more enjoyable and stress-free.
For more in-depth advice on how to choose the right outdoor furniture or other aspects of outdoor living, check out our guide to outdoor living.
How to Maintain Outdoor Cooking Equipment
Maintaining your outdoor cooking equipment is essential for longevity and optimal performance. Here are some practical tips to keep your gear in top shape.
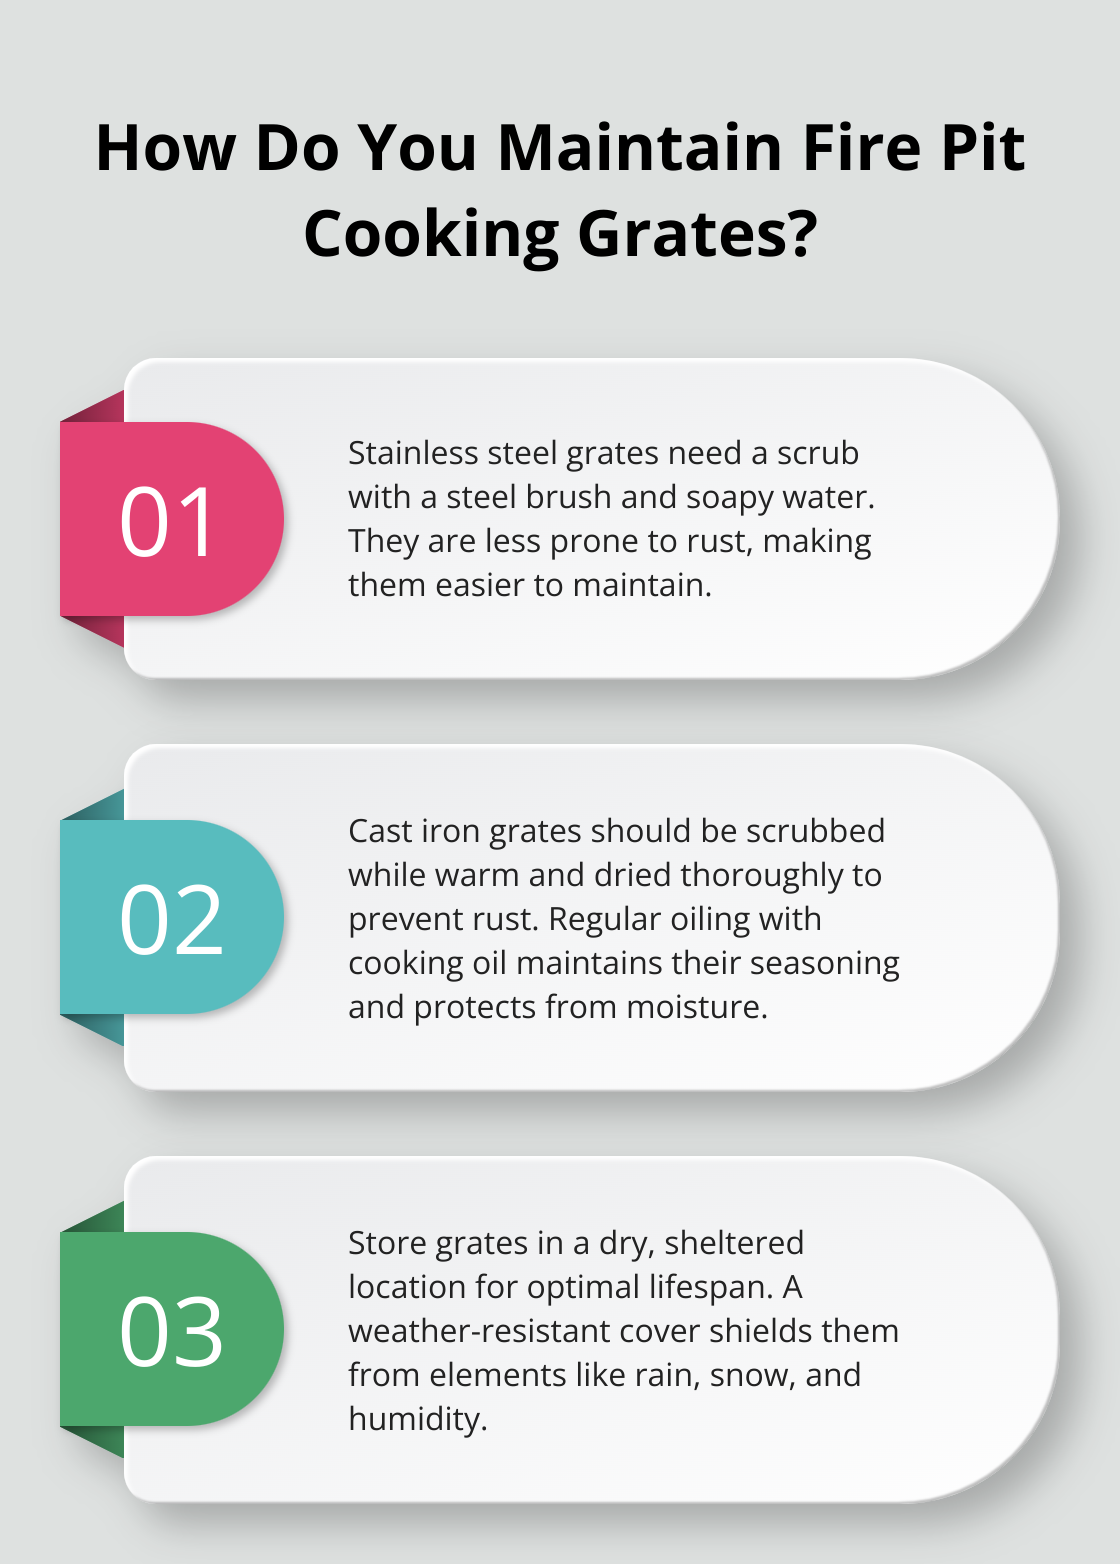
Cleaning and Care Routines
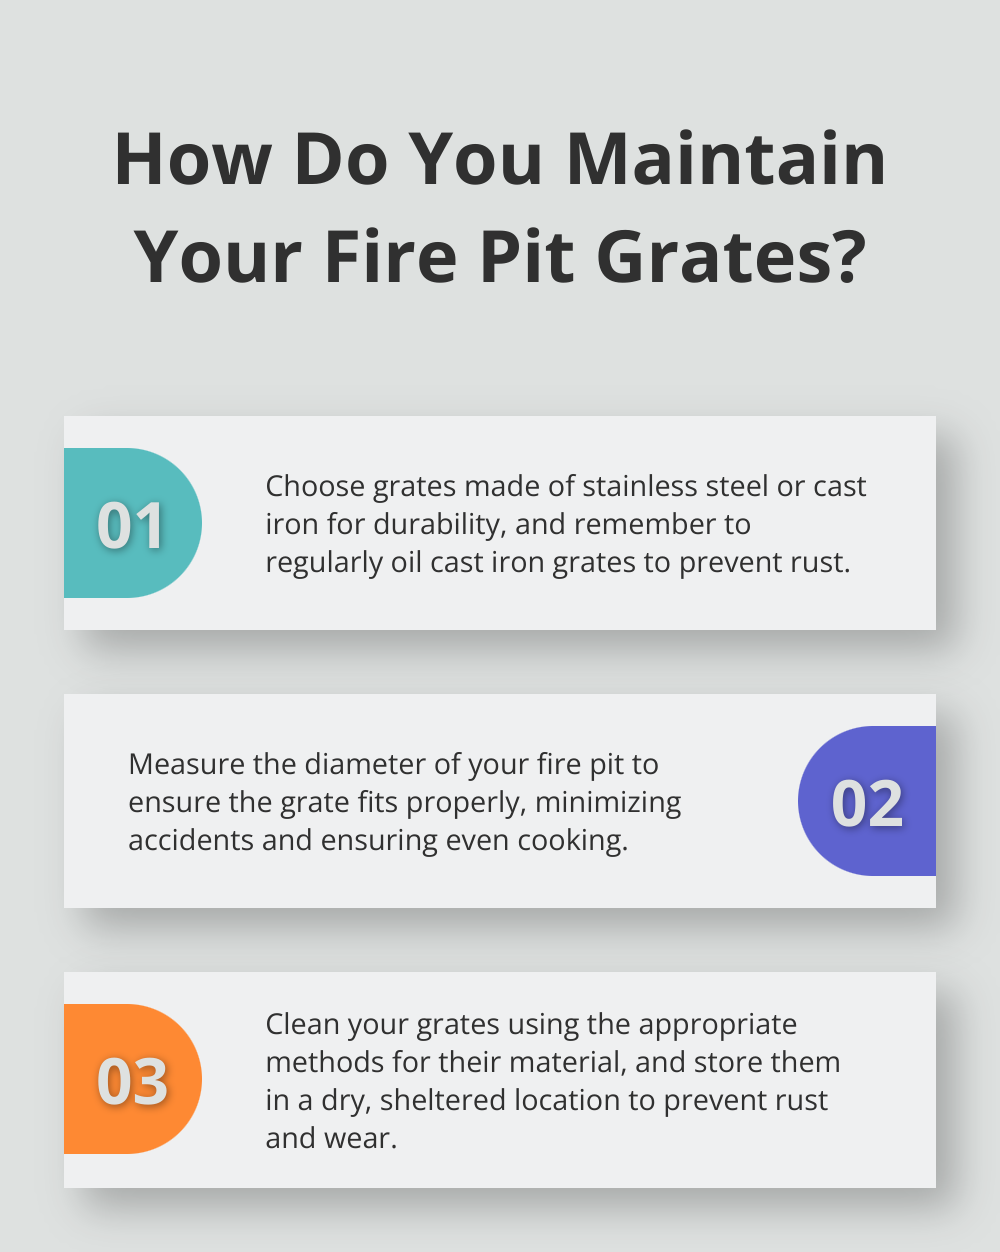
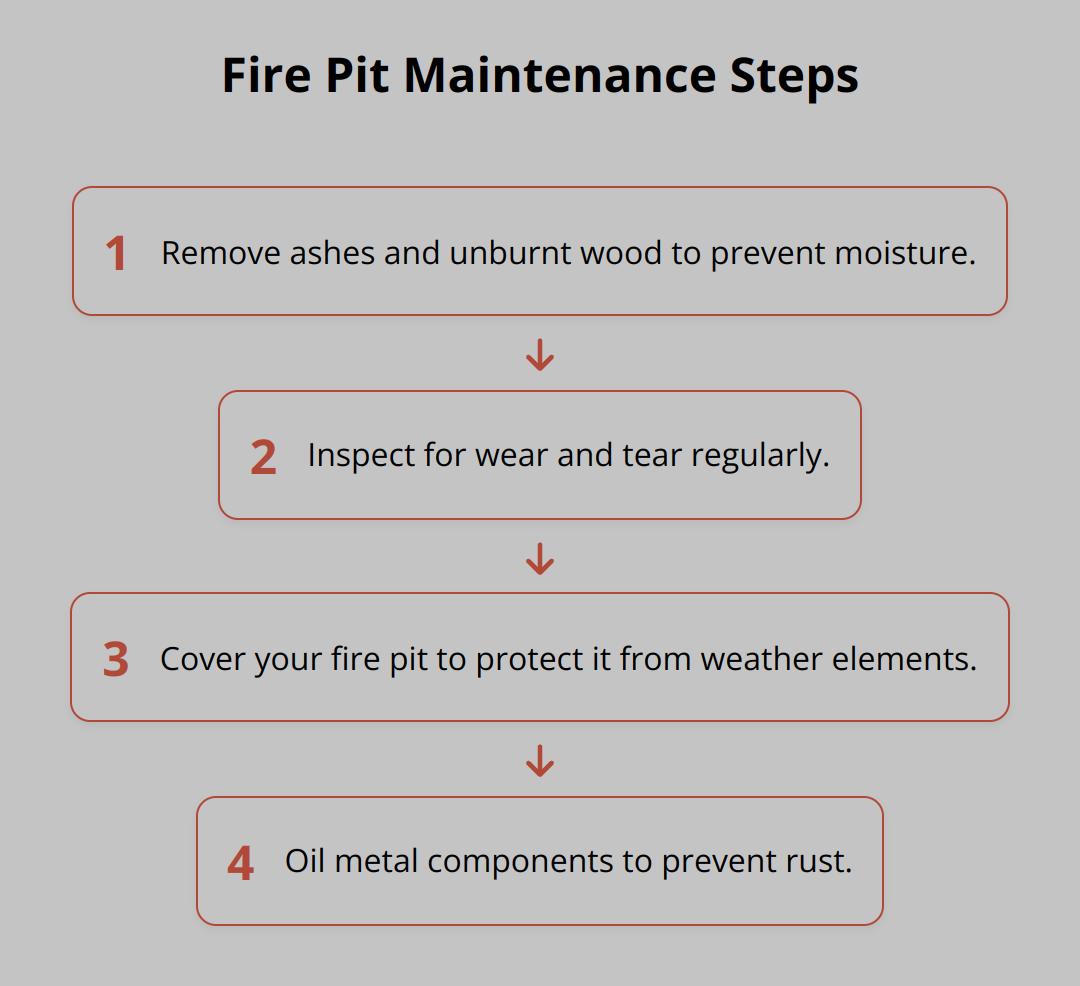
Regular cleaning is non-negotiable. After each use, allow the equipment to cool before scraping off food residue. For grills, a wire brush is effective for removing stuck-on debris. For deeper cleaning, soapy water and a non-abrasive sponge are best. Inspect burners and ensure they are unclogged for even cooking.
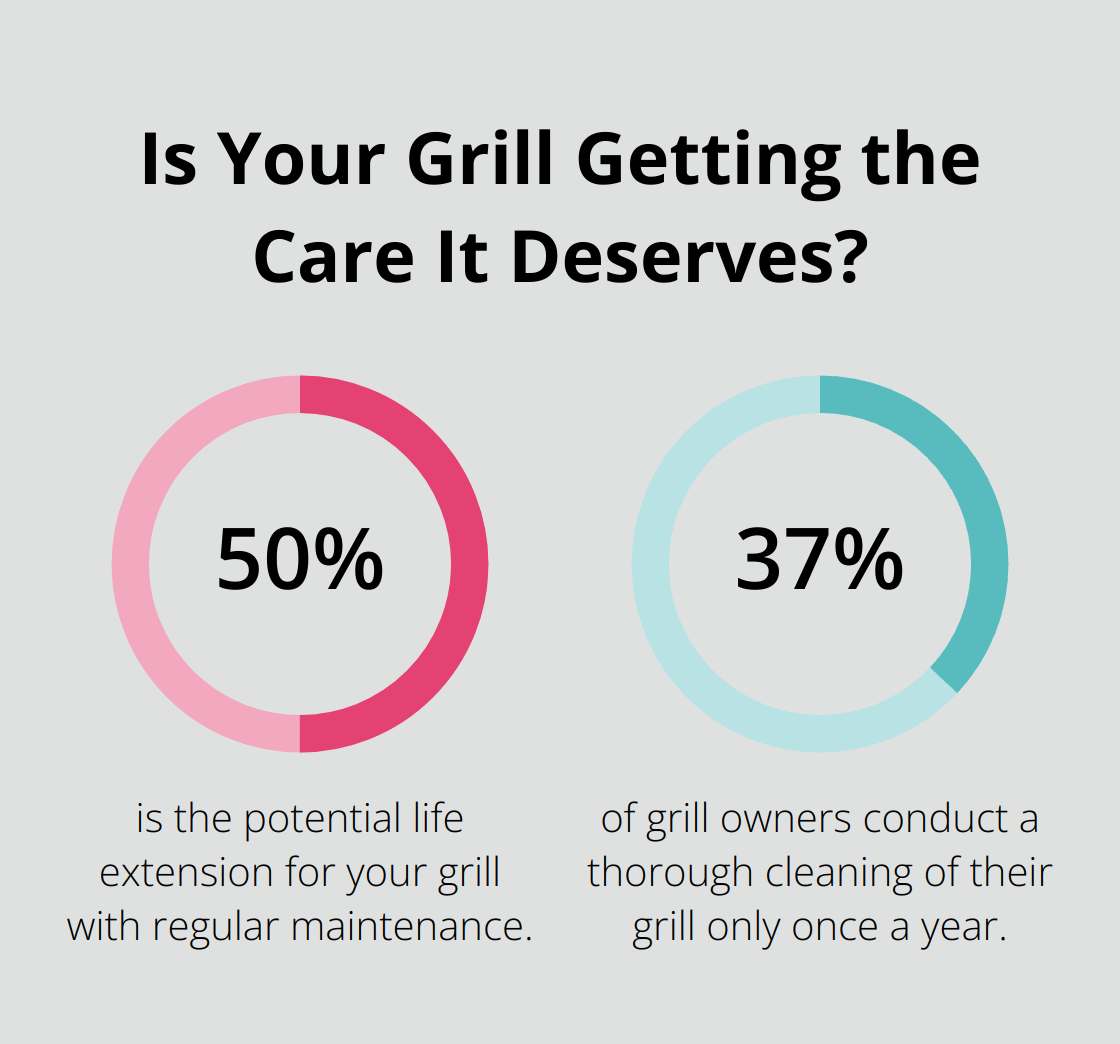
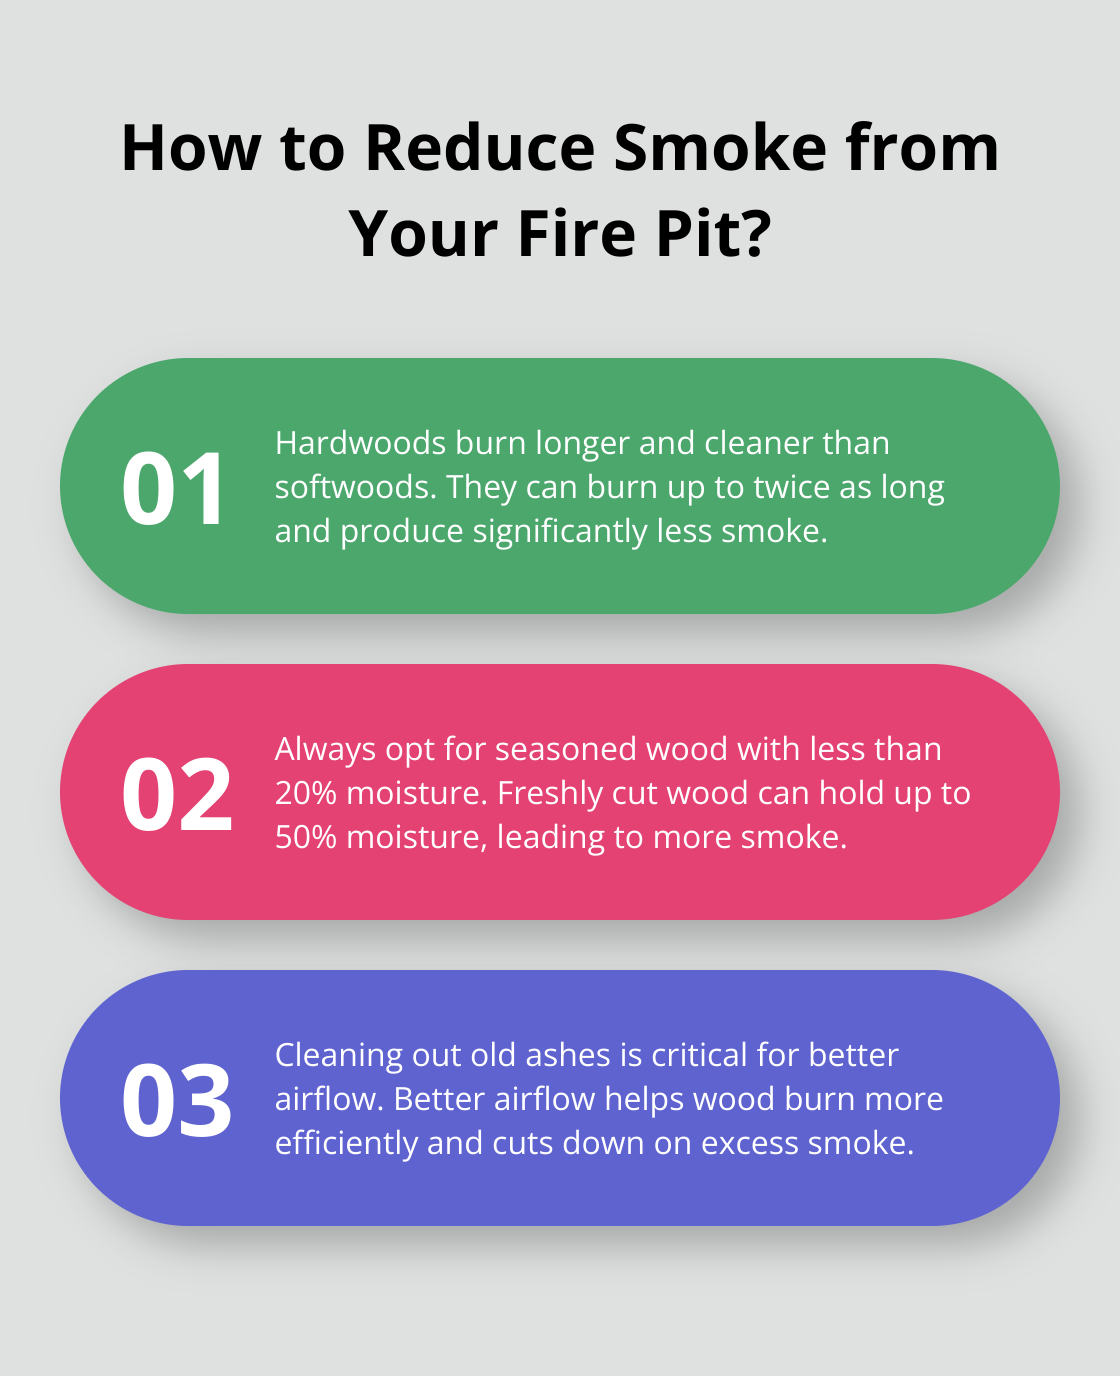
For smoker grills, it’s crucial to clean both the grate and the firebox. Ashes can accumulate and dampen the smoker’s efficiency. A study by Weber revealed that regular maintenance could extend the life of your grill by up to 50%. Using a high-quality cover also protects against corrosion and weather damage.
Seasonal Maintenance Checklists
Before the start of any cooking season, a full inspection is essential. Gas grills should have their fuel lines checked for leaks. Charcoal grills need thorough cleaning to remove any ash buildup. In colder months, ensure your equipment is well-protected. Rust can be a common issue, so applying a light layer of oil can prevent it.
Autumn is the perfect time for a thorough inspection. Remove and clean the grates, burners, and flavorizer bars. Replace any worn-out parts. According to a report by HPBA, 37% of grill owners conduct a thorough cleaning of their grill only once a year. This can lead to malfunctioning equipment and uneven cooking. Consistent seasonal checks can preempt these issues.
Storage Solutions to Prolong Equipment Life
Proper storage is paramount. Keeping your equipment in a dry, covered area can dramatically extend its lifespan. For ease of access and protection, invest in weather-resistant storage sheds or cabinets. If indoor storage is feasible, it is the best option for safeguarding your gear against extreme weather.
Portable grills and camp stoves should be stored in their carrying cases, which often come with built-in protection features. Elevate your stored equipment off the ground to prevent it from getting wet from ground moisture.
For more detailed tips on protecting your gear, you might find this article on outdoor furniture interesting.
Maintaining your outdoor cooking equipment with these practical steps will ensure it remains functional and reliable for many seasons of enjoyable outdoor meals.
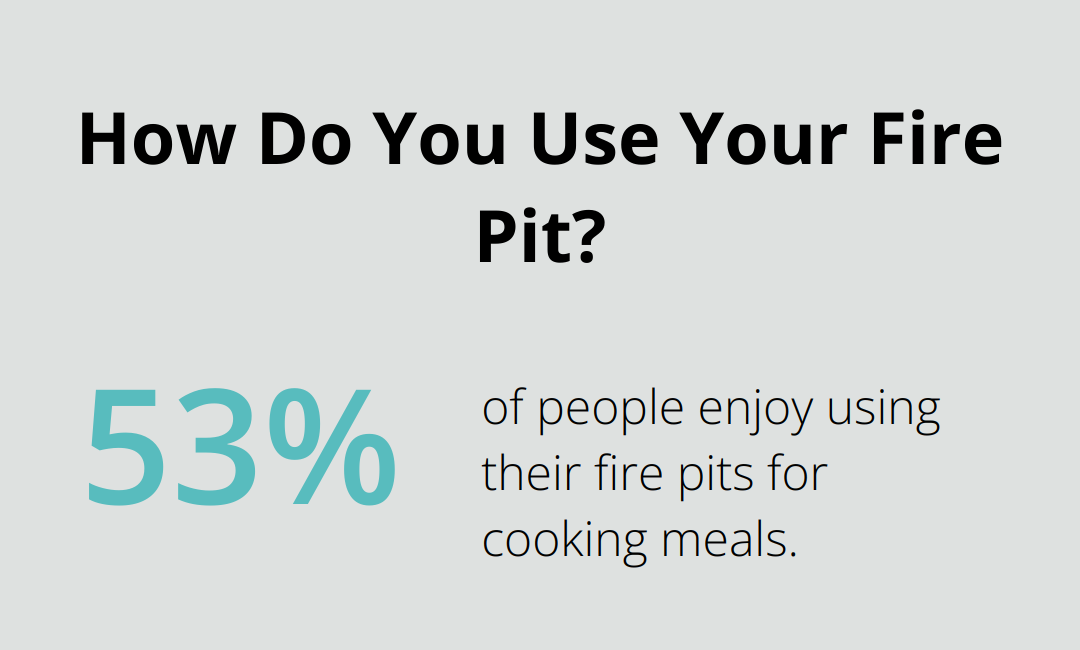
How Can You Enhance Your Outdoor Cooking Experience?
Outdoor cooking can offer more than just meals; it’s an experience. By focusing on key accessories, safety measures, and unique recipes, you can elevate your outdoor cooking to an entirely new level.
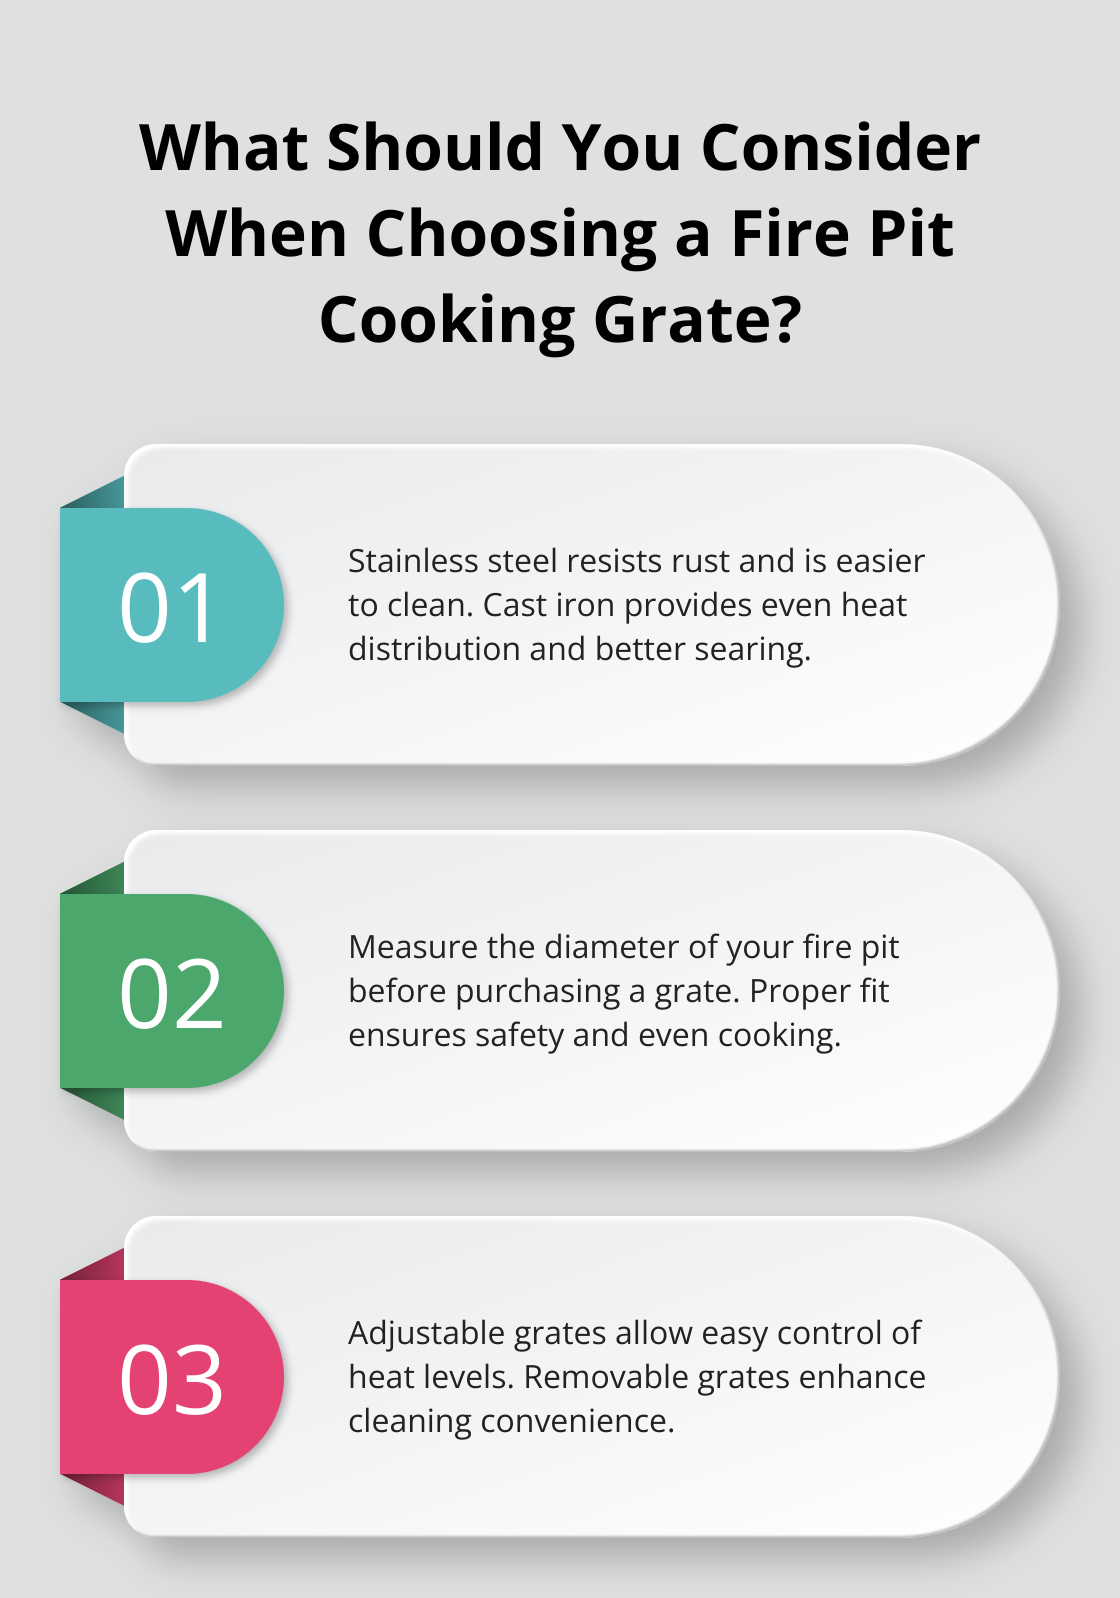
Essential Accessories for Outdoor Cooking
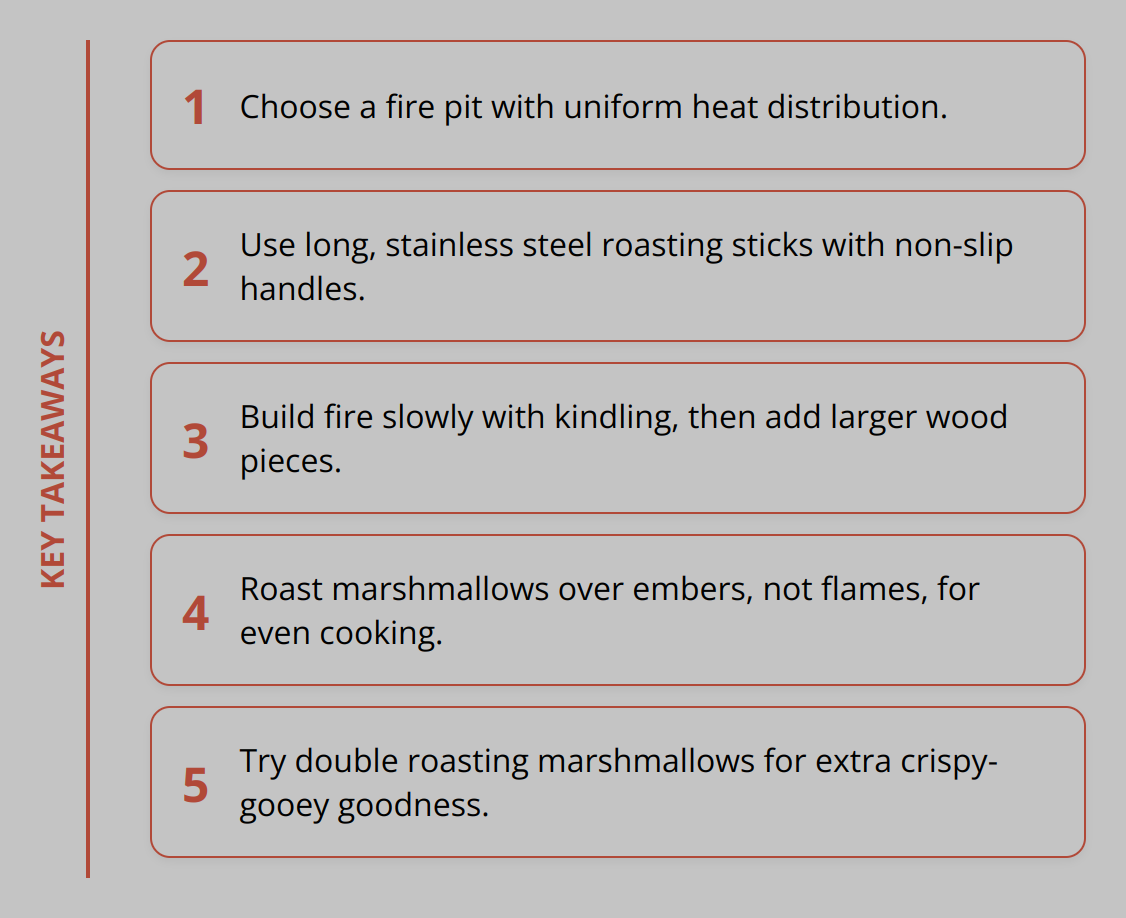
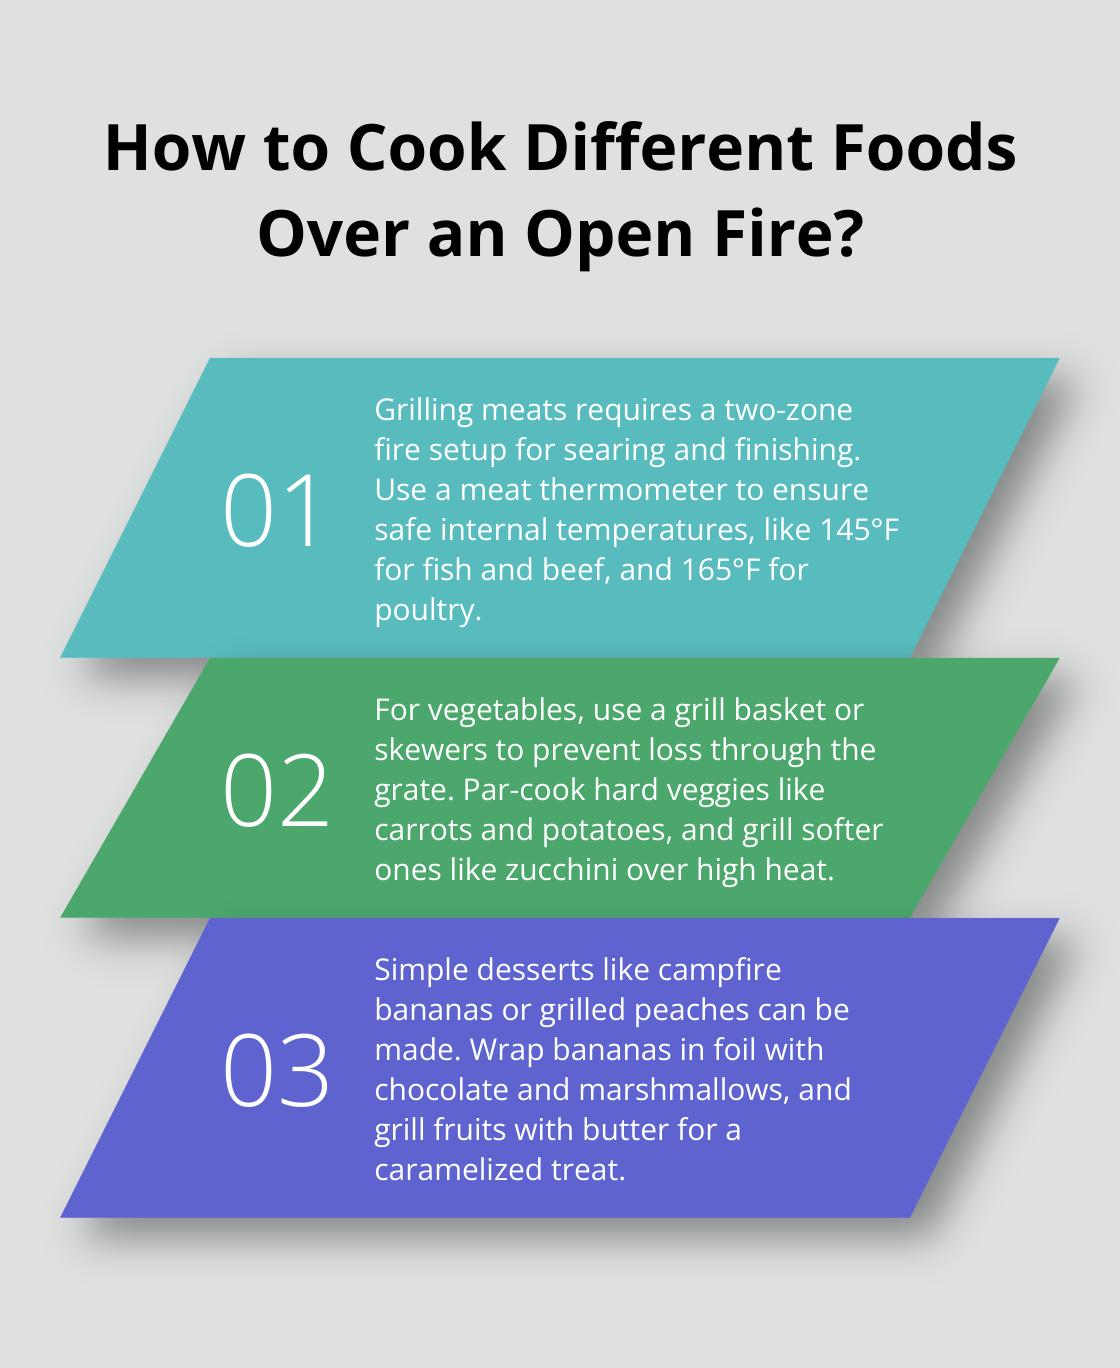
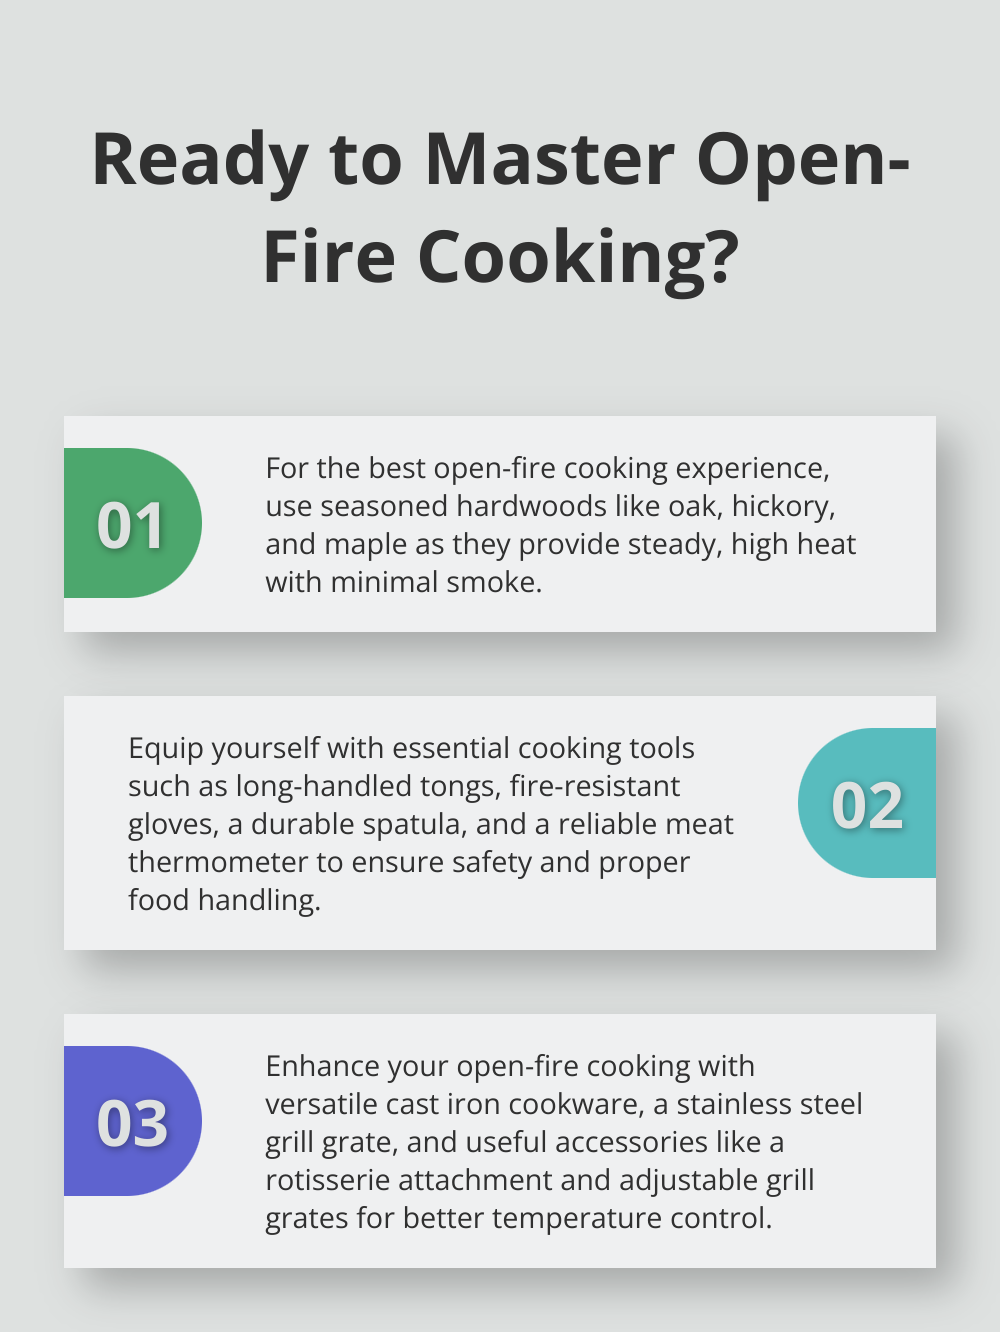
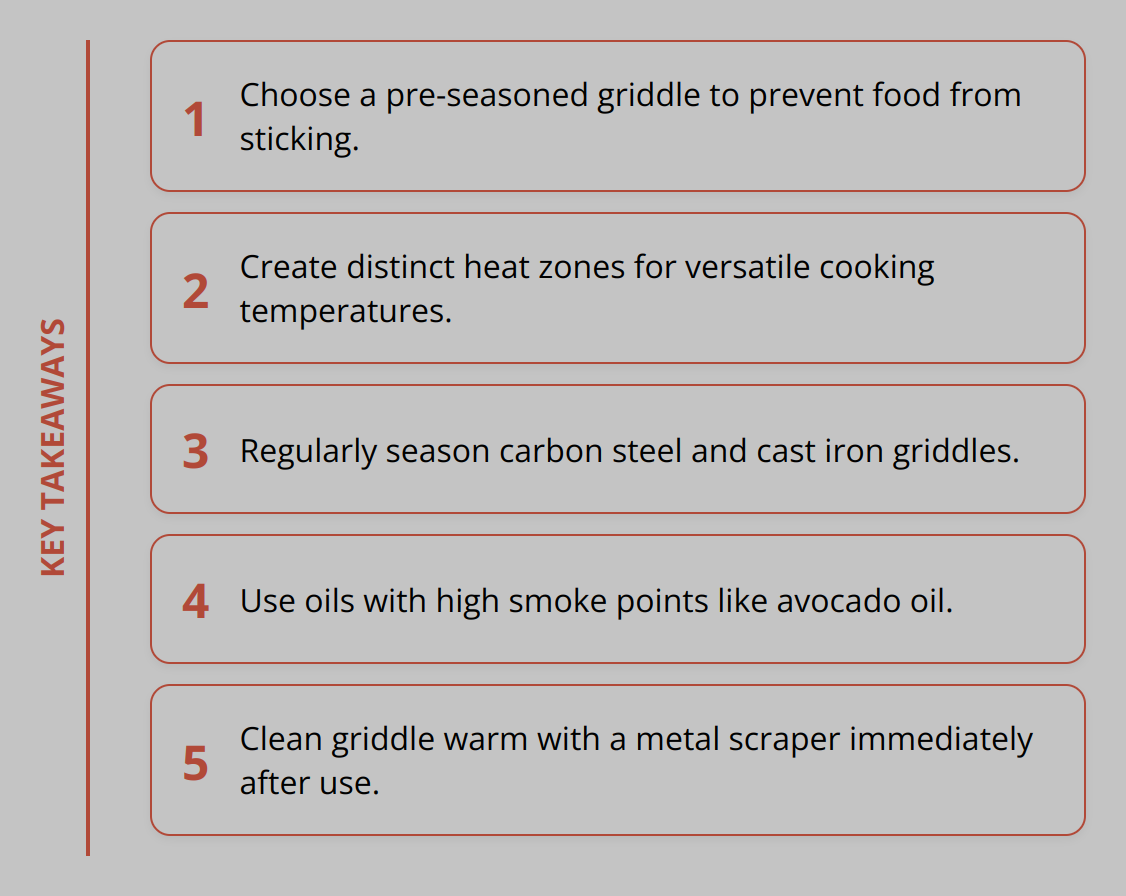
Investing in the right accessories can significantly improve your outdoor cooking setup. Grill baskets and skewers can make grilling vegetables and smaller items much easier. Cast-iron cookware is another must-have, as it provides even heat distribution and is exceptionally durable.
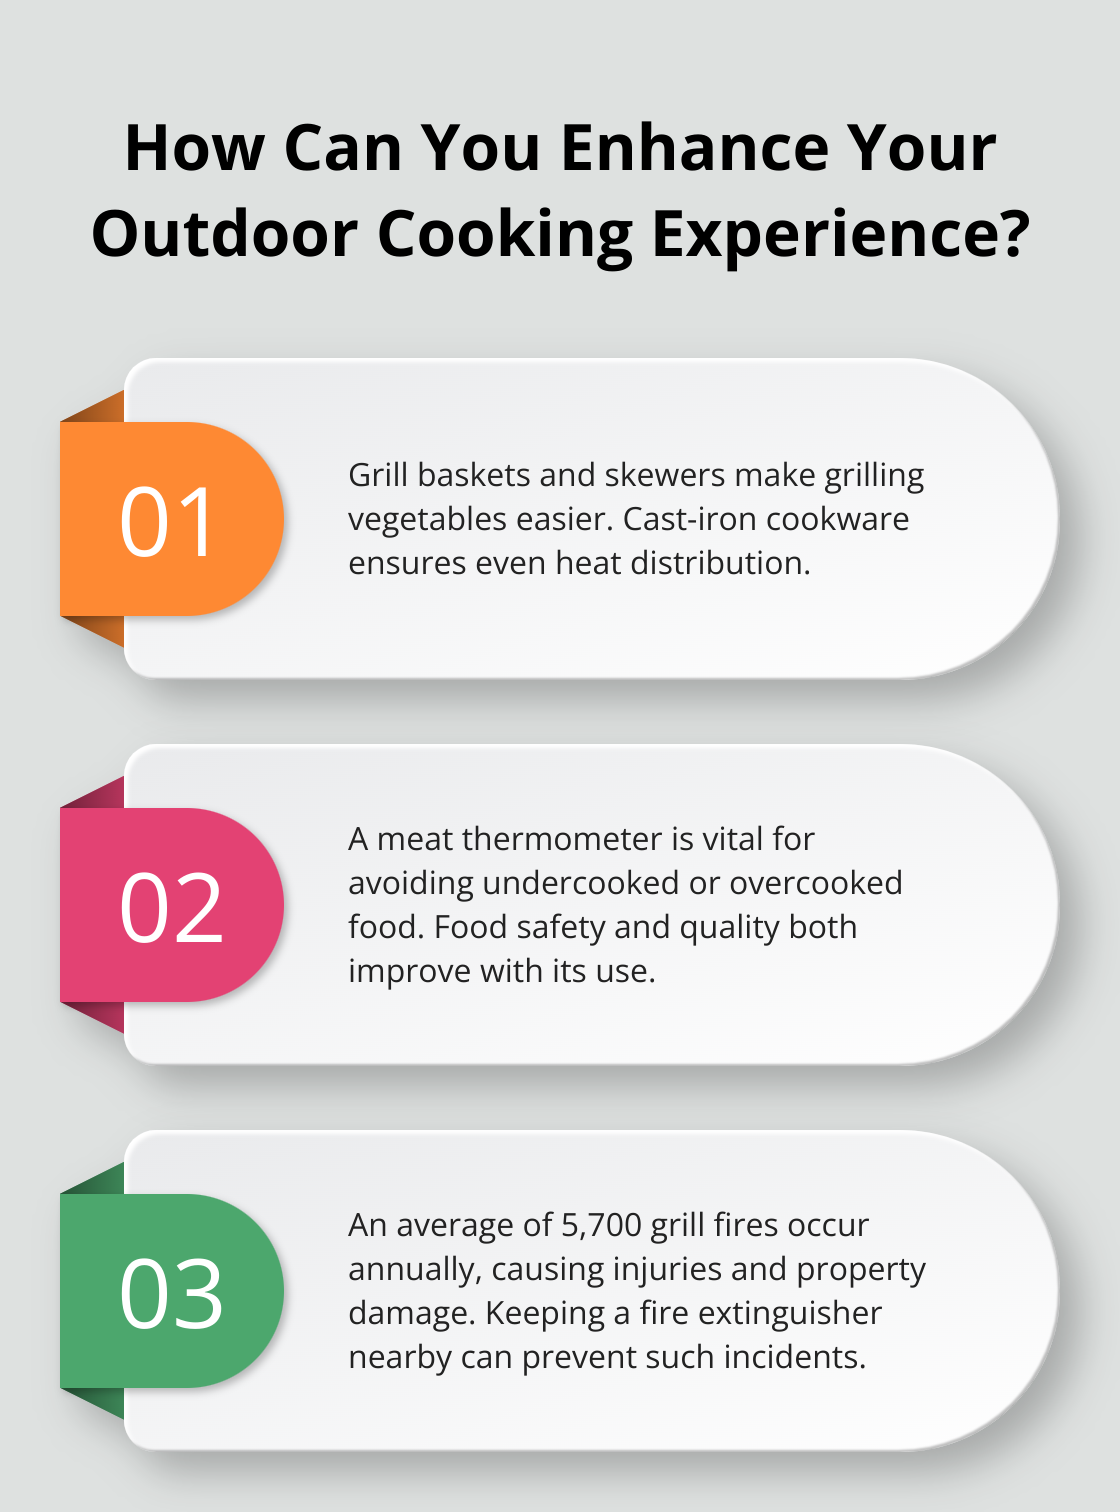
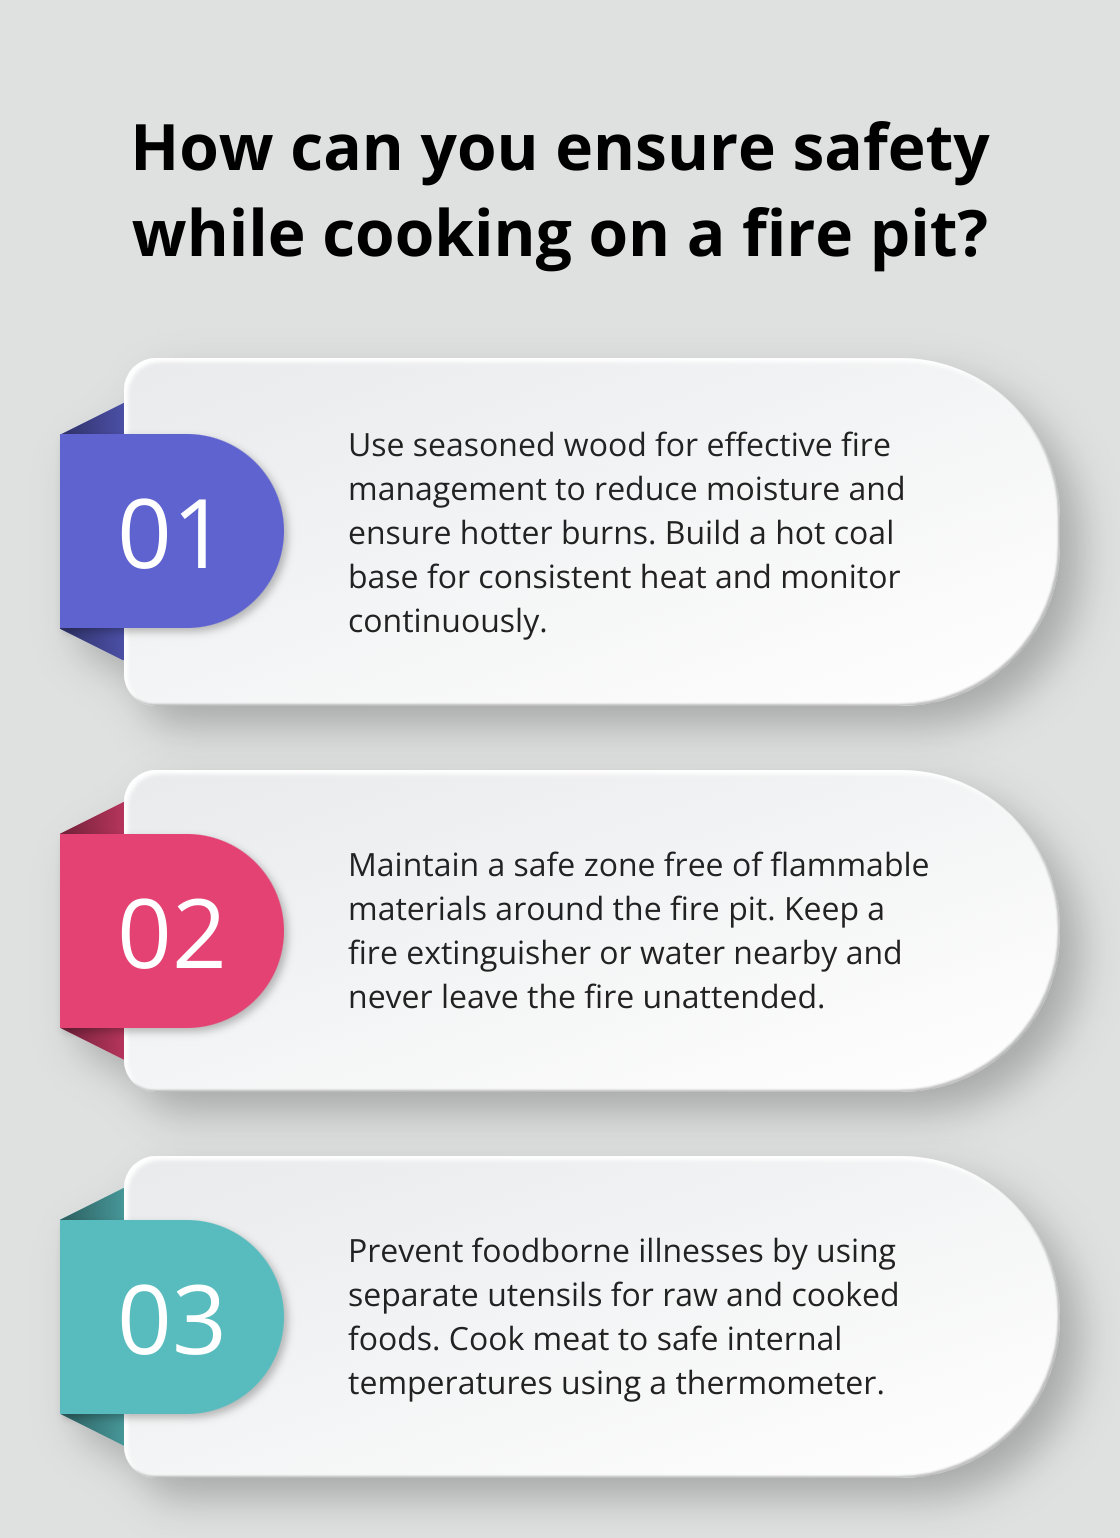
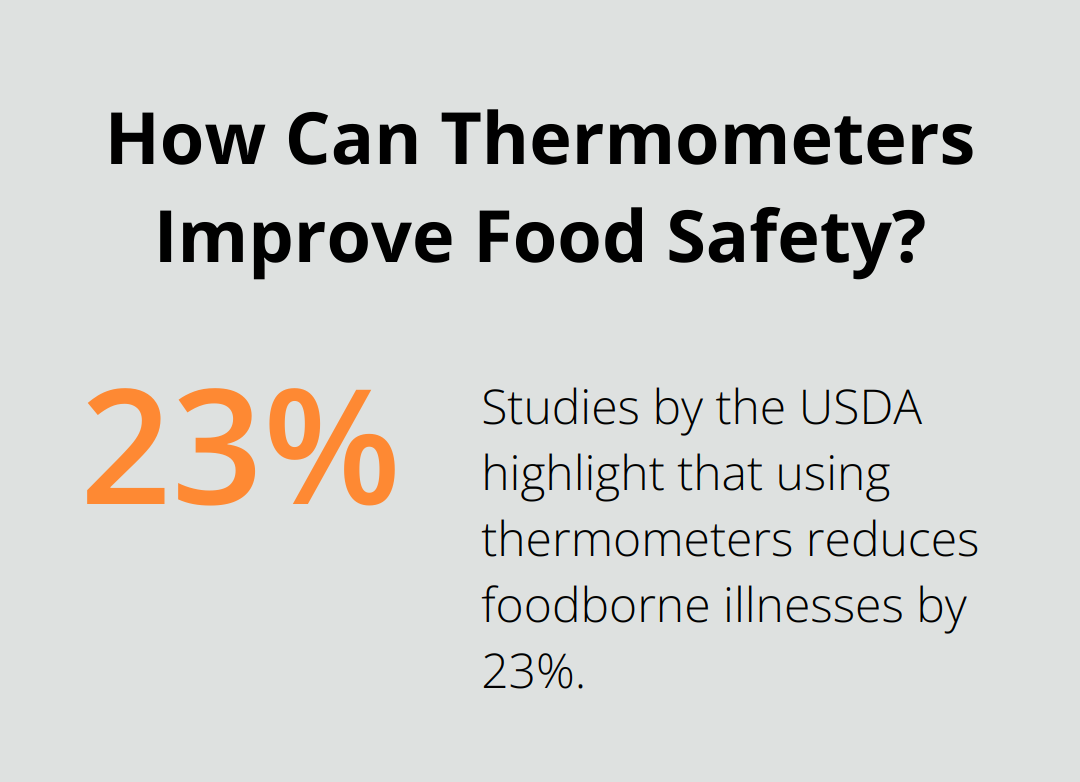
For those who enjoy slow-cooking, a good meat thermometer is invaluable. Knowing the internal temperature helps in avoiding undercooked or overcooked food. Studies show that food safety and quality both improve when using a meat thermometer.
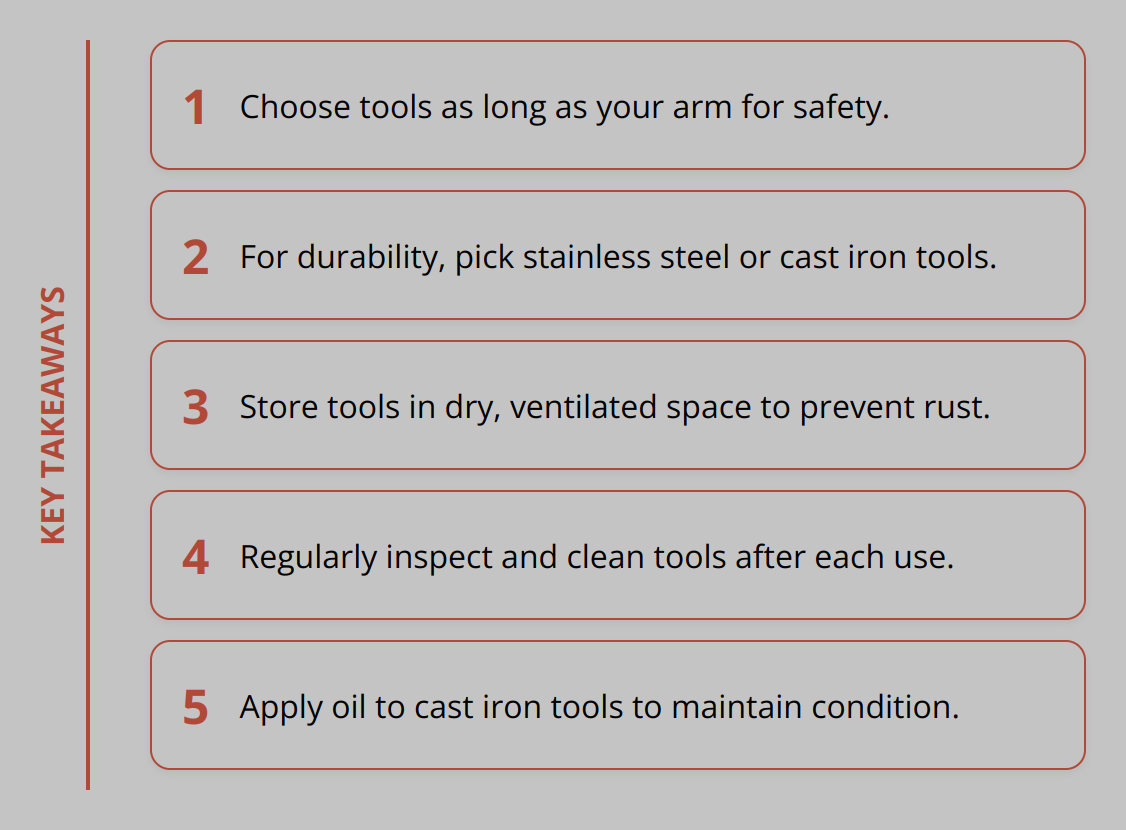
Another essential accessory is a set of long-handled tools, such as spatulas, tongs, and forks. These tools make it easier to manipulate food over high heat, reducing the risk of burns.
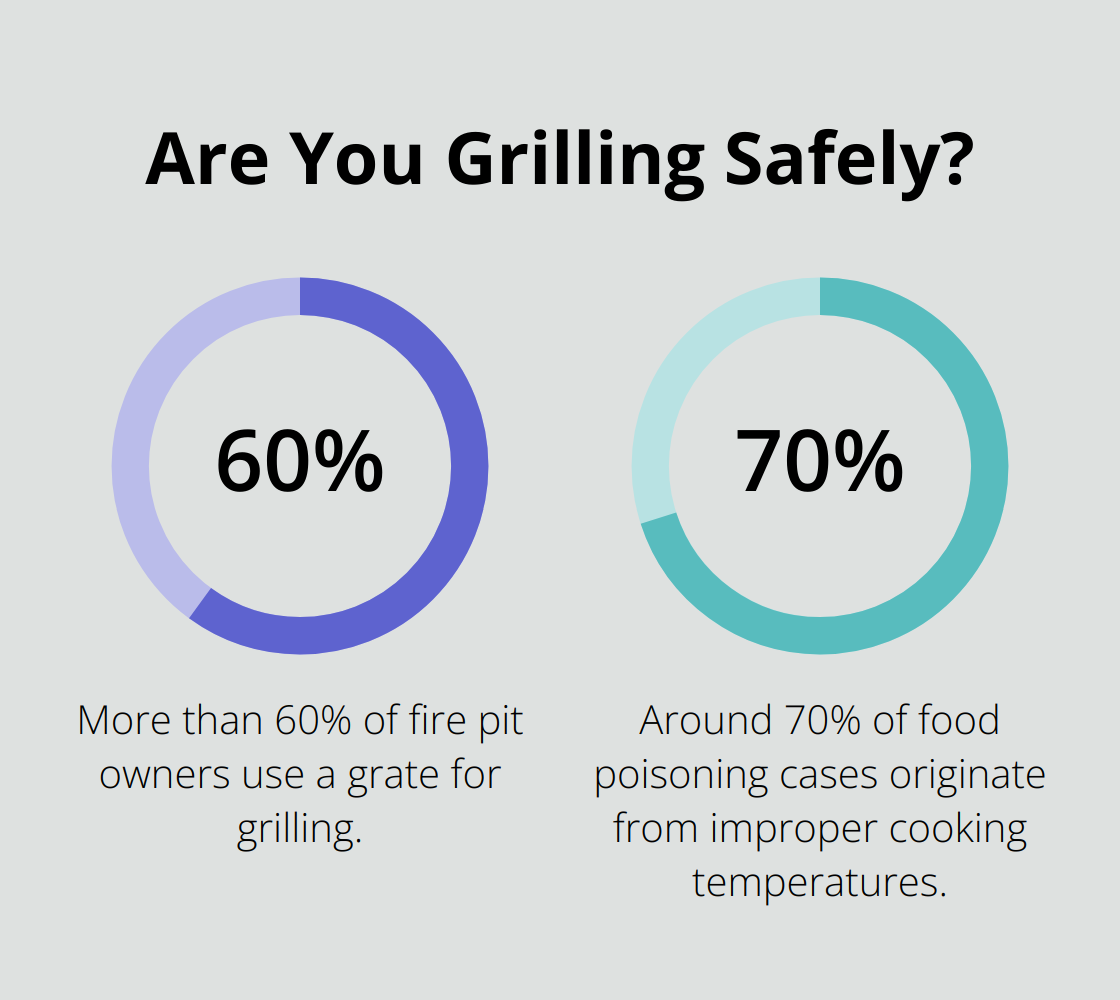
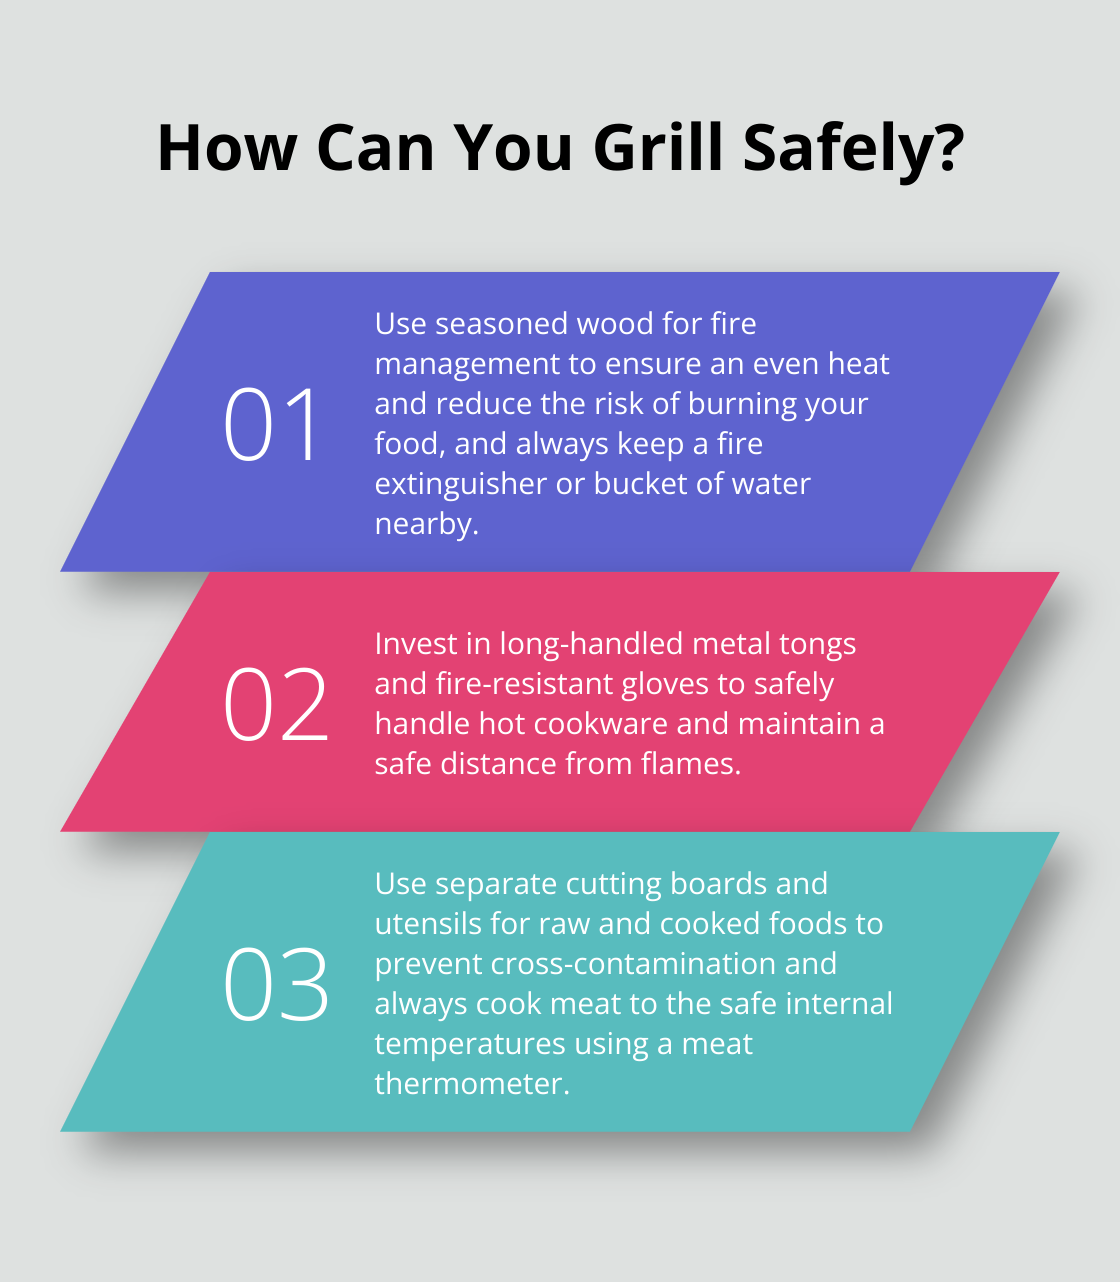
Safety Tips and Best Practices
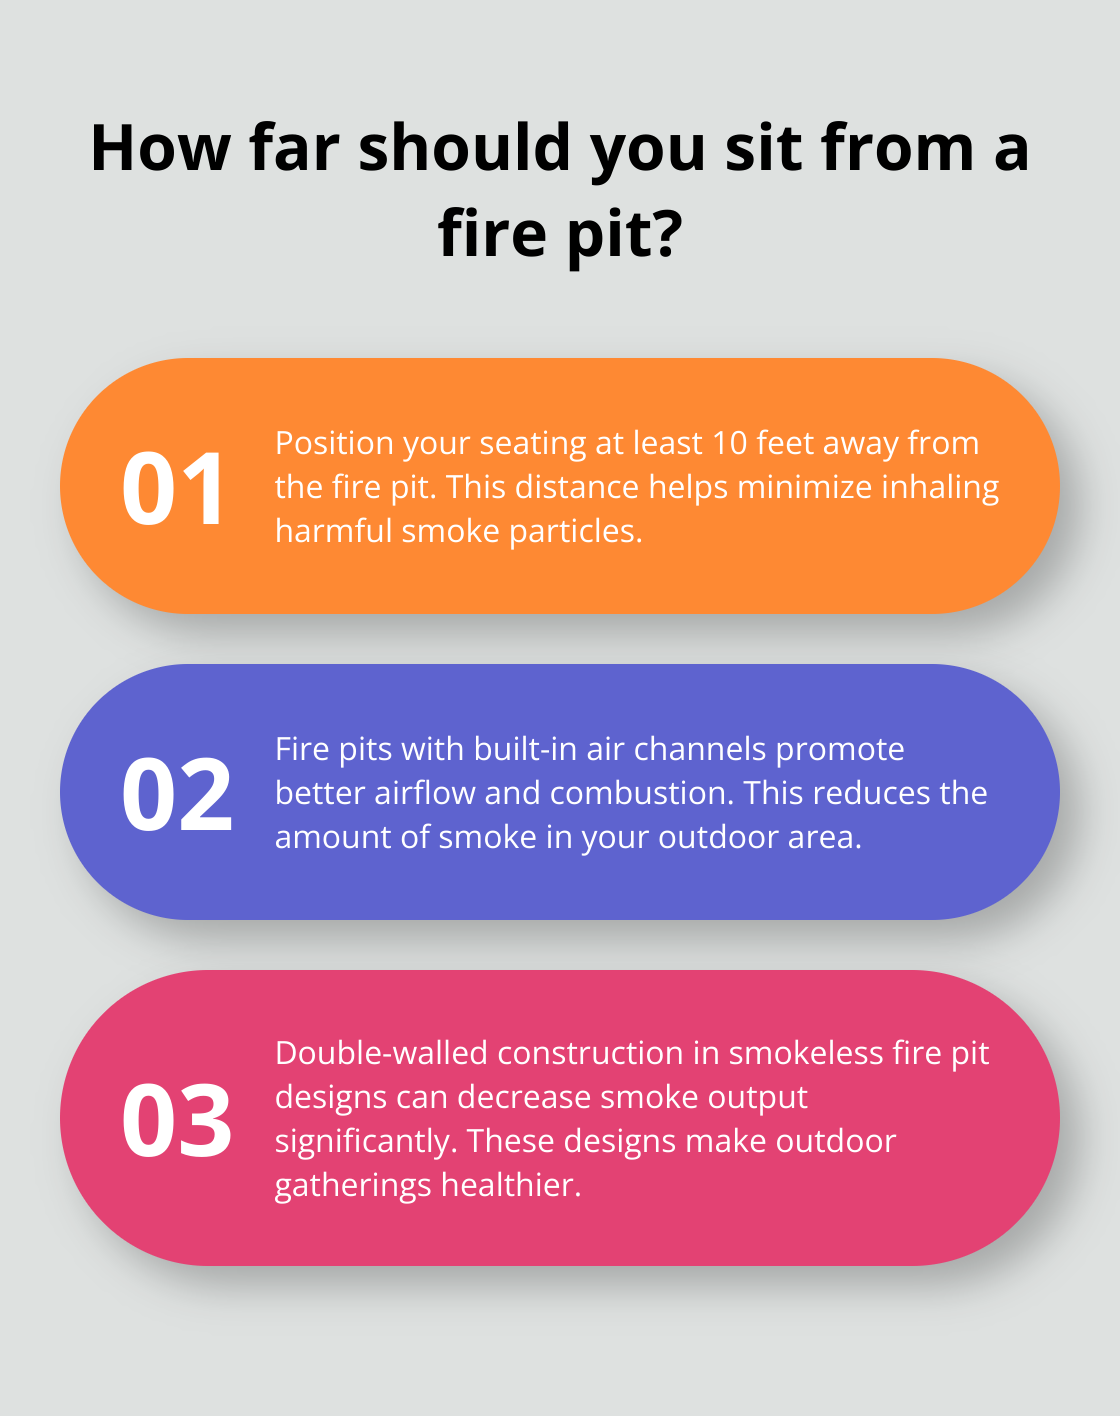
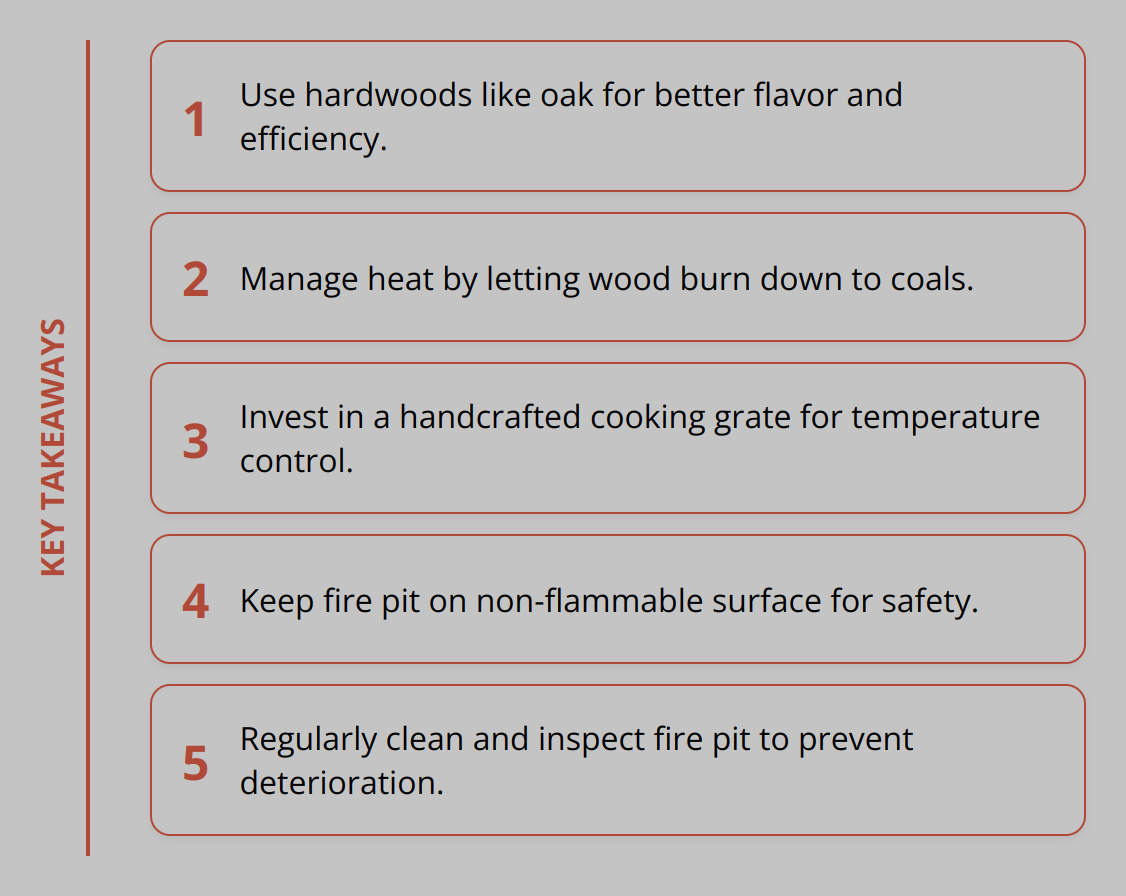
Safety should always be a top priority when cooking outdoors. One fundamental tip is to set up your cooking area on a flat, stable surface away from flammable materials. The U.S. Fire Administration reports that an average of 5,700 grill fires occur annually, causing property damage and injuries. These incidents can often be prevented by adhering to basic safety rules.
It’s essential to keep a fire extinguisher or a bucket of sand nearby in case of emergencies. Ensuring your grill or cooker is in good working condition can also help prevent accidents. Check for gas leaks by applying soapy water to connections and looking for bubbles.
Finally, always have proper ventilation. Never use outdoor cooking equipment indoors or in enclosed spaces to avoid carbon monoxide poisoning. According to the Centers for Disease Control and Prevention, around 400 Americans die from unintentional CO poisoning every year.
Recipe Ideas and Techniques
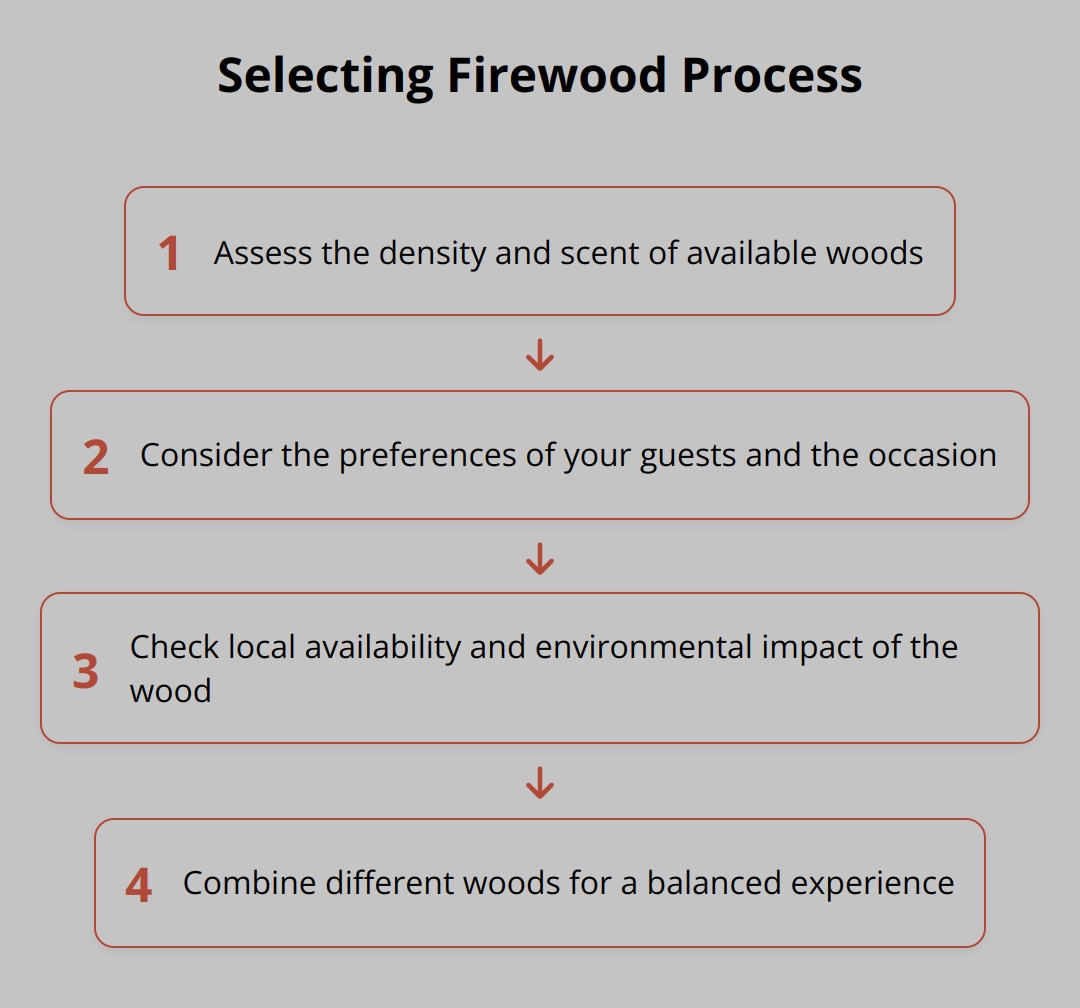
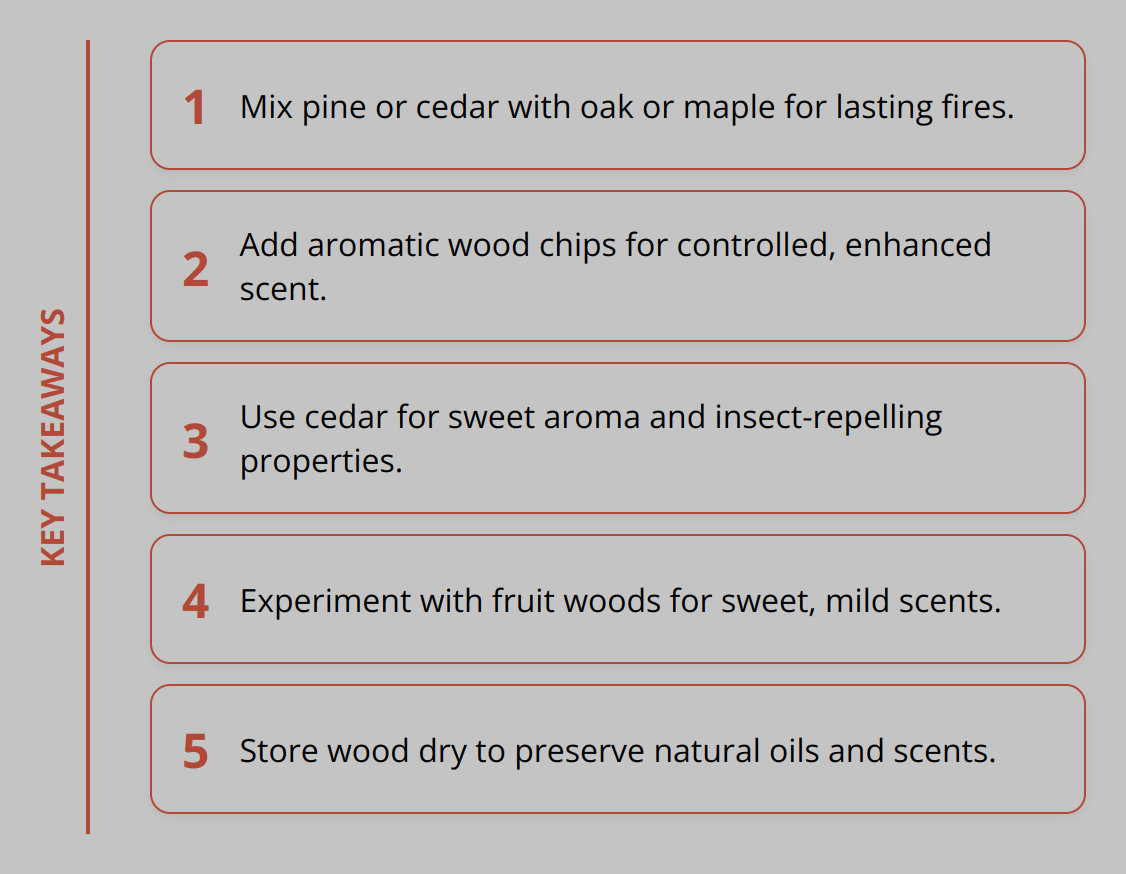
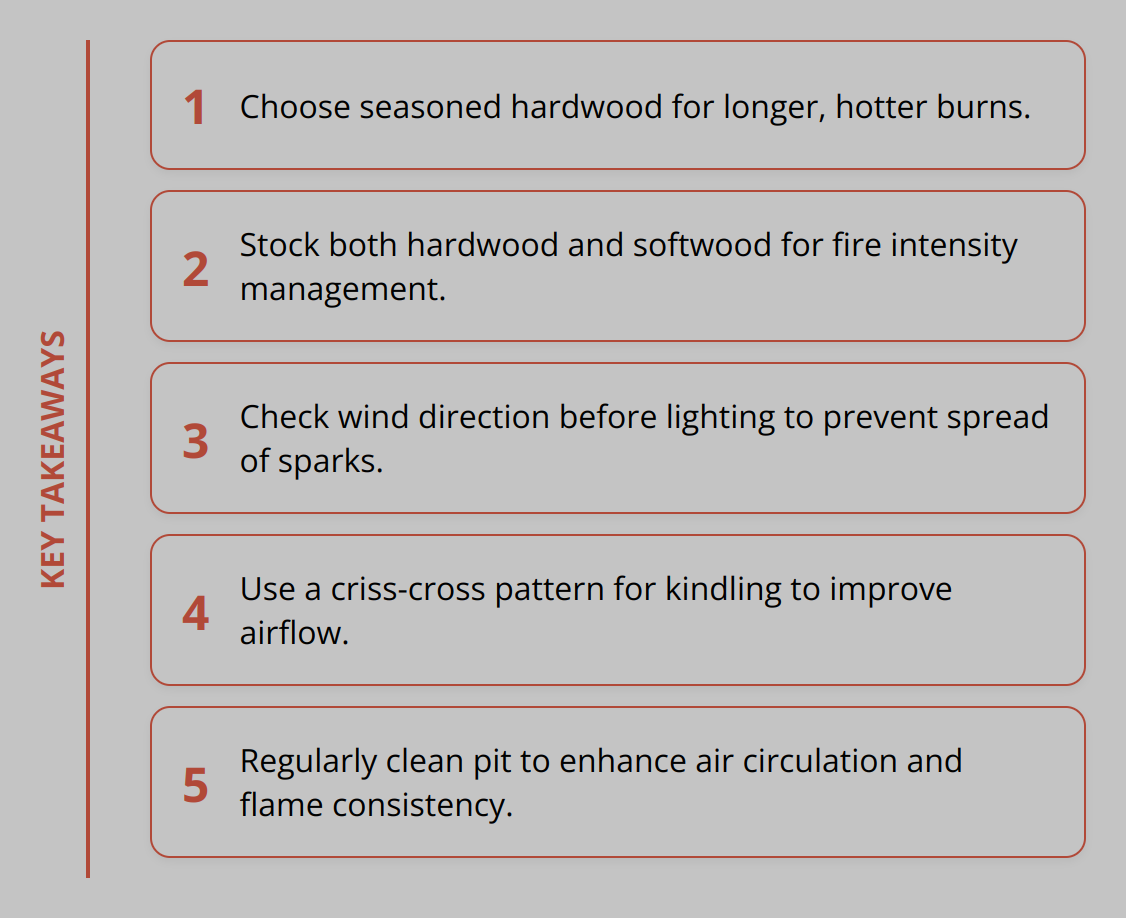
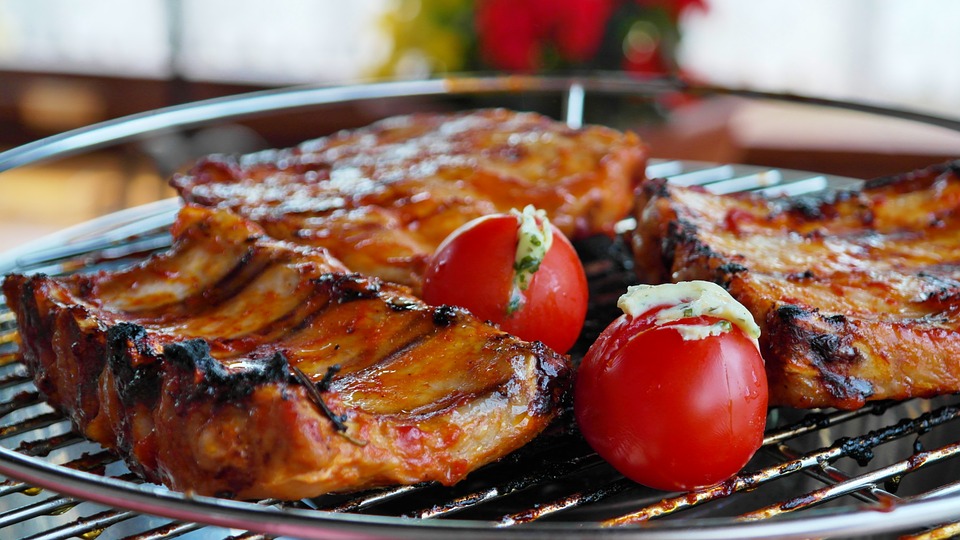
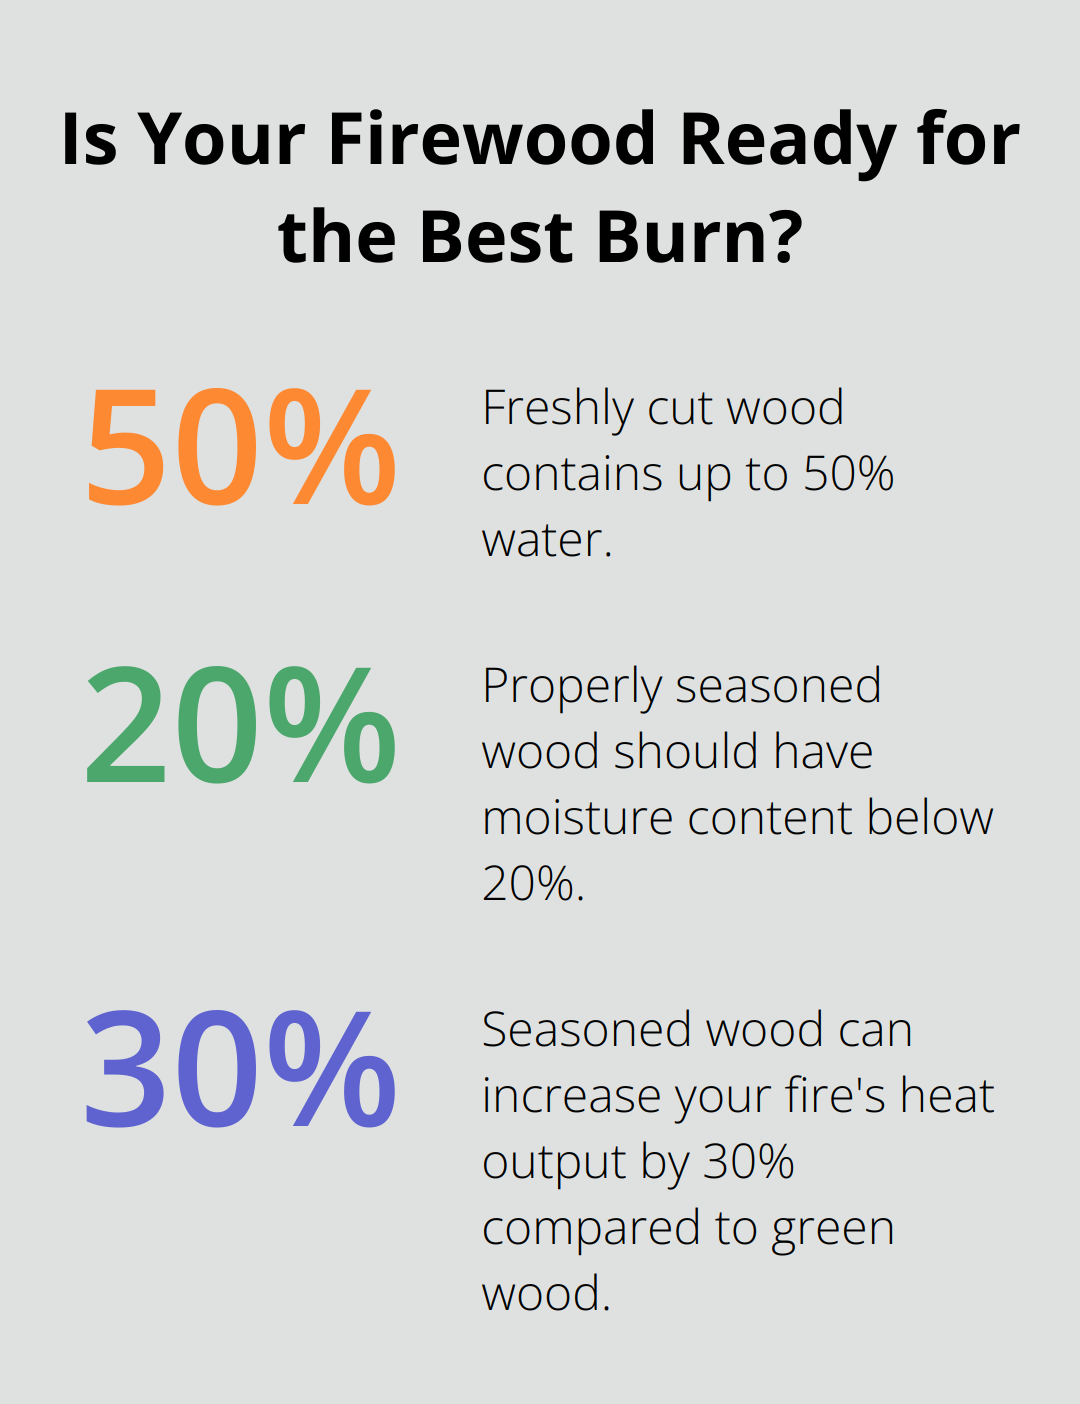
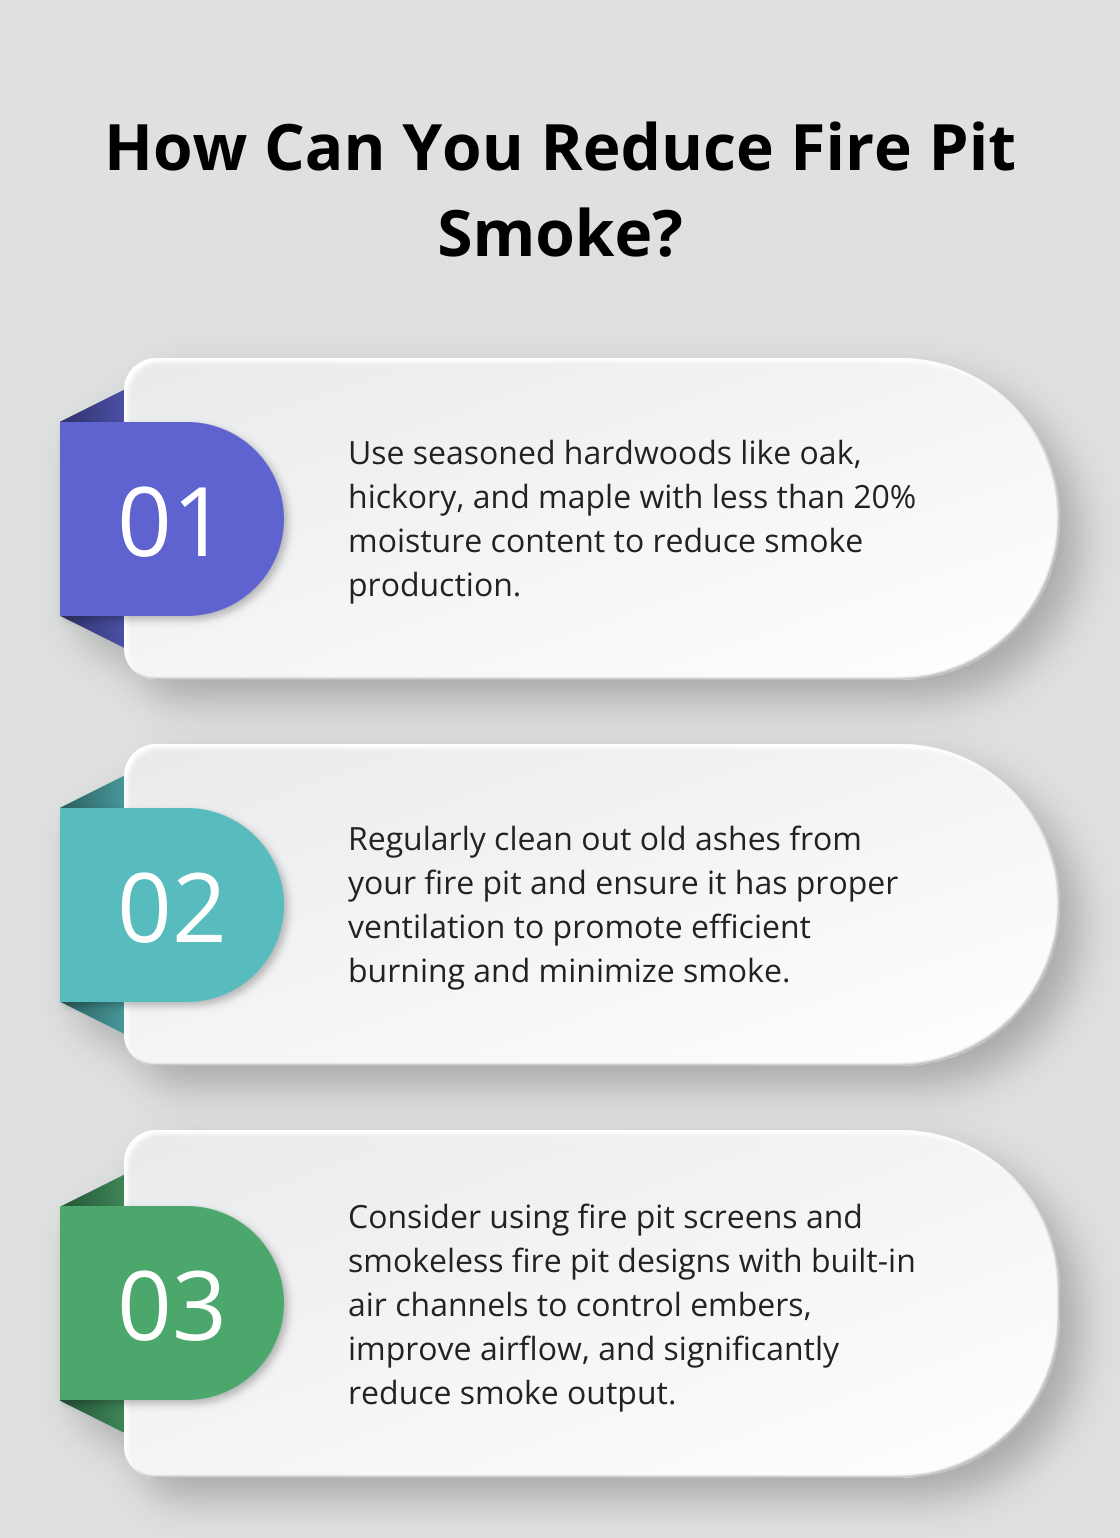
Experimenting with different recipes and techniques can make your outdoor cooking sessions more exciting. For instance, using wood chips for smoking can add a unique flavor to meats. Hickory, applewood, and mesquite are popular choices for different types of meat. A study by the National Center for Biotechnology Information indicates that smoking not only enhances flavor but also acts as a natural preservative.
One technique gaining popularity is the reverse sear method. This involves cooking meat slowly to the desired internal temperature and then searing it at high heat to create a crispy exterior. This method works particularly well for steaks and larger cuts of meat.
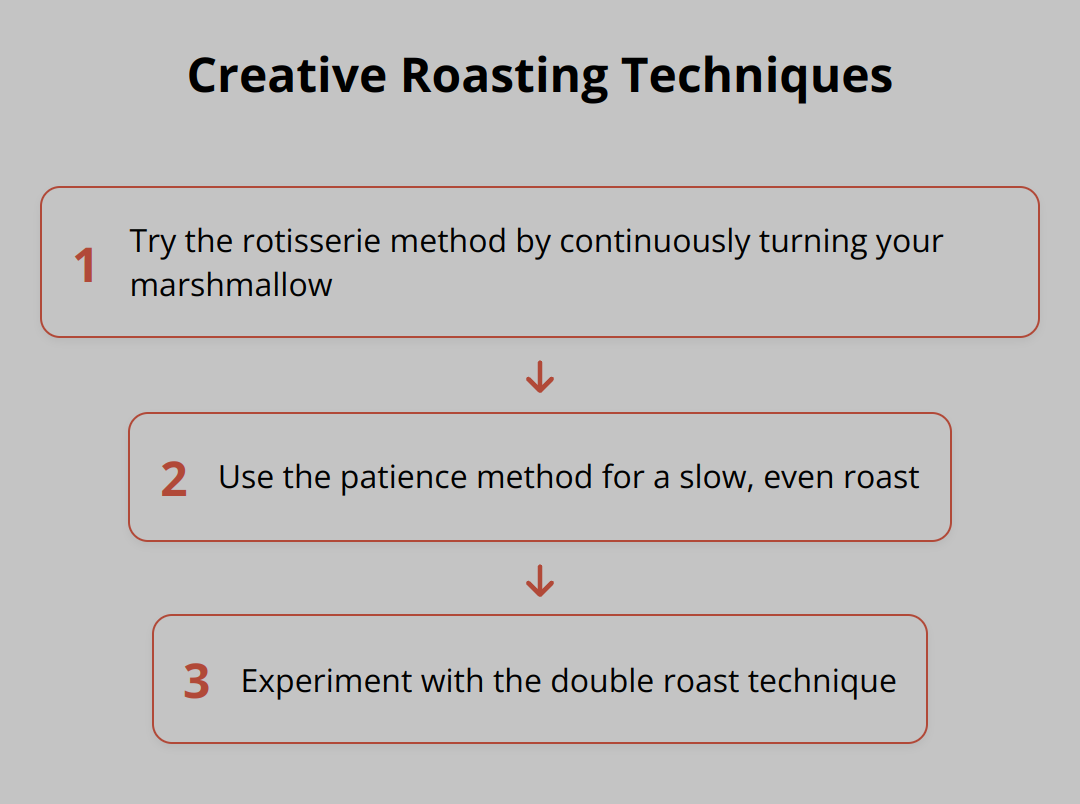
For something different, consider trying a campfire classic like S’mores, but with a twist. Use flavored marshmallows or add fresh fruit to the mix for an added layer of taste. For more inspiration on outdoor recipes, check out these S’mores ideas.
By integrating these accessories, safety tips, and recipe ideas into your outdoor cooking routine, you can create an enjoyable and memorable culinary experience.
Final Thoughts
Selecting the right outdoor cooking equipment can transform your mealtime into an exciting outdoor experience. Whether you opt for a gas grill’s convenience or a charcoal grill’s rich flavor, making informed choices will enhance your culinary endeavors. Key factors like size, fuel type, and portability should guide your selection.
Maintaining your equipment is equally important. Regular cleaning and seasonal inspections are essential to ensure longevity and performance. Simple practices like using a cover and storing your gear properly can make a big difference.
Experimenting with different recipes and techniques adds another layer of enjoyment to outdoor cooking. From using wood chips for smoking to trying campfire classics like S’mores, there’s always something new to explore.
We at S&S Fire Pits are here to support your outdoor cooking adventures with high-quality, handmade fire pits and a range of unique outdoor products. Discover our offerings at S&S Fire Pits and make your outdoor living space truly exceptional.
For more insights, check out detailed guides on outdoor living and other practical tips to enhance your outdoor space.


![Key Takeaways - Natural Fire Lighting Methods [Guide]](https://ssfirepits.com/wp-content/uploads/2024/05/Natural_Fire_Lighting_Methods__Guide__6_2024_05_08_07_13_22_562930_00_00.png)