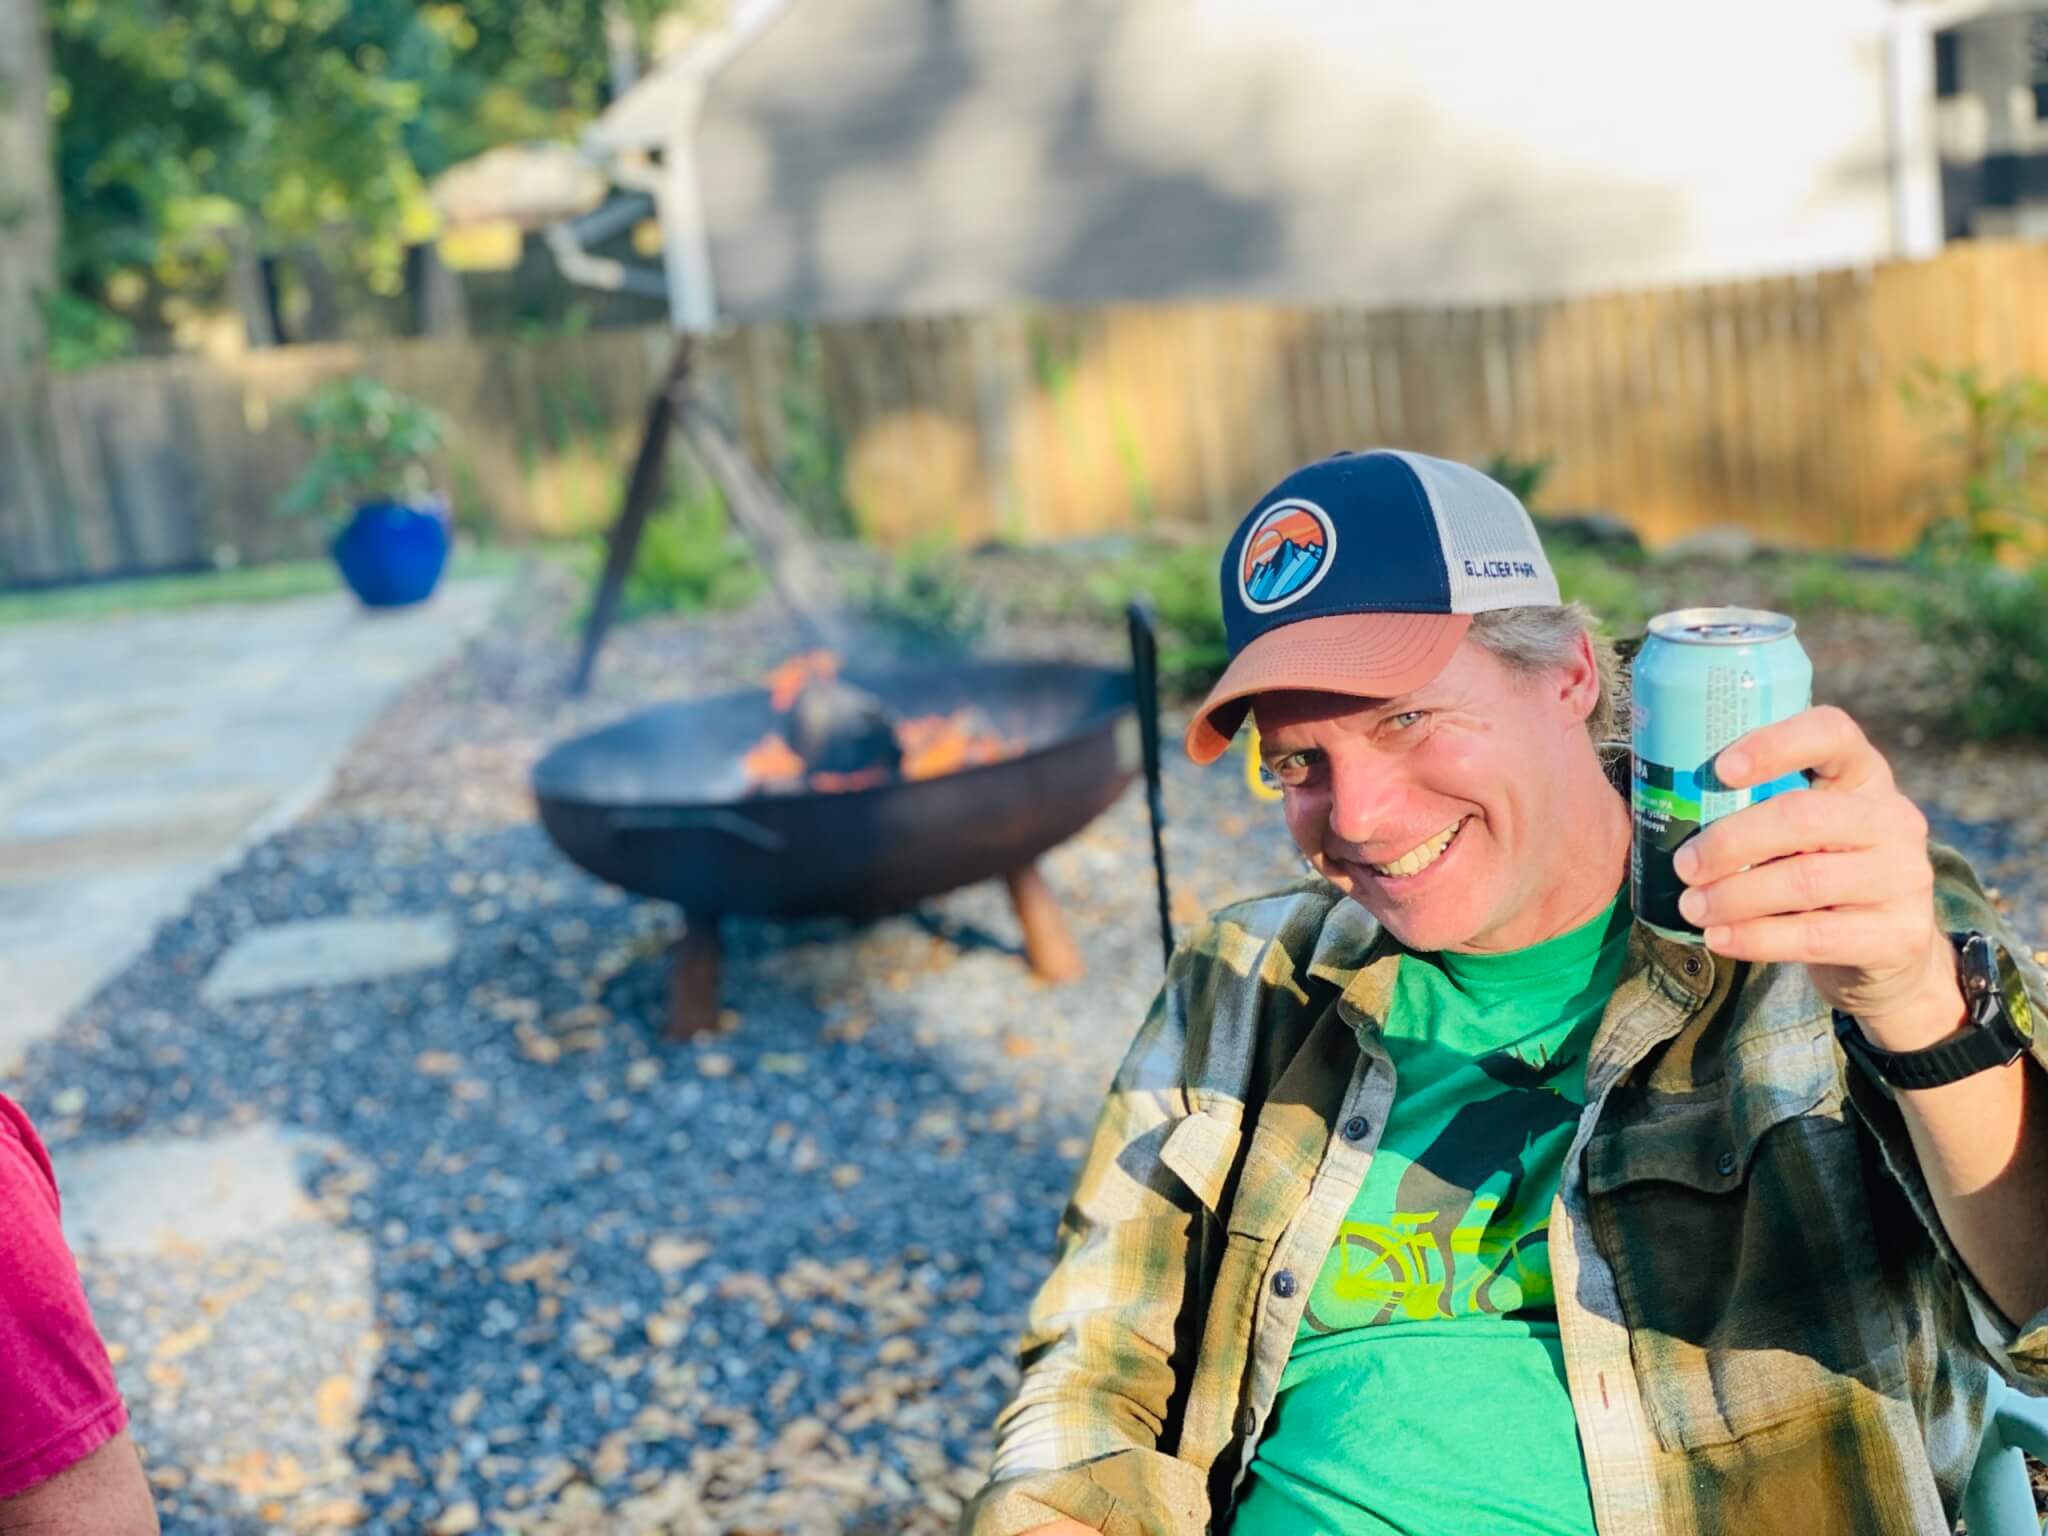
Here at S&S Fire Pits, we understand the joy that comes from gathering around a warm, inviting fire. Whether it’s a chilly autumn evening or a cool summer night, a fire pit can be the centerpiece of an unforgettable get-together.
In this blog post, we’ll guide you through setting up the perfect ambiance for your fire pit party, suggest some exciting themed party ideas, and offer practical tips to keep everyone safe and comfortable. Our goal is to help you host a memorable event that your friends and family will talk about for years to come.
Setting the Fire Pit Party Scene
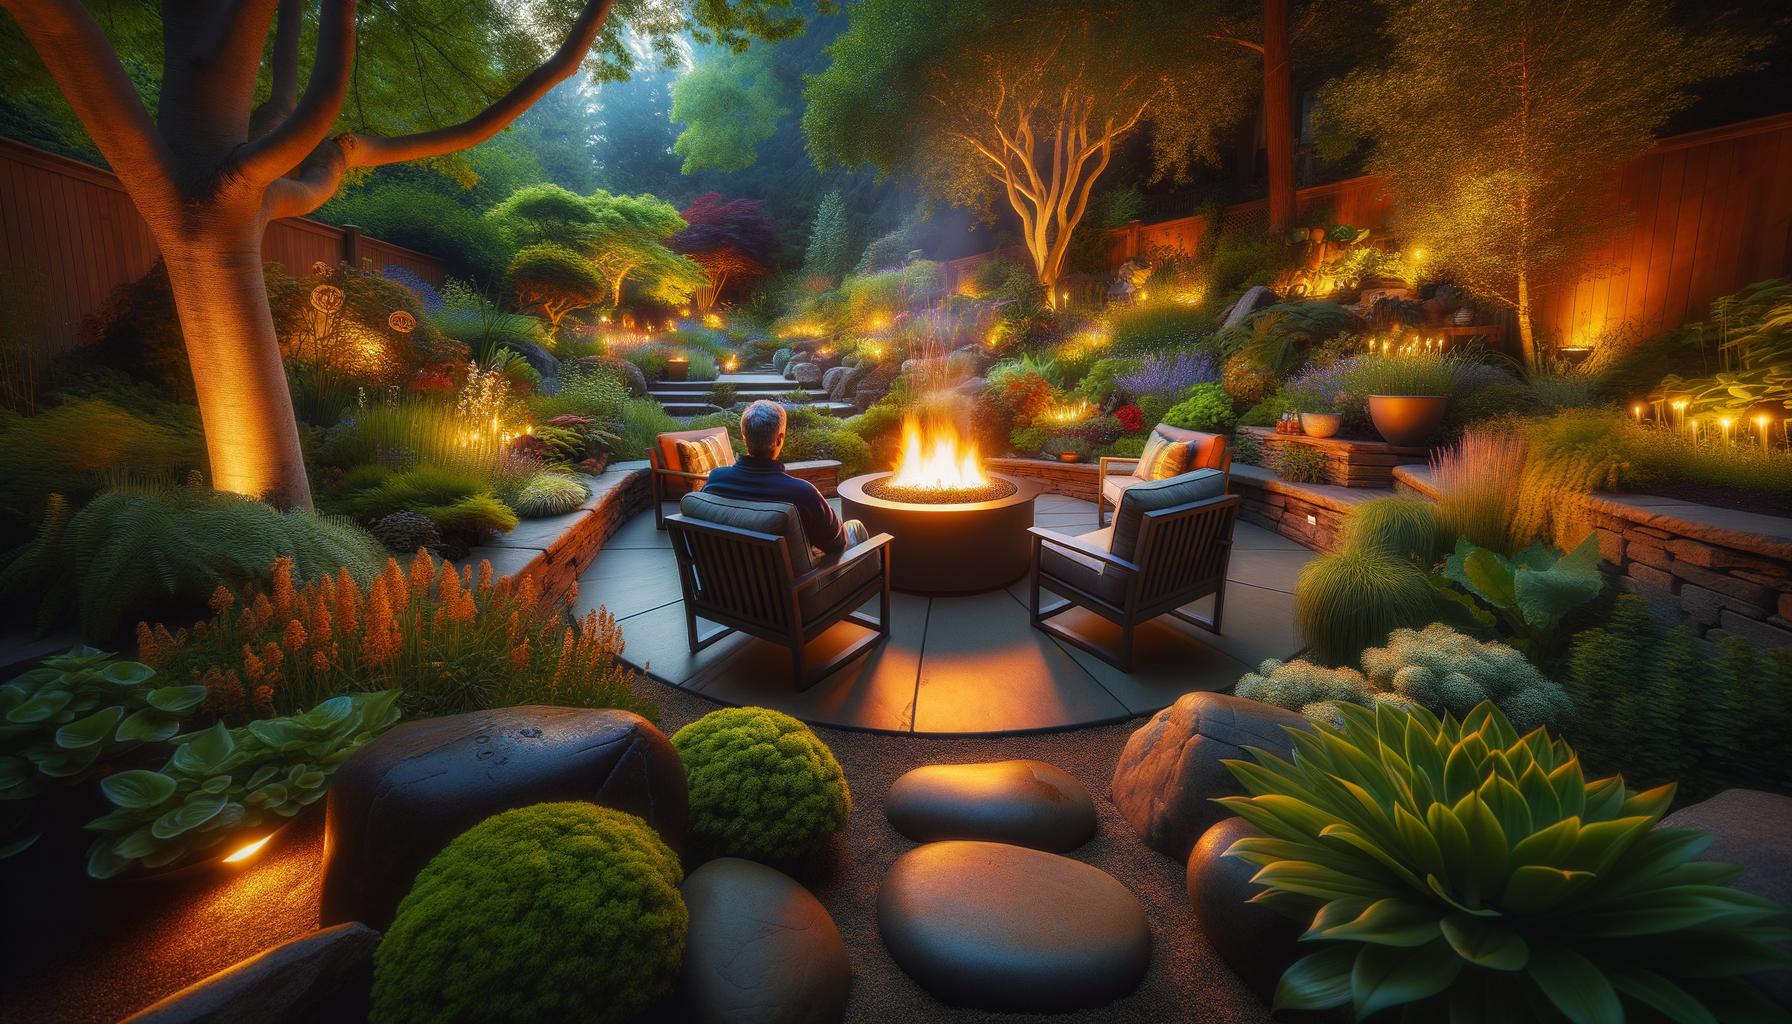
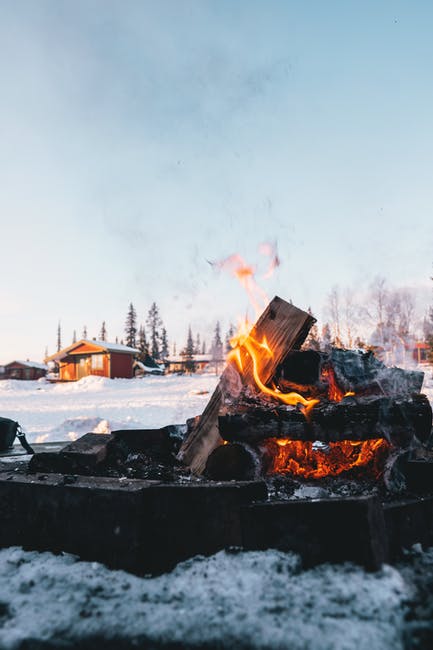
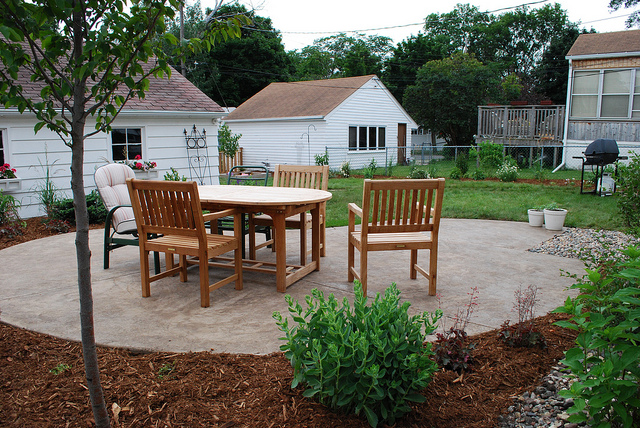
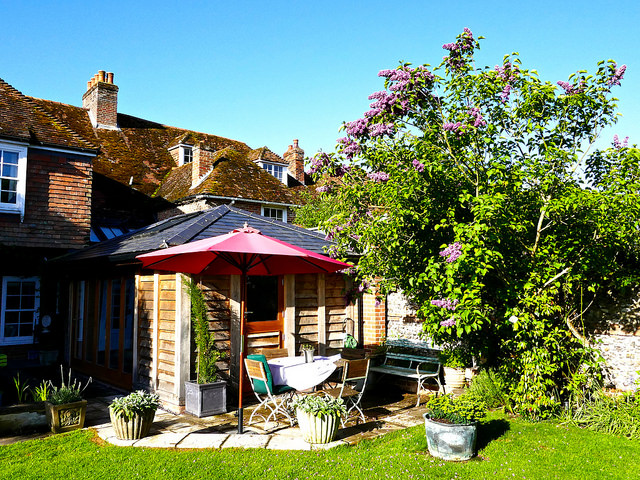
Creating the right atmosphere for a fire pit party goes beyond just sparking up the fire. To host a memorable evening, paying attention to lighting, seating, and music can transform your backyard into an enchanting venue.
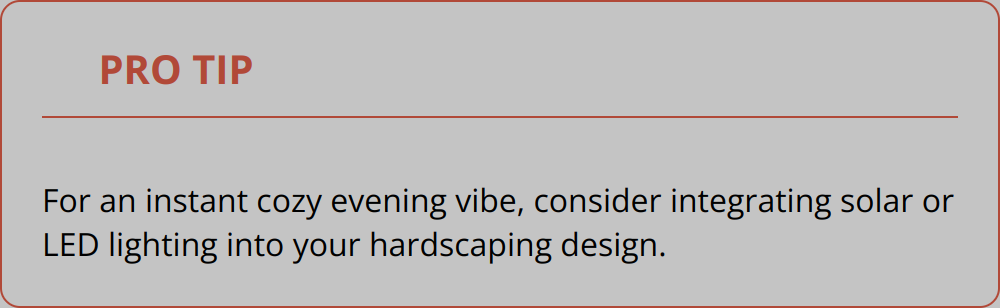
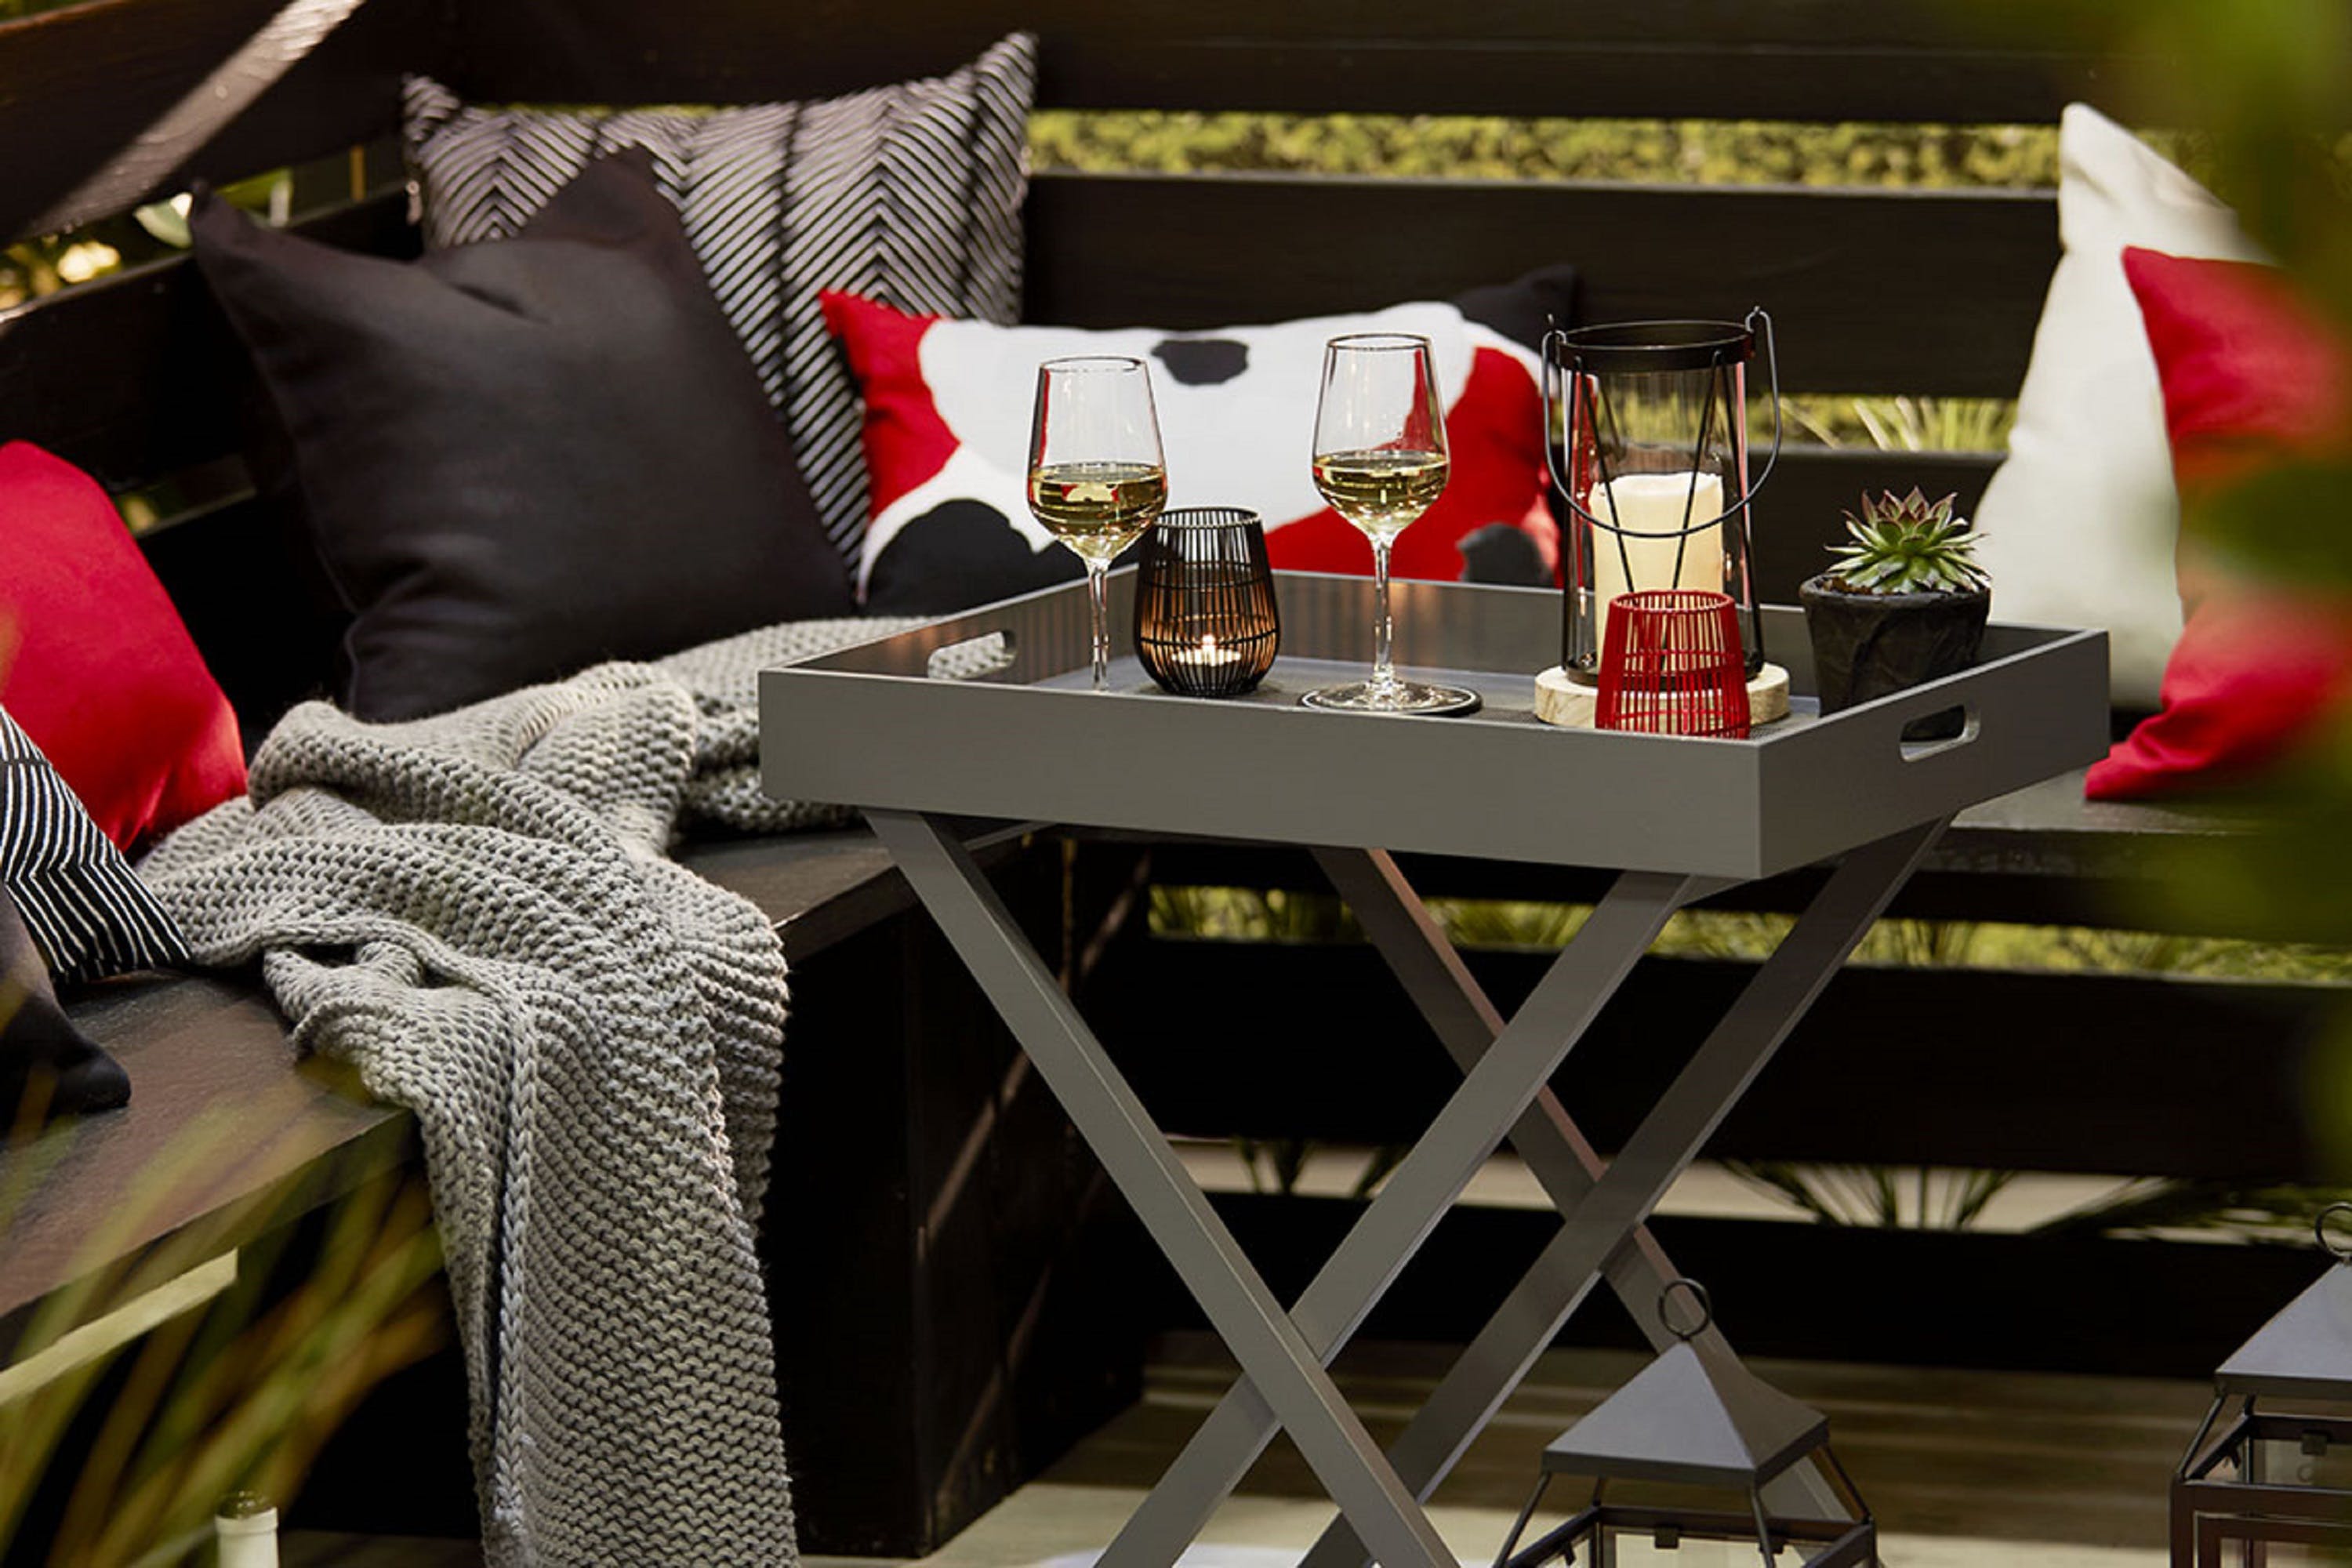
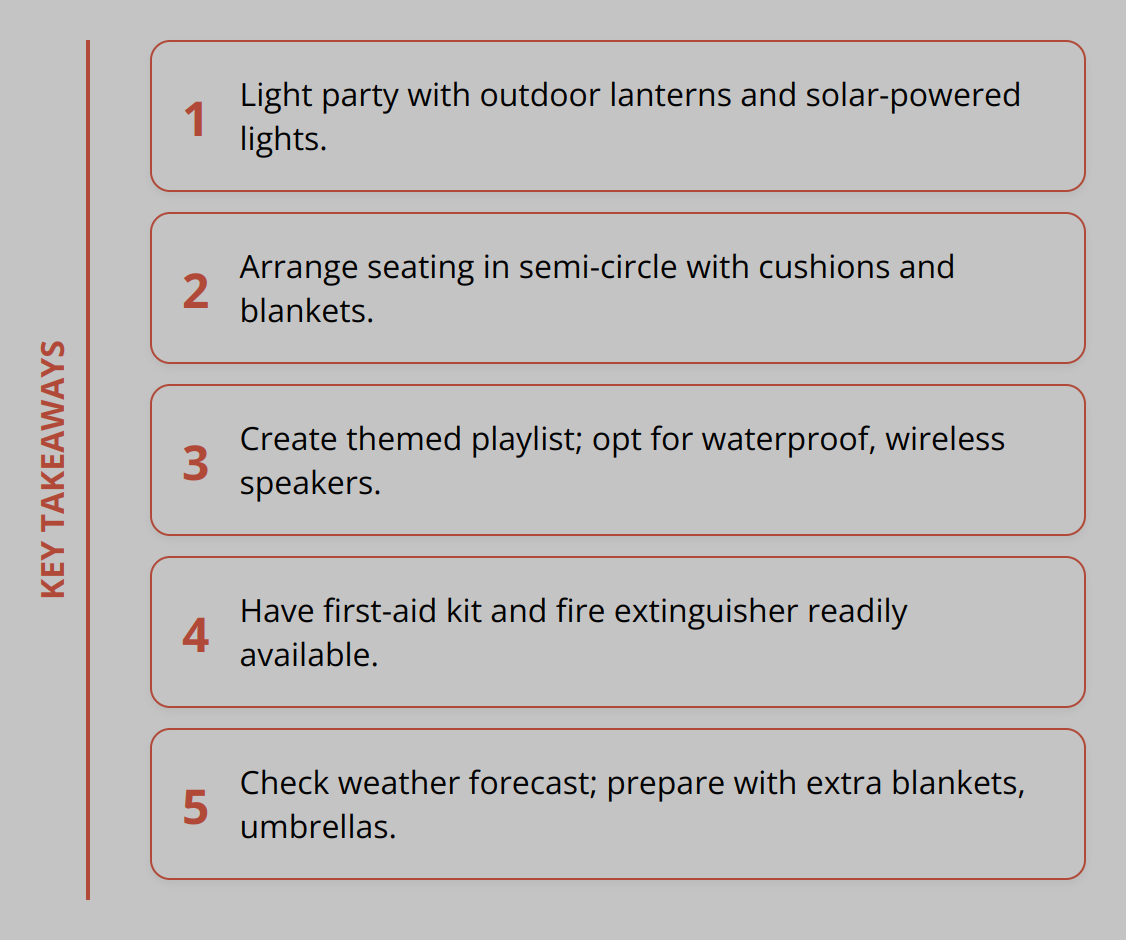
Firstly, lighting sets the mood. Don’t rely solely on the fire pit for illumination. Strategically placed outdoor lanterns can cast a cozy glow, while string lights draped around can add a whimsical touch. For a practical and ambient option, solar-powered lights can line walkways, ensuring guests can move safely without overpowering the fire’s soft light.
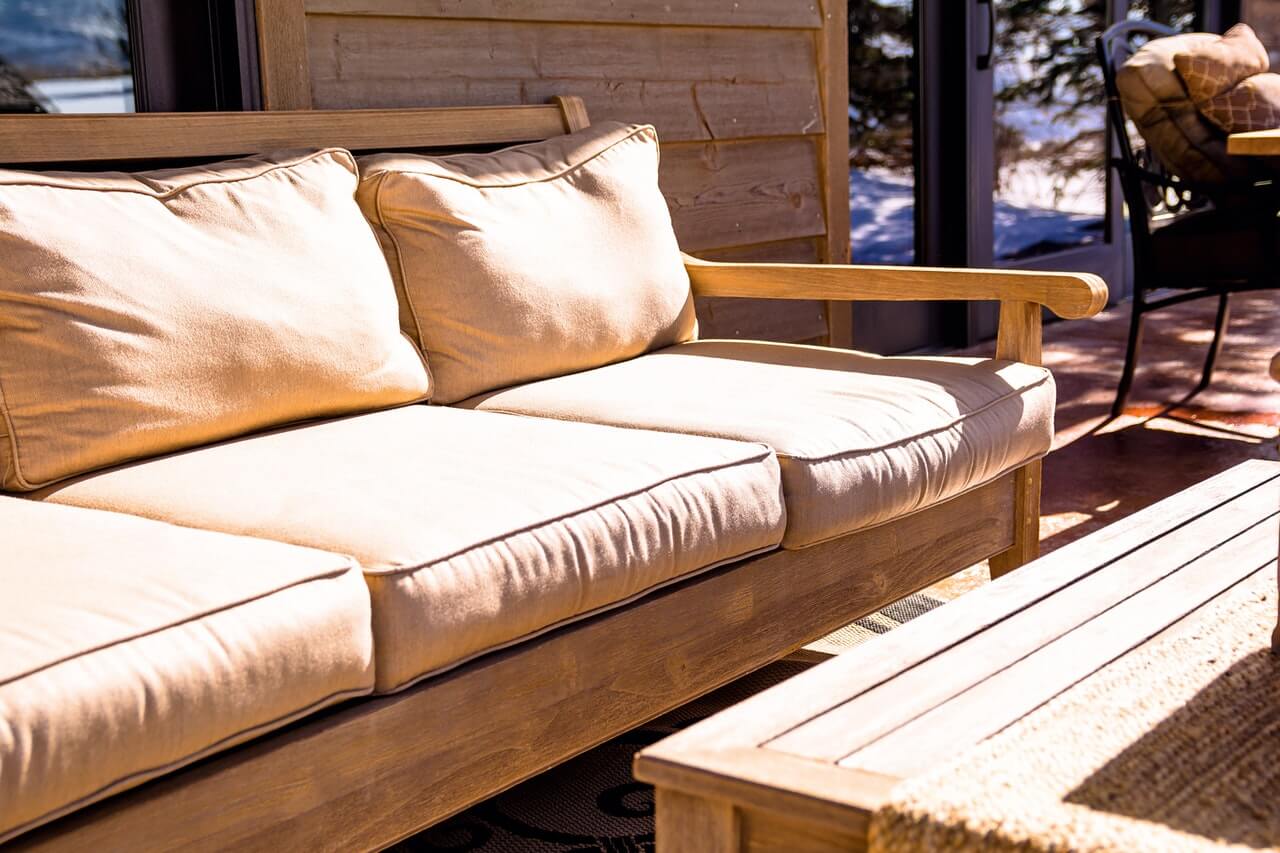
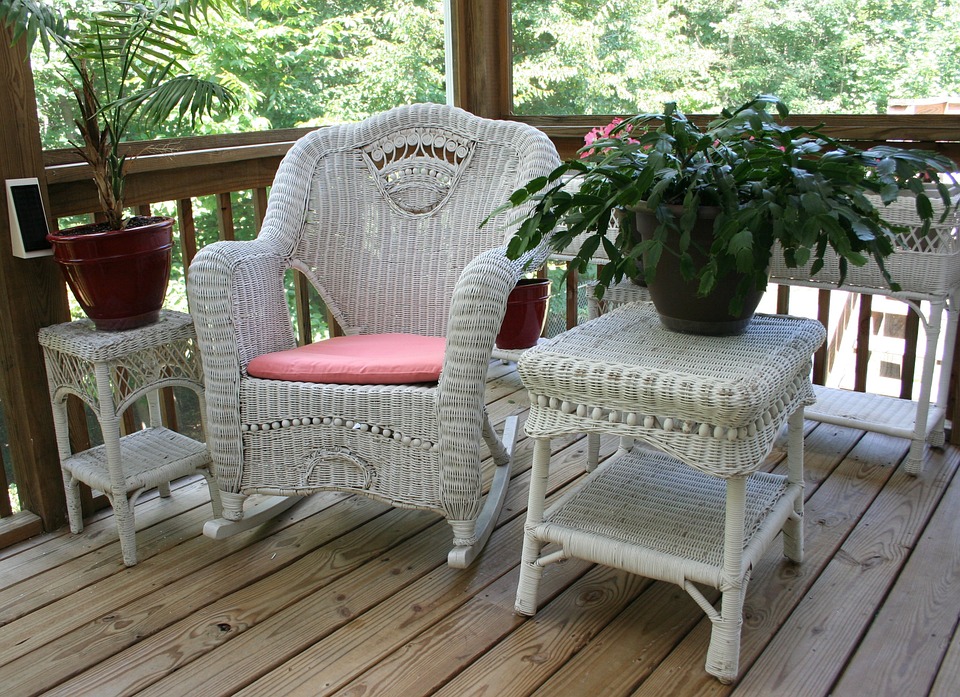
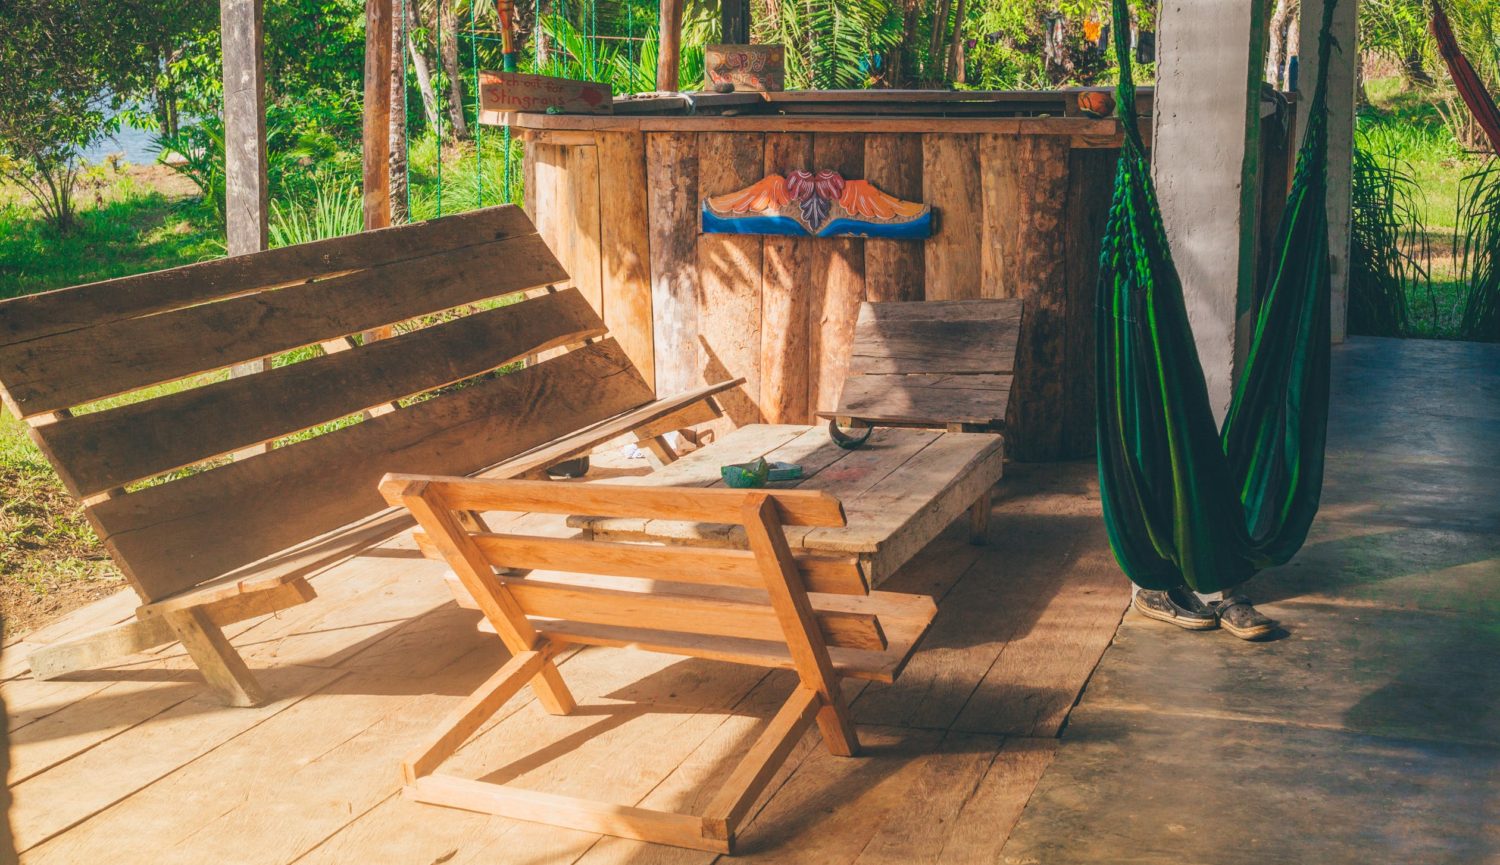
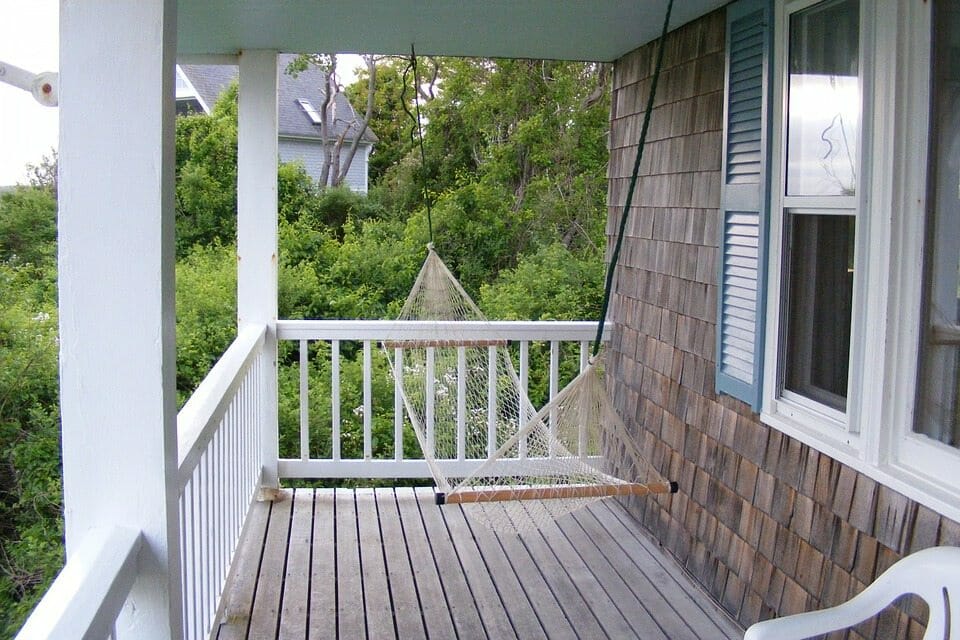
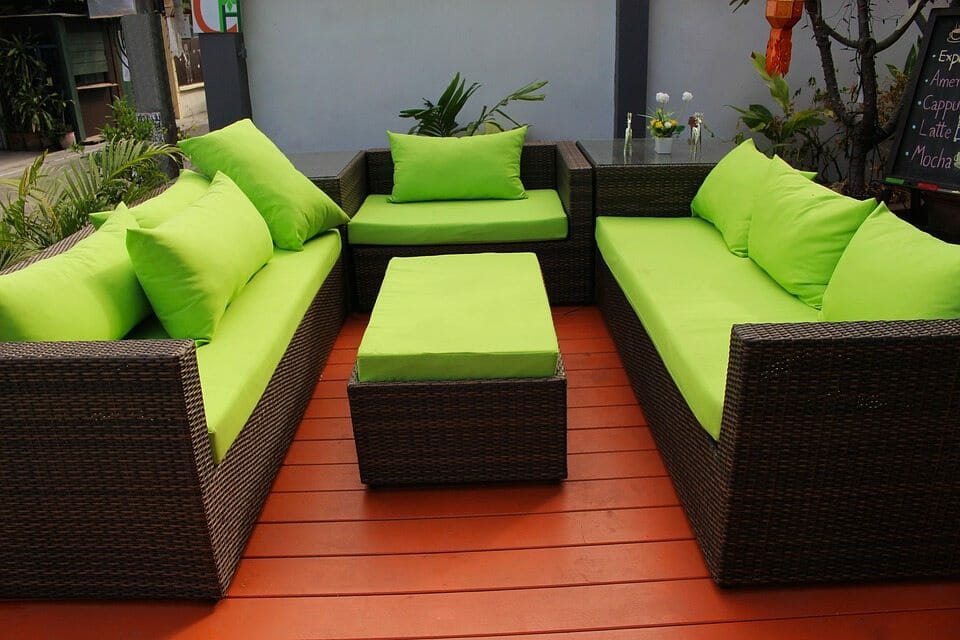
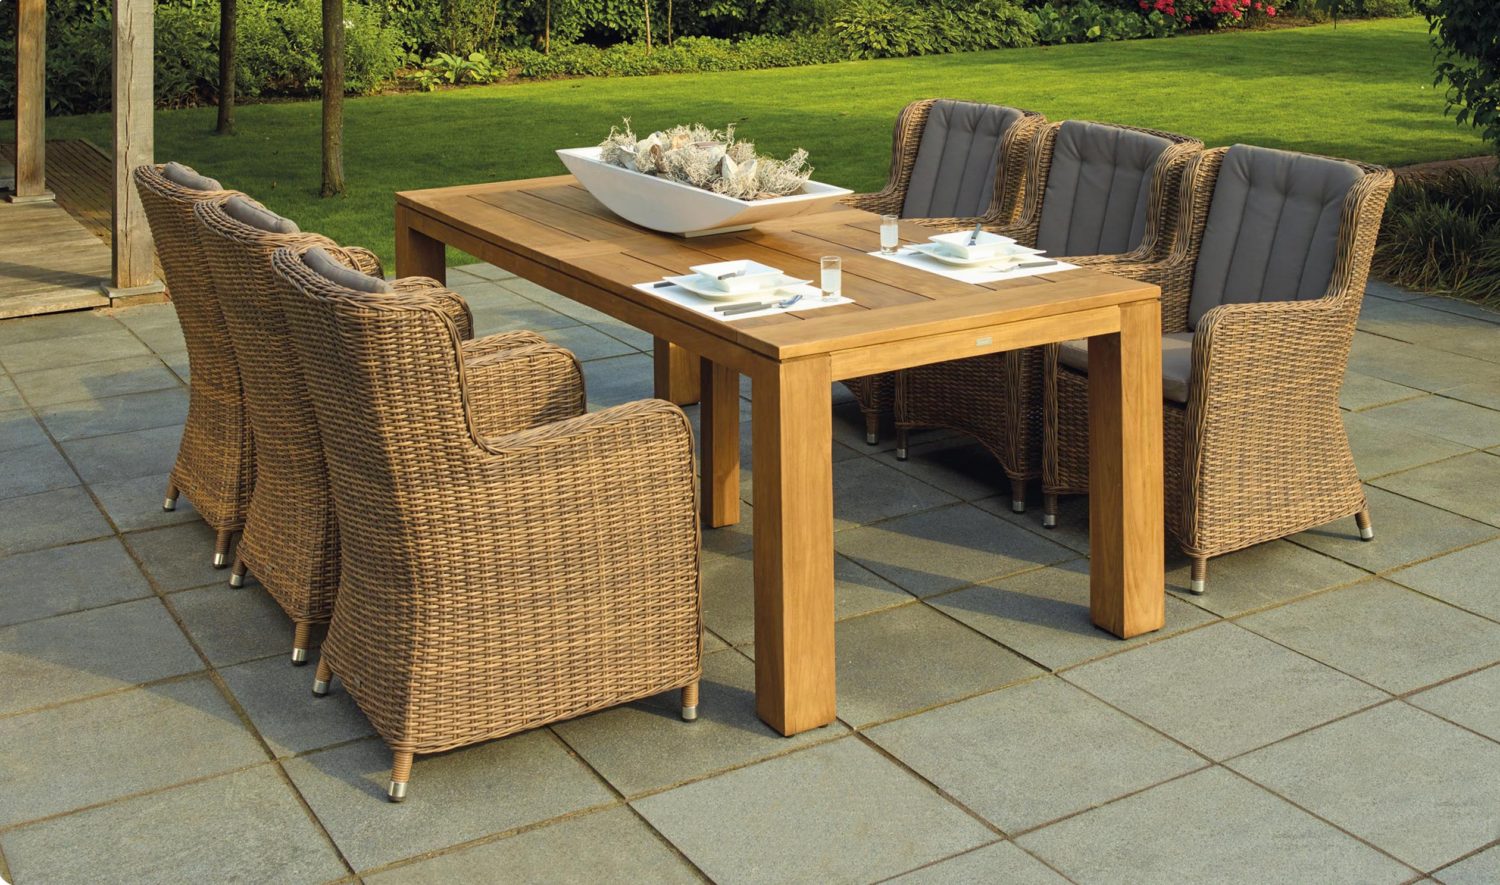
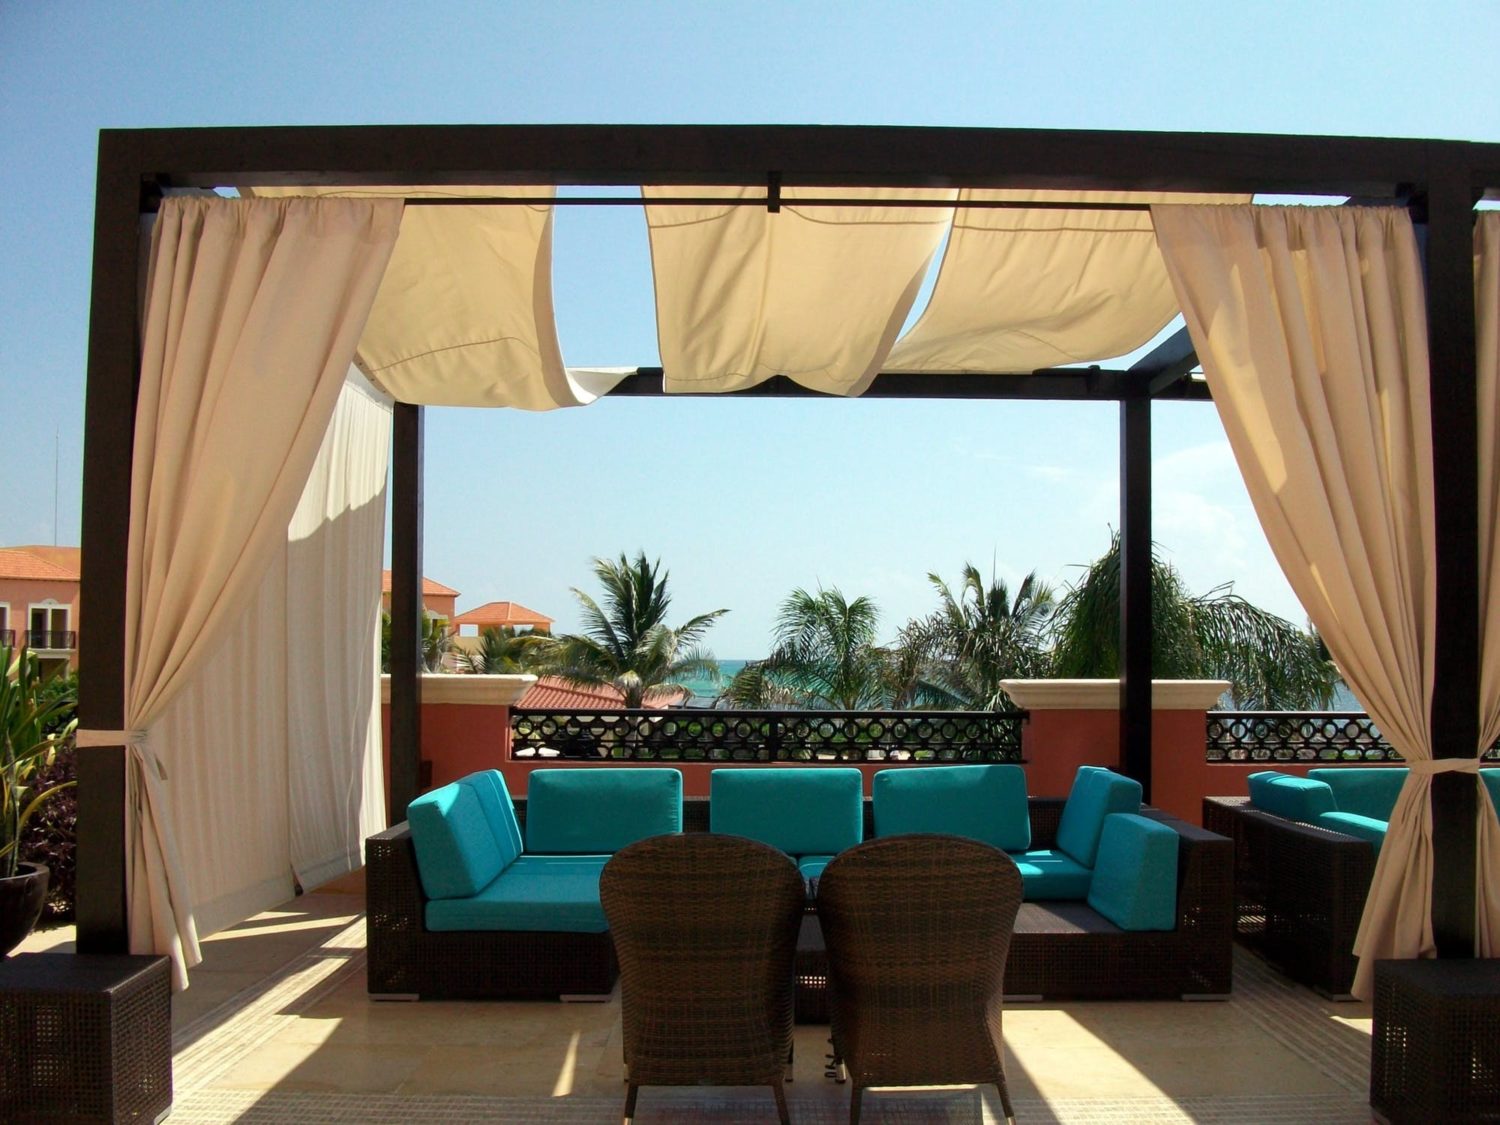
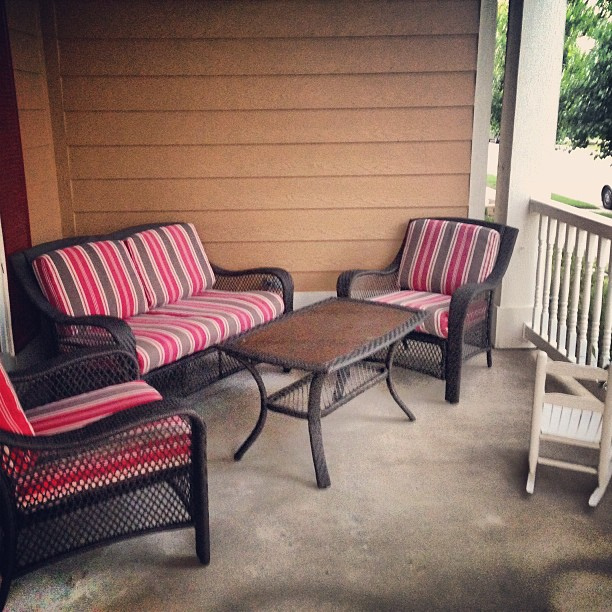
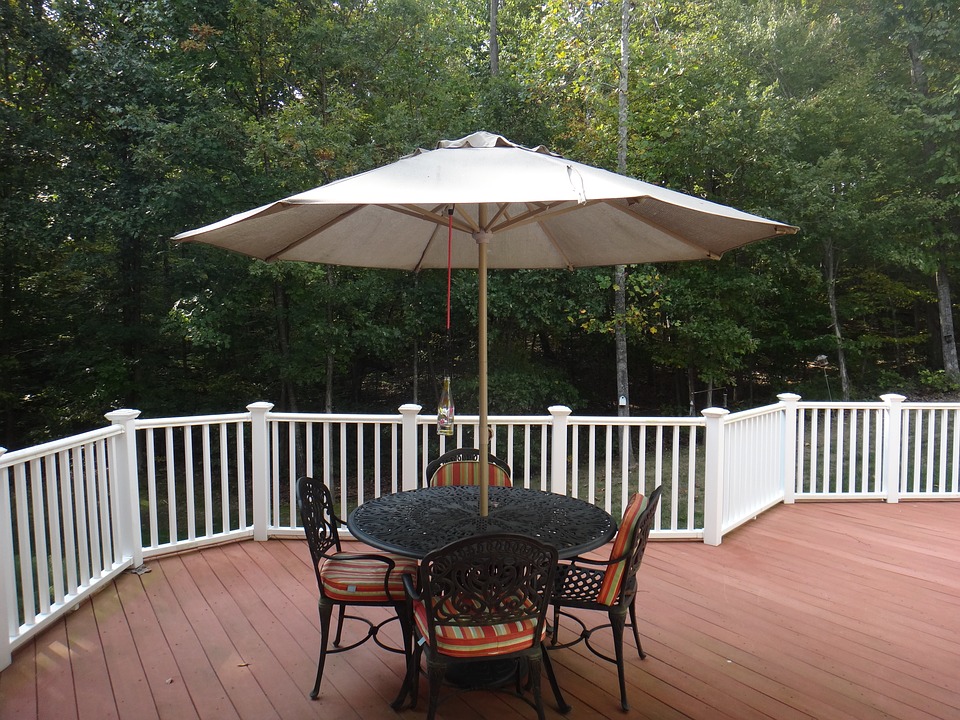
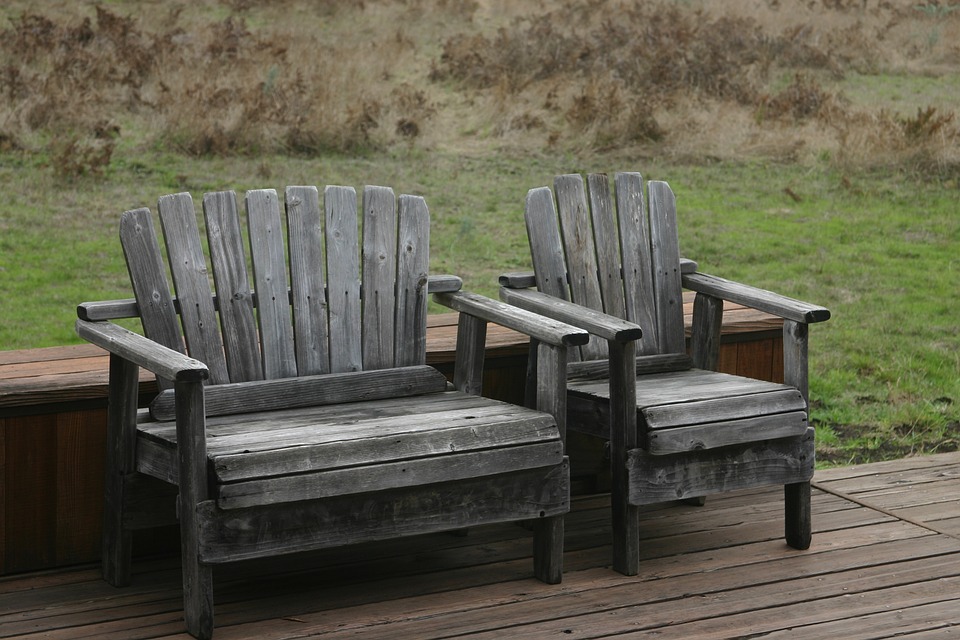
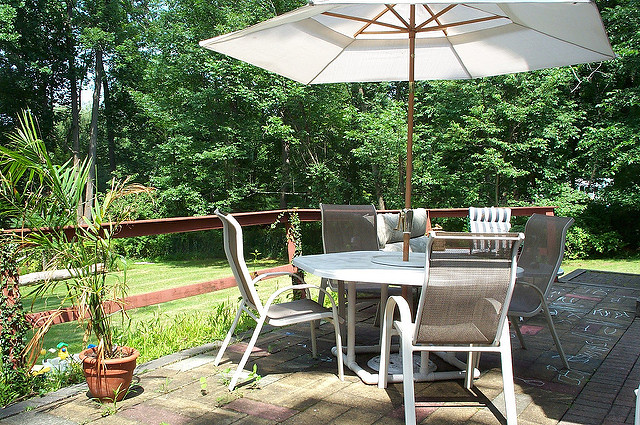
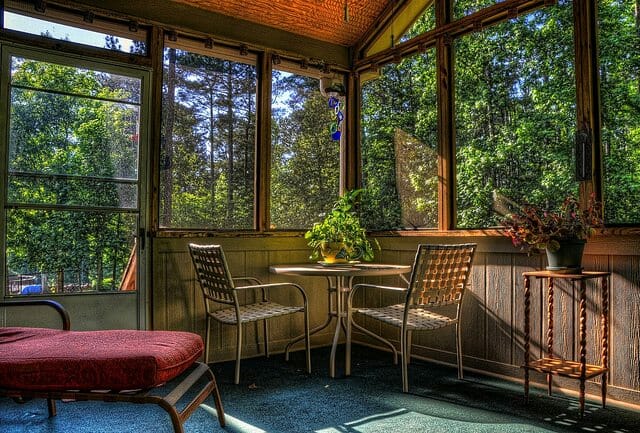
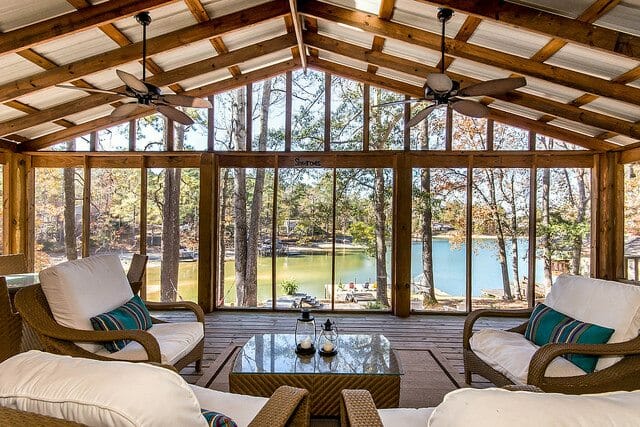
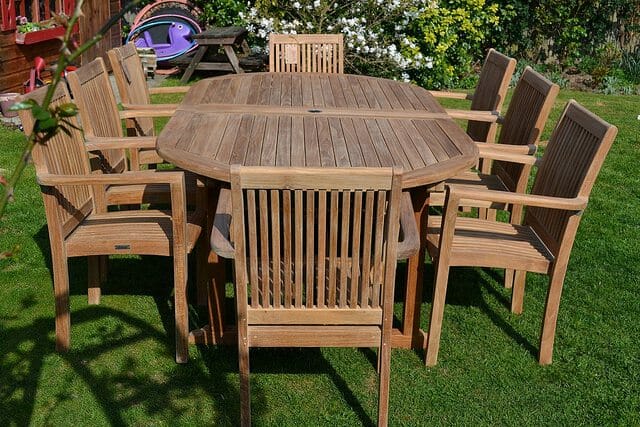
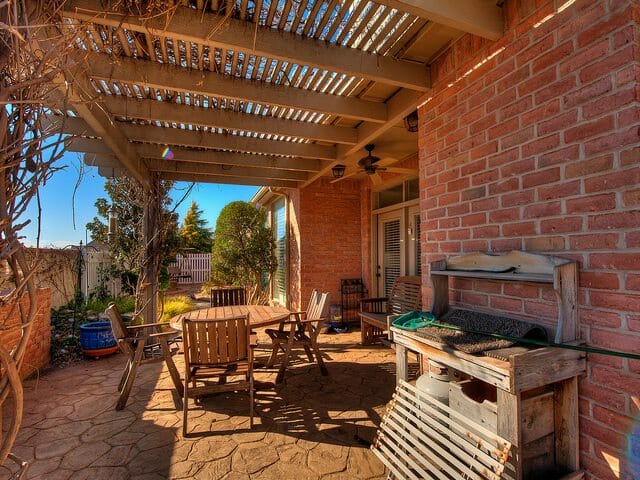
When it comes to seating, comfort is key. While traditional patio furniture is a solid choice, consider adding outdoor cushions and blankets for extra warmth on cooler nights. Bean bags and hammocks can offer a laid-back vibe, inviting guests to relax and stay longer. It’s essential to arrange seating in a semi-circle around the fire pit, fostering a sense of community and encouraging conversation.
Music is the invisible thread that weaves together the evening’s atmosphere. A well-curated playlist can complement the crackling fire, whether it’s soft acoustic tunes or upbeat tracks to match the party’s theme. Opt for waterproof and wireless speakers placed around the seating area to ensure a seamless audio experience. However, keep the volume moderate to facilitate conversations and allow the natural sounds of the fire to be heard.

In summary, the magic of a fire pit party lies in the details. Thoughtful lighting, comfortable seating, and mood-enhancing music are all critical in crafting an unforgettable night. Through these elements, you can create a welcoming space that encourages guests to gather, share stories, and enjoy the warmth of the fire together.
For further inspiration on enhancing your outdoor space, consider exploring tips on creating the perfect area for a fire pit and brightening your patio with lighting ideas. These resources can provide additional insights and practical advice to elevate your fire pit experience.
Themed Fire Pit Parties
Transforming your fire pit gathering into a themed party elevates the excitement and creates unforgettable memories for your guests. Beyond the warm glow of the fire, these themes bring an extra layer of fun and engagement that makes your event stand out. Let’s dive into some hands-on ideas to make your next fire pit party a hit.
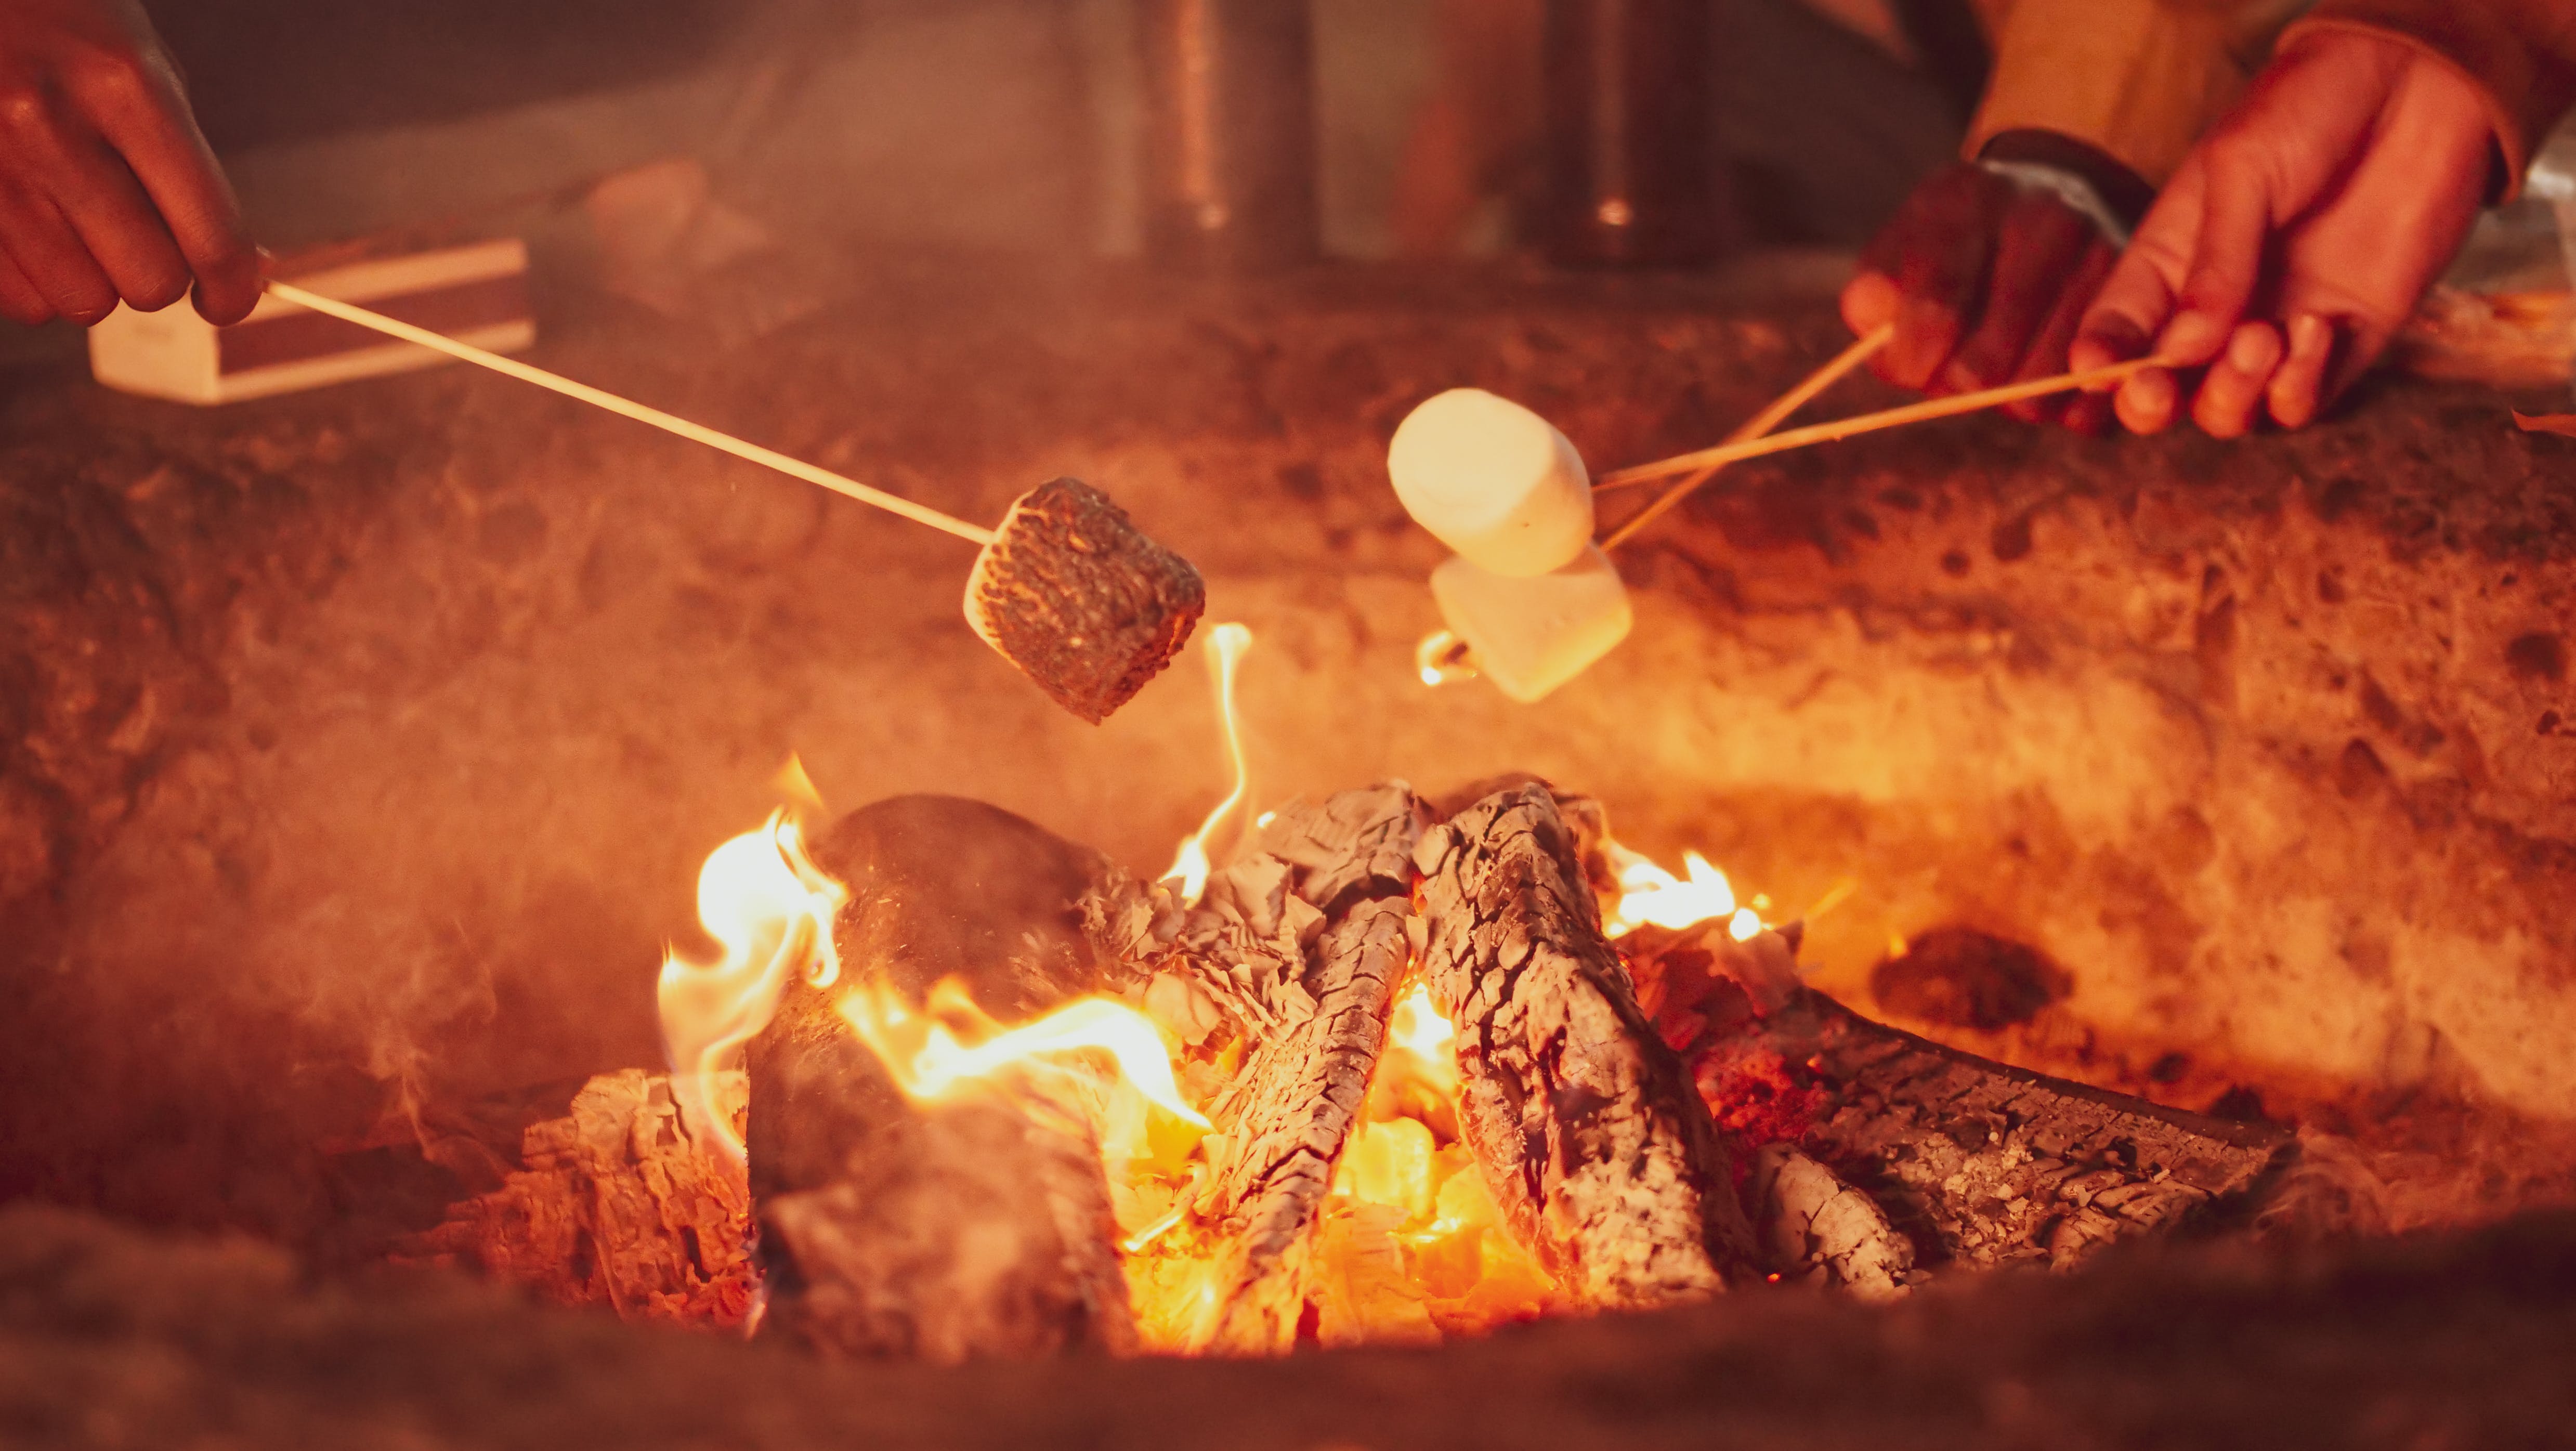
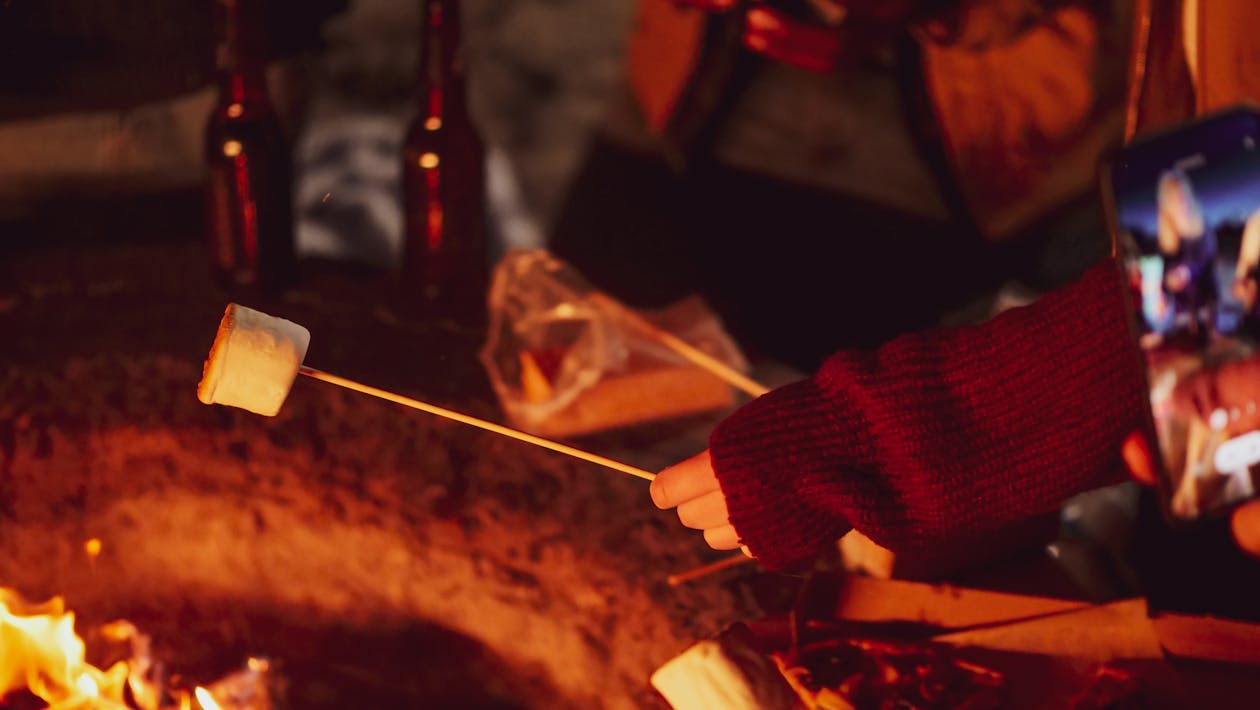
S’mores and Storytelling Night
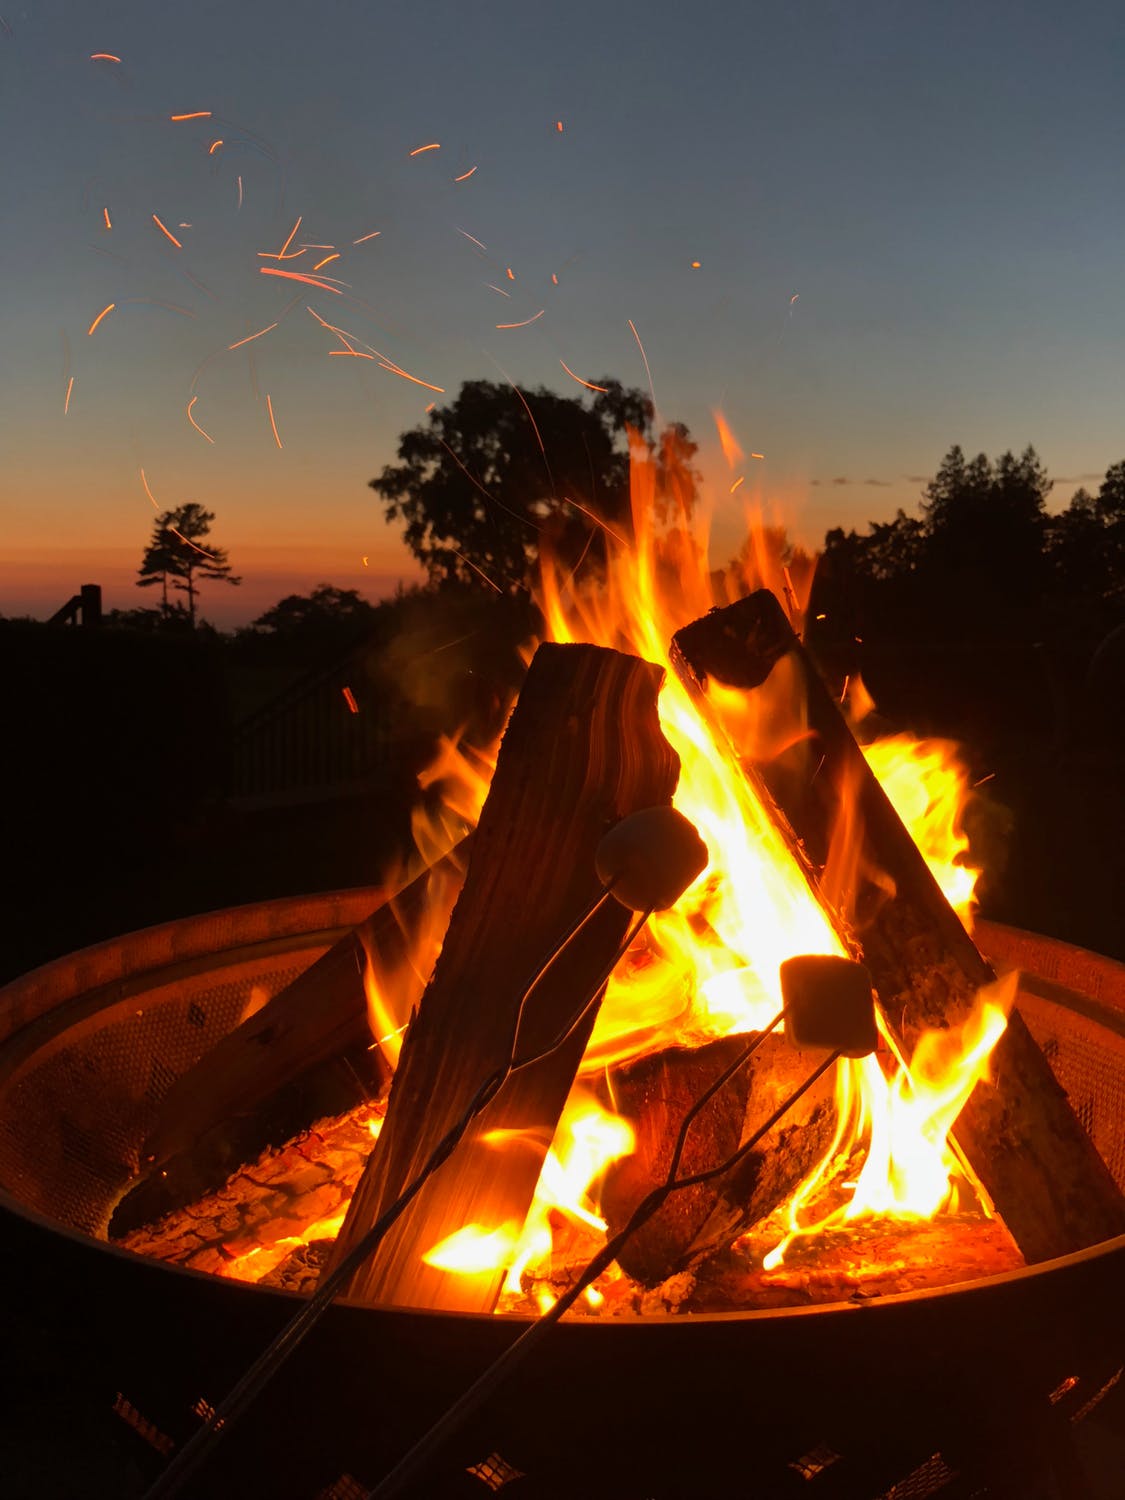
Nothing says cozy like a night of s’mores and storytelling. Encourage guests to bring their favorite stories, whether personal anecdotes or classic tales, to share around the fire. For the s’mores, go beyond the traditional marshmallows and chocolate by offering a variety of spreads like Nutella, peanut butter, and different types of crackers and cookies. This not only caters to diverse tastes but also adds a fun twist to creating s’mores. Setting up a S’mores station with these varied ingredients laid out lets guests get creative with their concoctions. Don’t forget to check out our backyard s’mores ideas for more inspiration.
Rustic Outdoor Movie Night
A rustic outdoor movie night can transform your backyard into a magical cinema. Use a portable projector and a white sheet or a blank wall to screen films that fit your chosen theme—be it a classic movie marathon or a selection of adventure films. Comfy seating with blankets and pillows will make your guests feel like they’re in a VIP movie-watching experience. Don’t miss out on our outdoor party planning tips for essentials on hosting the ultimate movie night that keeps everyone comfortable and entertained.
Grilled Feast and Games Evening
For a more active theme, a grilled feast and games evening combines delicious food with friendly competition. Use your fire pit or a grill to cook meals that are easy to eat outdoors, like skewers, burgers, or grilled veggies. Pair the feast with backyard games such as cornhole, bocce ball, or giant Jenga. This encourages everyone to mingle and enjoy some playful rivalry. For an added touch, organize a tournament bracket and offer small prizes for the winners to boost the competitive spirit.
Practical Tips:
- Always have a first-aid kit and fire extinguisher nearby for safety.
- Ensure there are non-alcoholic drink options for guests who prefer them.
- Prepare for potential weather changes with extra blankets and umbrellas.
- Use biodegradable or reusable dinnerware to minimize waste.
By choosing a theme and planning with these practical tips, you’re set to host a fire pit party that combines the allure of an open flame with tailored entertainment. Whether it’s through shared stories, a movie under the stars, or a feast accompanied by laughter and games, these themes promise an evening that your guests will cherish.
Ensuring Guest Safety and Comfort
A successful fire pit party is safe and comfortable for everyone attending. This means being proactive about safety measures, preparing for weather changes, and ensuring the comfort of your guests from start to finish. Here’s how you can achieve that.
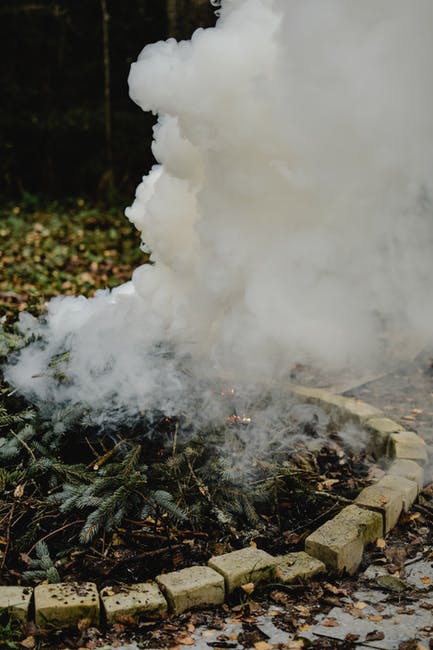
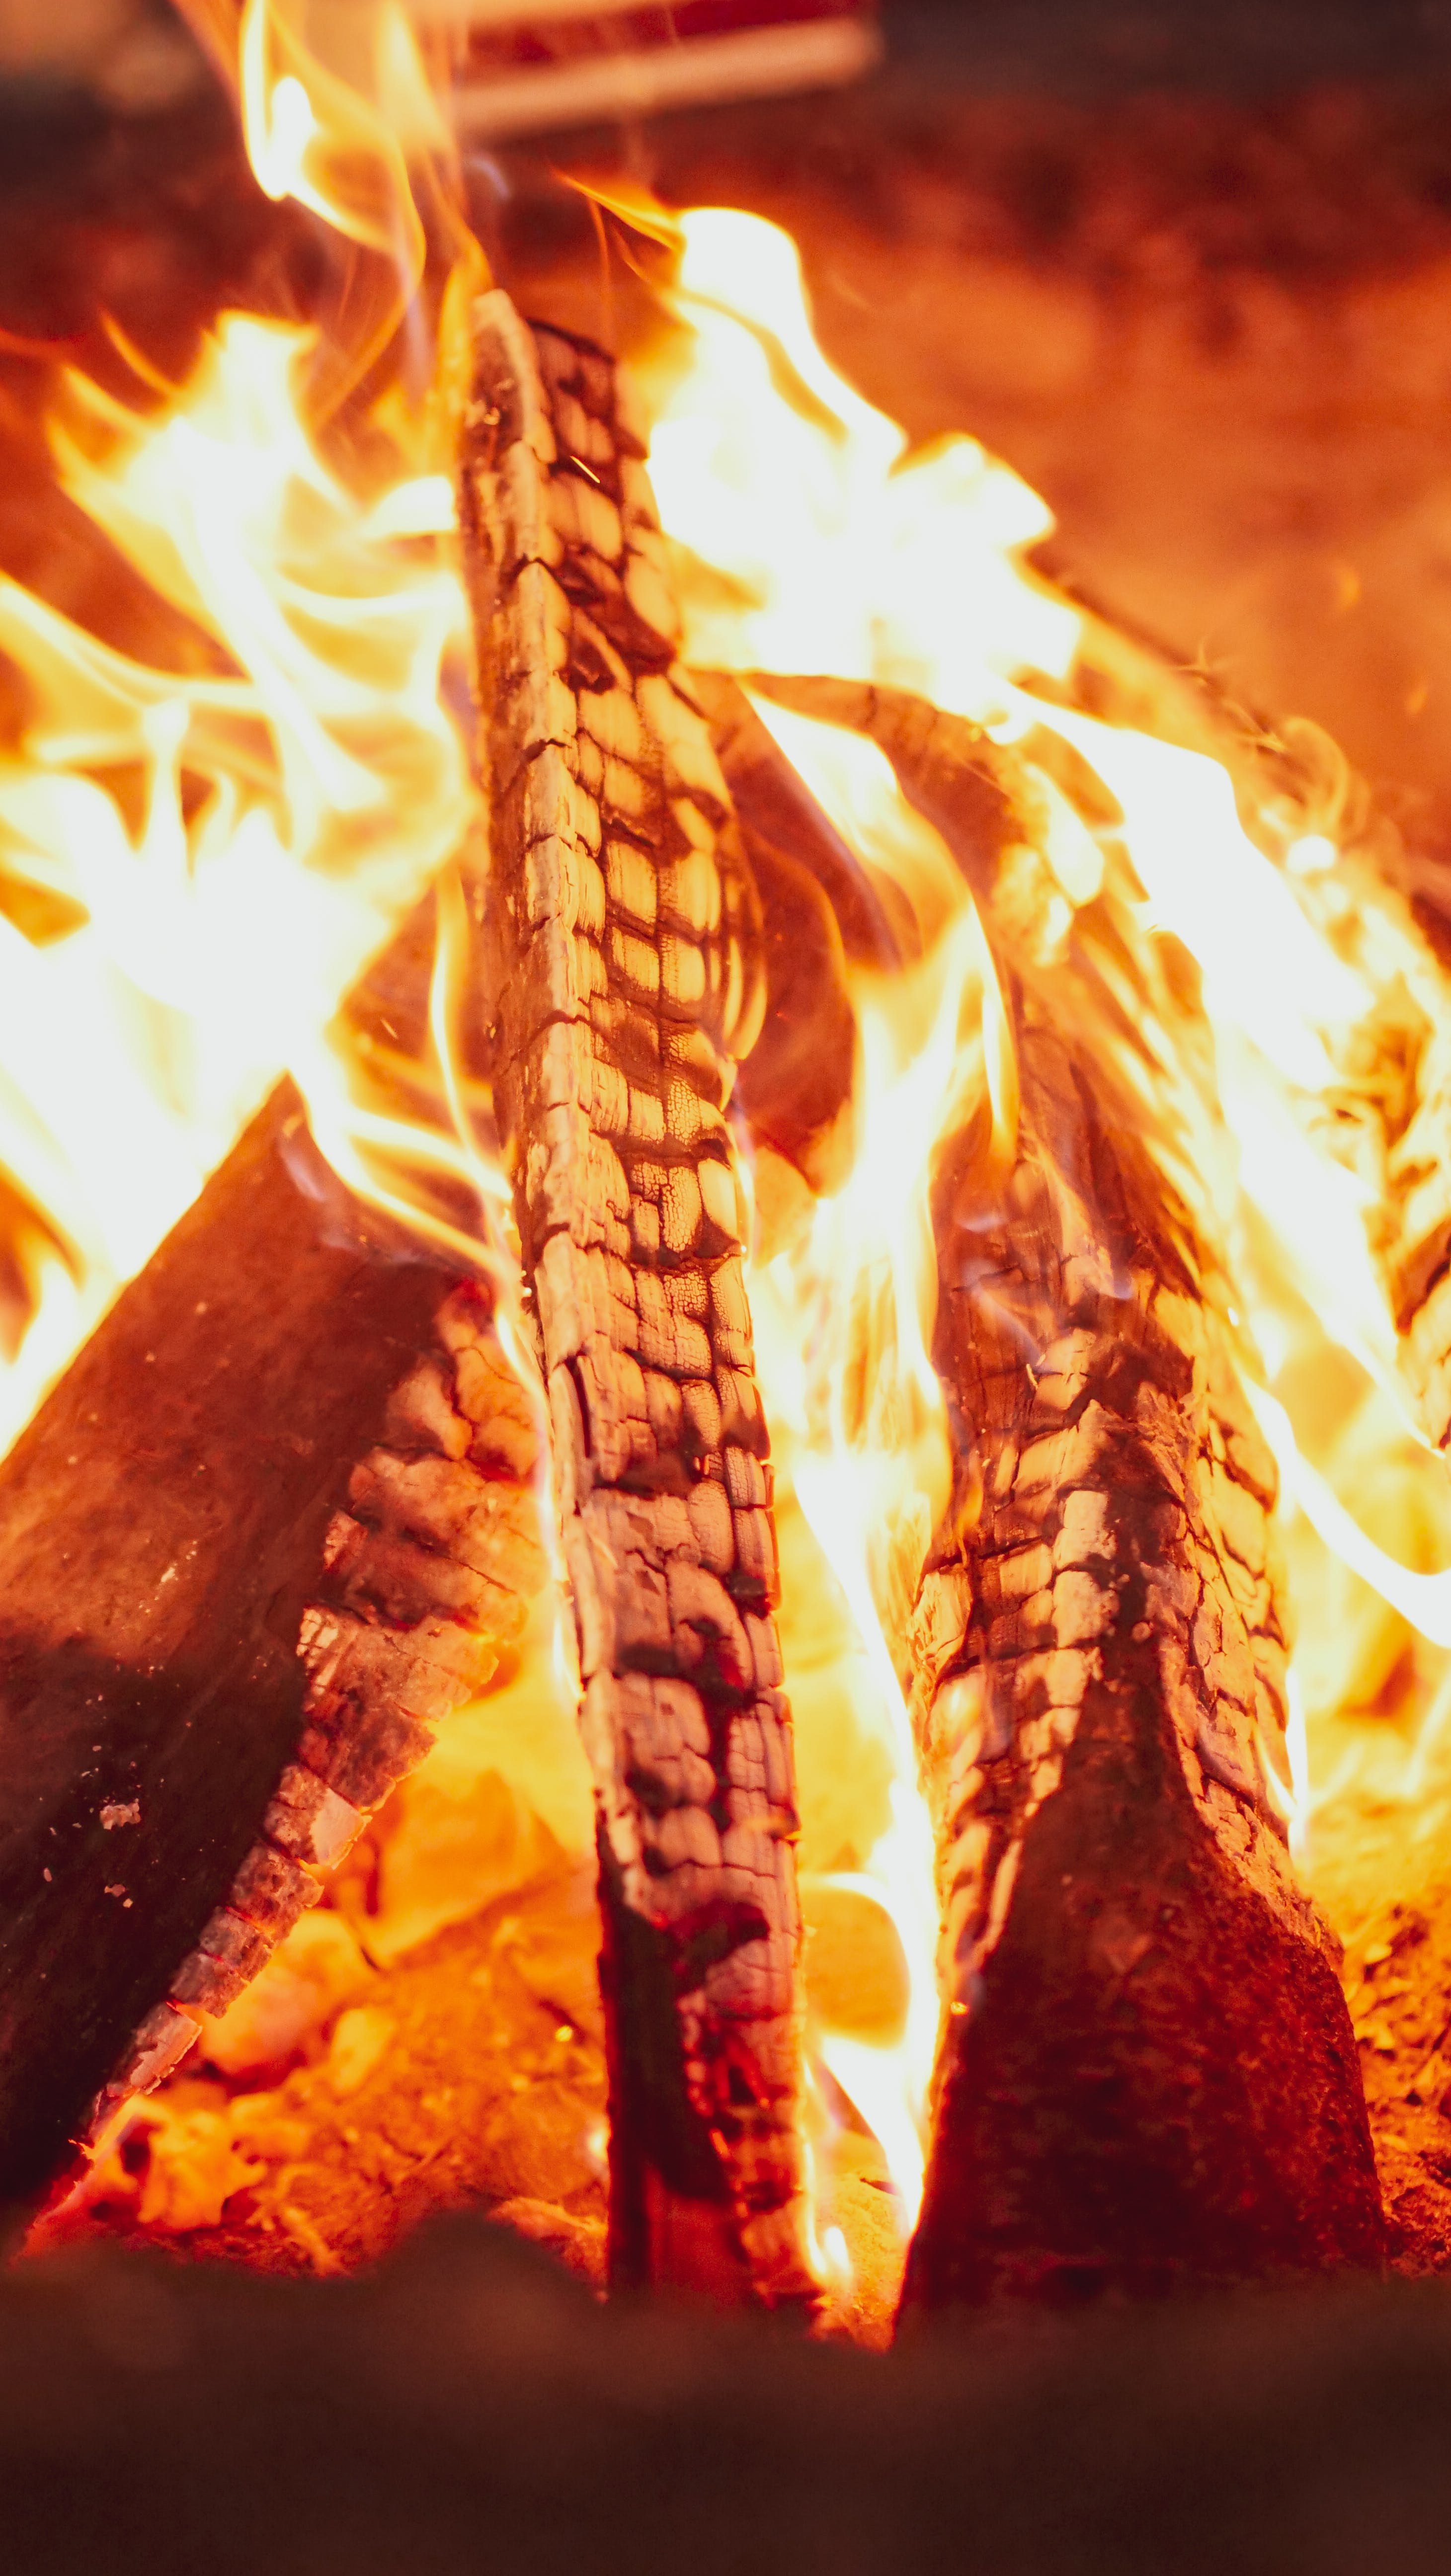
Fire Safety First
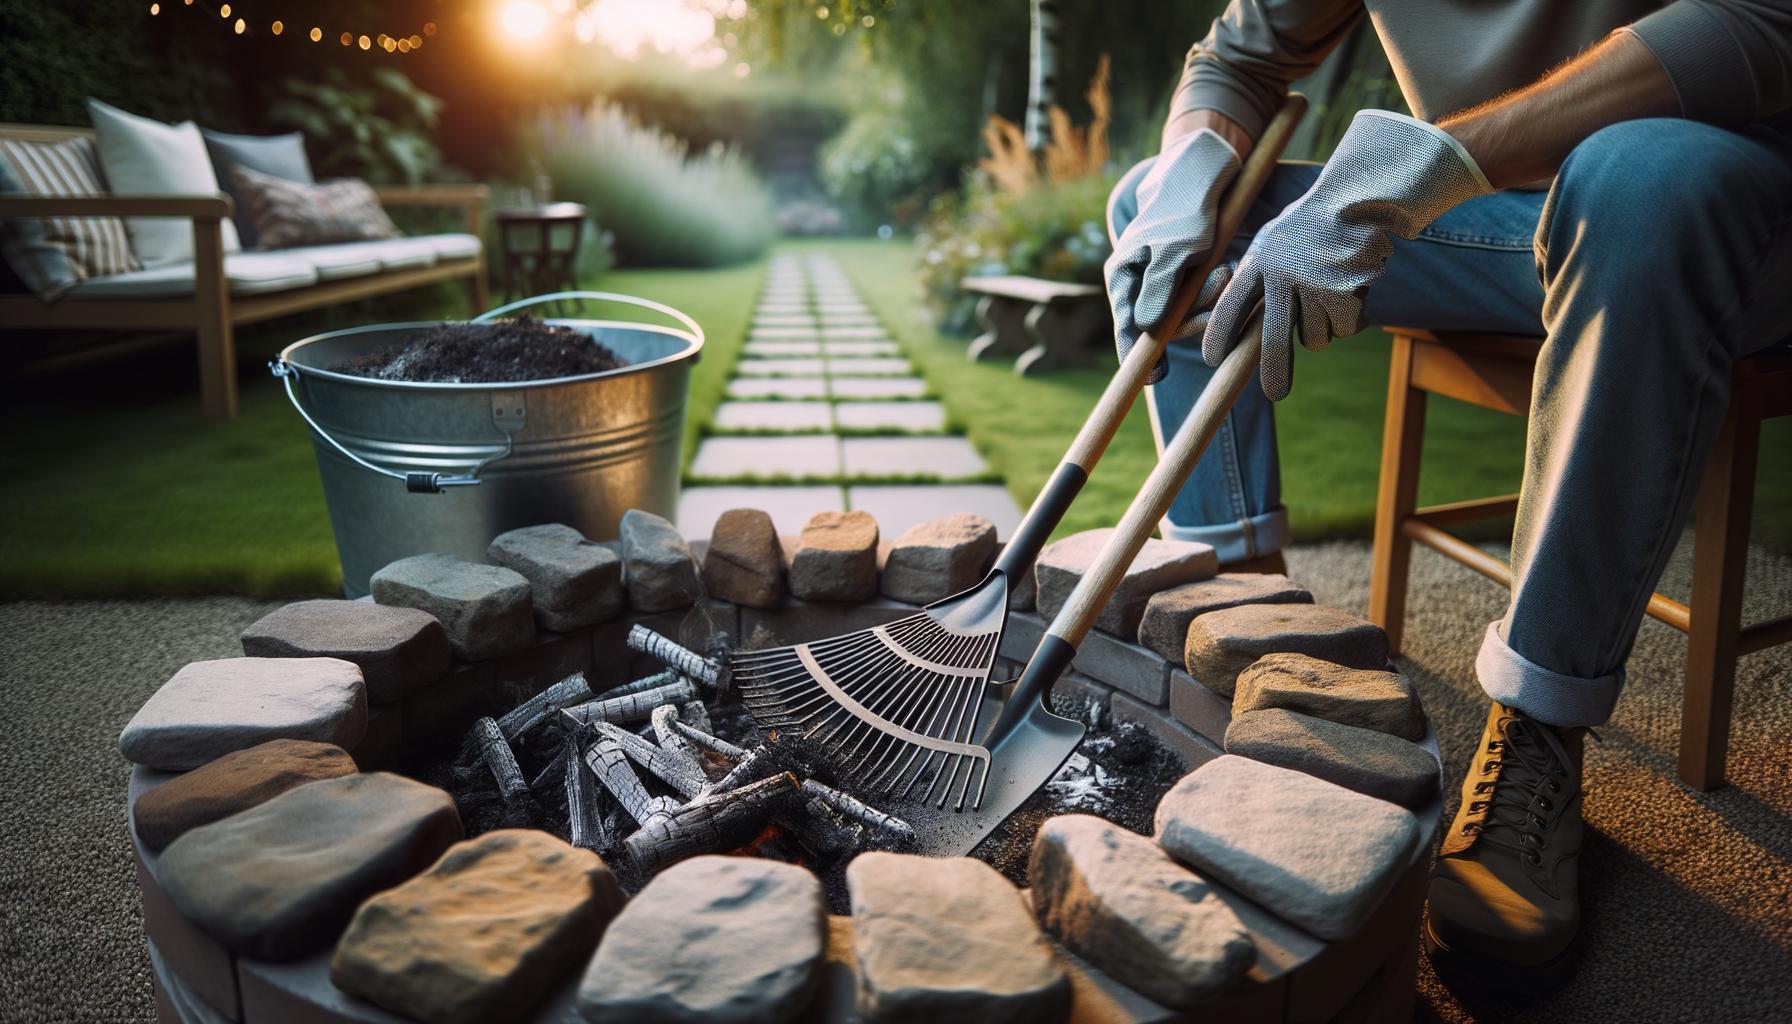
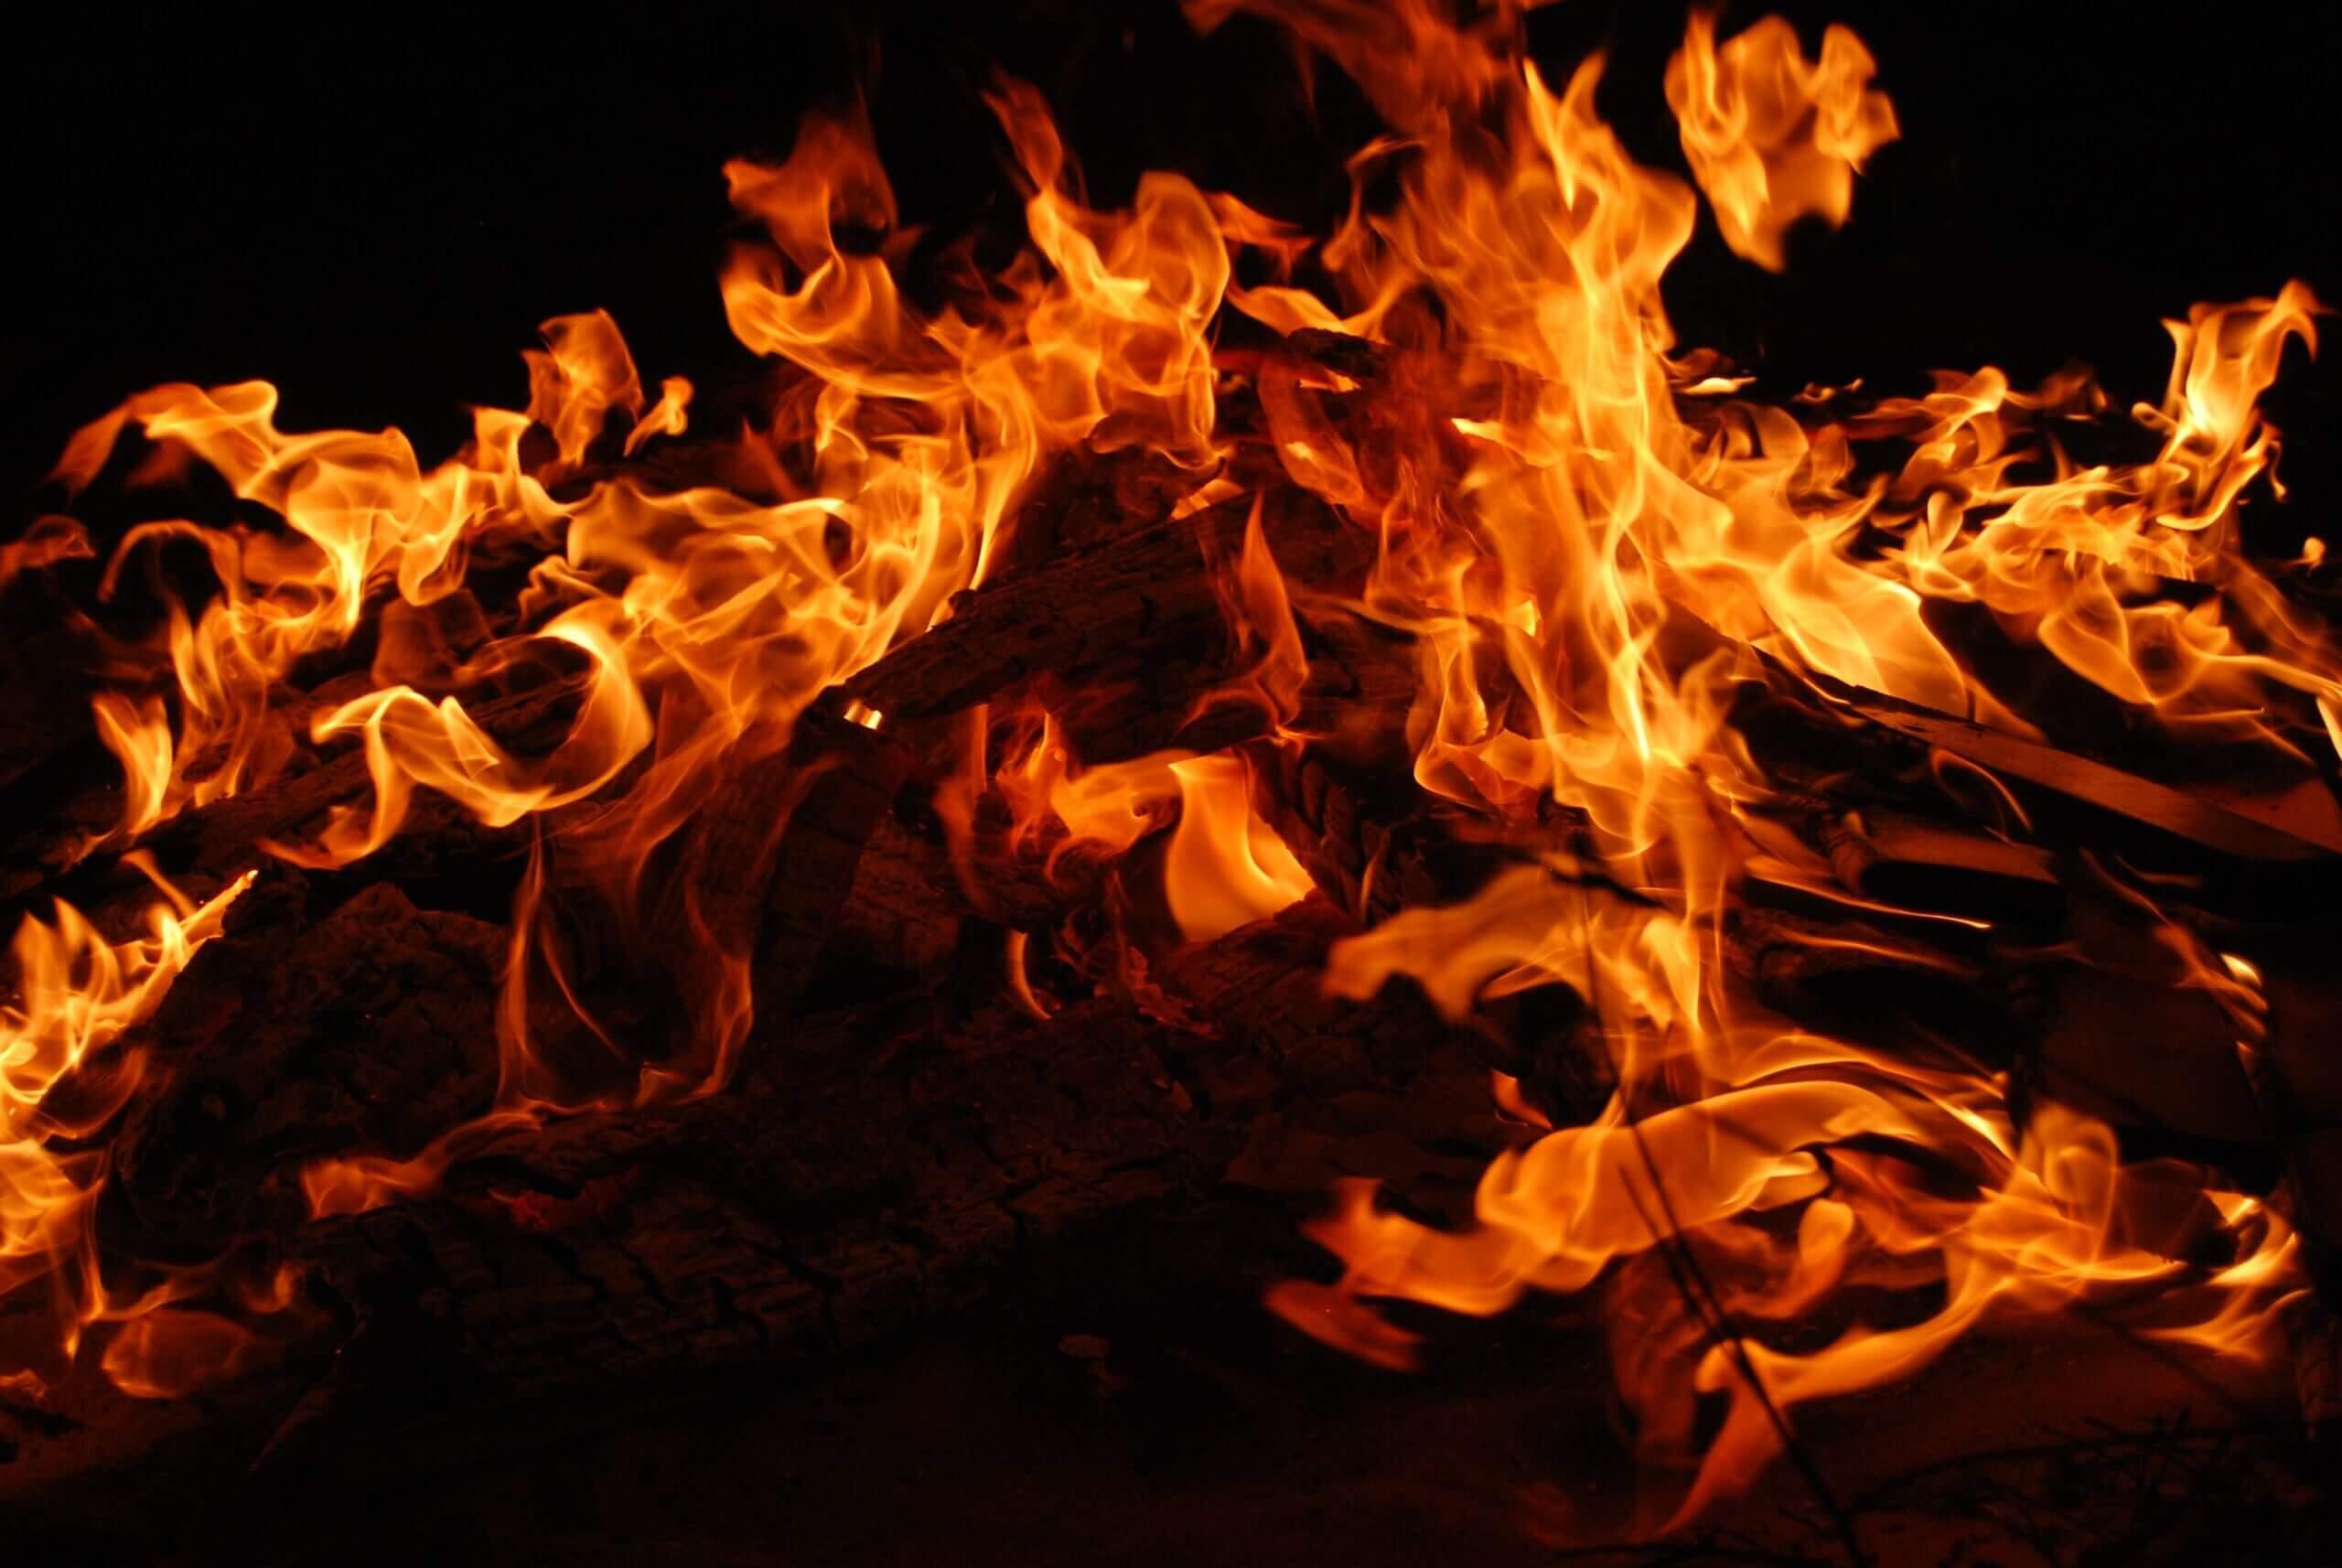
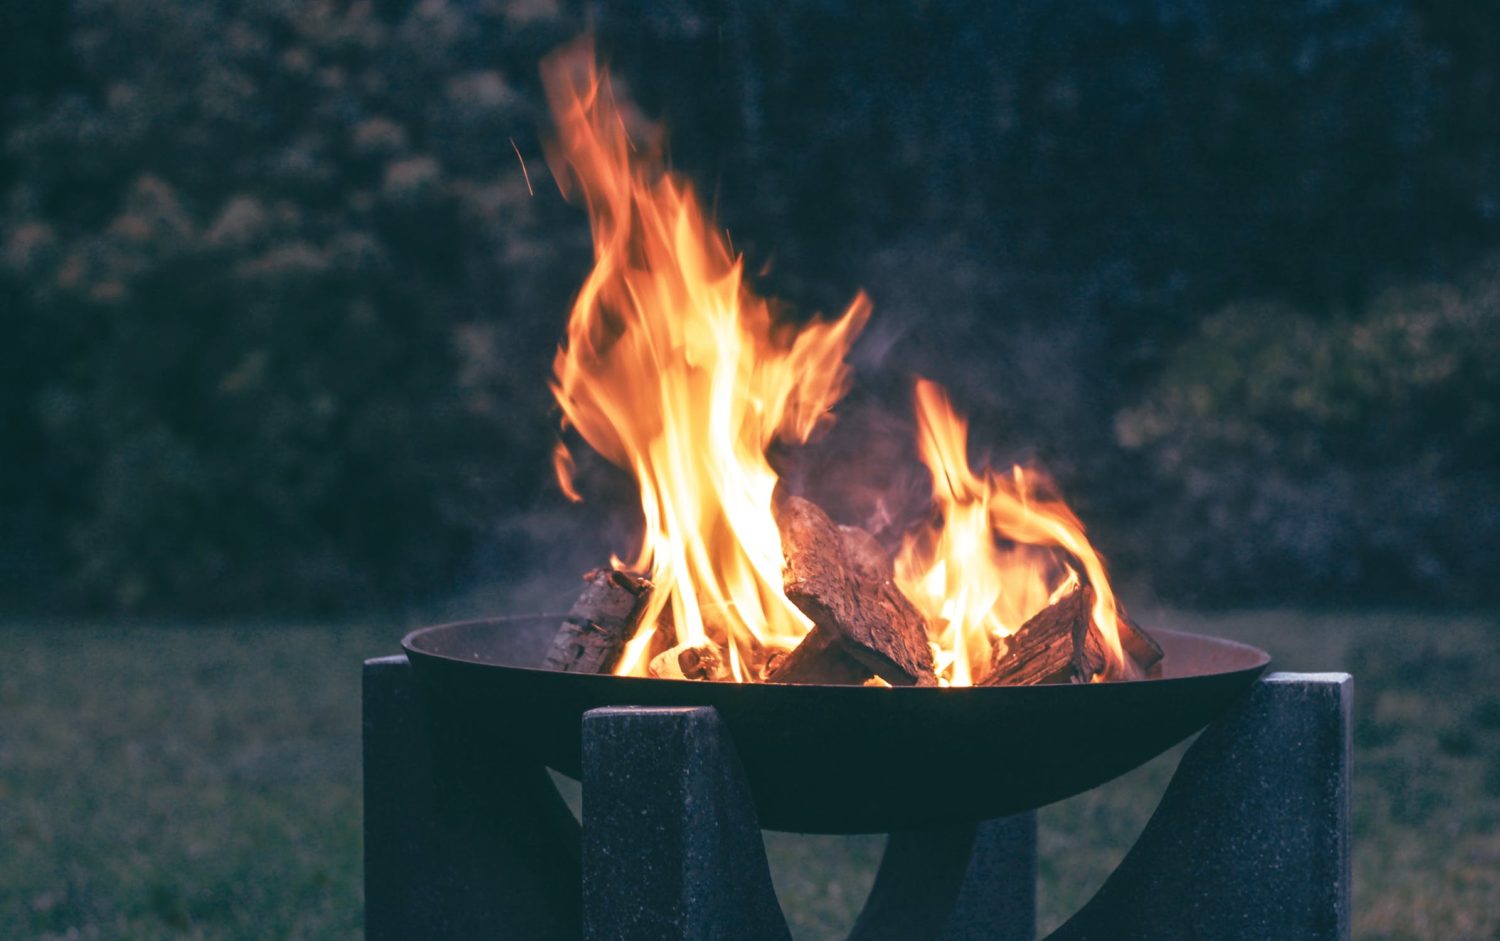
Fire safety is non-negotiable. Always position your fire pit away from flammable structures and materials. Keep a bucket of water, sand, and a fire extinguisher within easy reach. Never leave the fire unattended and make sure it’s completely extinguished before calling it a night. Educating your guests on fire safety upon arrival can prevent accidents and ensure everyone knows what to do in an emergency. For comprehensive fire safety tips, consider reviewing fire pit safety guidelines.
Weather Check
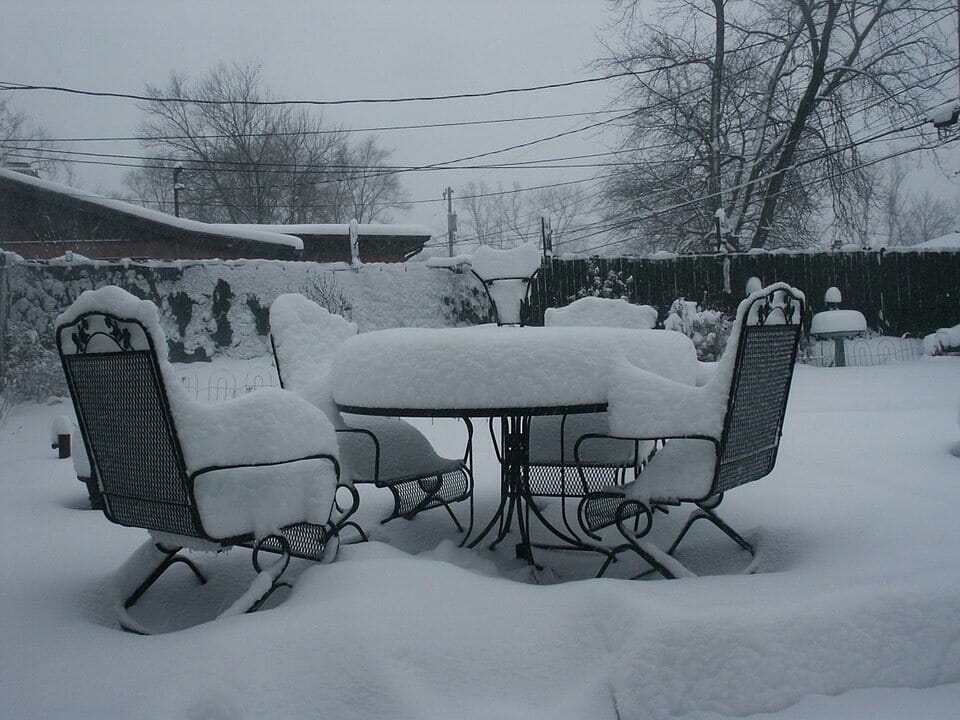
Weather can be unpredictable, with sudden changes potentially disrupting your well-planned party. Stay informed about the weather forecast and have a backup plan in place. If cold weather is expected, stack up on extra blankets and perhaps add a portable heater to your setup. For warmer nights, ensure there’s plenty of water and even handheld fans to keep guests cool. Canopies or tents can offer shelter from unexpected drizzle, keeping the party going despite a few raindrops.
Maximize Guest Comfort
Comfort is essential for an enjoyable fire pit party. Adequate seating should be a top priority, ensuring every guest has a cozy spot near the fire. Invest in weather-proof furniture that’s not only durable but also comfortable for long hours of sitting. Have insect repellent on hand to ward off mosquitoes and consider soft lighting like lanterns or fairy lights to reduce glare and create a welcoming ambiance. Transparent communication about what to wear and what they might need to bring can also contribute greatly to guest comfort and enjoyment.

- Safety Checklist: Keep emergency numbers handy and brief your guests on safety exits.
- Weather-Proof Your Party: Have a plan B for extreme weather conditions.
- Comfort Essentials: Offer cushions, blankets, and have a food and drink station close to the seating area.
Remember, attention to detail when planning can make all the difference in hosting a memorable fire pit party. By prioritizing the safety and comfort of your guests, you’re setting the stage for an evening filled with warmth, laughter, and shared experiences.
Wrapping Up
Hosting a memorable fire pit party intertwines the essences of creativity, safety, and atmosphere. Drawing from our discussion, setting a whimsical scene, choosing an engaging theme, and staunchly prioritizing safety protocols lay the foundation for a remarkable gathering. But remember, the soul of any fire pit party lies in the warmth of the relationships it nurtures, the stories shared, and the laughter that fills the night air.
Central to the success of these gatherings is the quality of the fire pit itself. At S&S Fire Pits, we pride ourselves on offering handcrafted, solid steel fire pits that not only promise durability and safety but also serve as the heart of your outdoor living space. Our meticulously designed accessories, from snuffers to cooking plates, further enhance your hosting experience, making each event uniquely memorable.
Incorporating fire safety measures, planning for weather variability, and ensuring guest comfort are critical. These aspects not only demonstrate your thoughtfulness as a host but also guarantee that everyone can relax and enjoy the evening to its fullest. A well-planned party considers potential hazards and sets measures in place to mitigate them, ensuring that your gathering remains a fond memory rather than a cautionary tale.
As you embark on planning your next fire pit party, let your imagination run wild with themes but anchor your preparations in the practical advice shared. Your efforts to create a cozy, engaging, and safe environment will not go unnoticed by your guests. And when you choose a fire pit from S&S Fire Pits, you’re choosing a guaranteed life-long centerpiece for these memorable occasions.
In the end, a successful fire pit party is more than just an event; it’s an experience—a chance to foster connections, indulge in good food and entertainment, and bask in the glow of a crackling fire. Let creativity and safety guide you as you plan, and don’t forget to visit us at S&S Fire Pits to find the perfect fire pit and accessories for your next outdoor gathering. Let’s make every moment around the fire count.