Winter brings a unique charm to outdoor gatherings, and a fire pit can be the perfect centerpiece for cozy moments.
However, using your fire pit in cold weather requires some special considerations.
Here at S&S Fire Pits, we’ve put together essential tips to help you safely and effectively use and maintain your fire pit during winter months.
Let’s make your winter gatherings warm, safe, and memorable!
How to Safely Use a Fire Pit in Winter
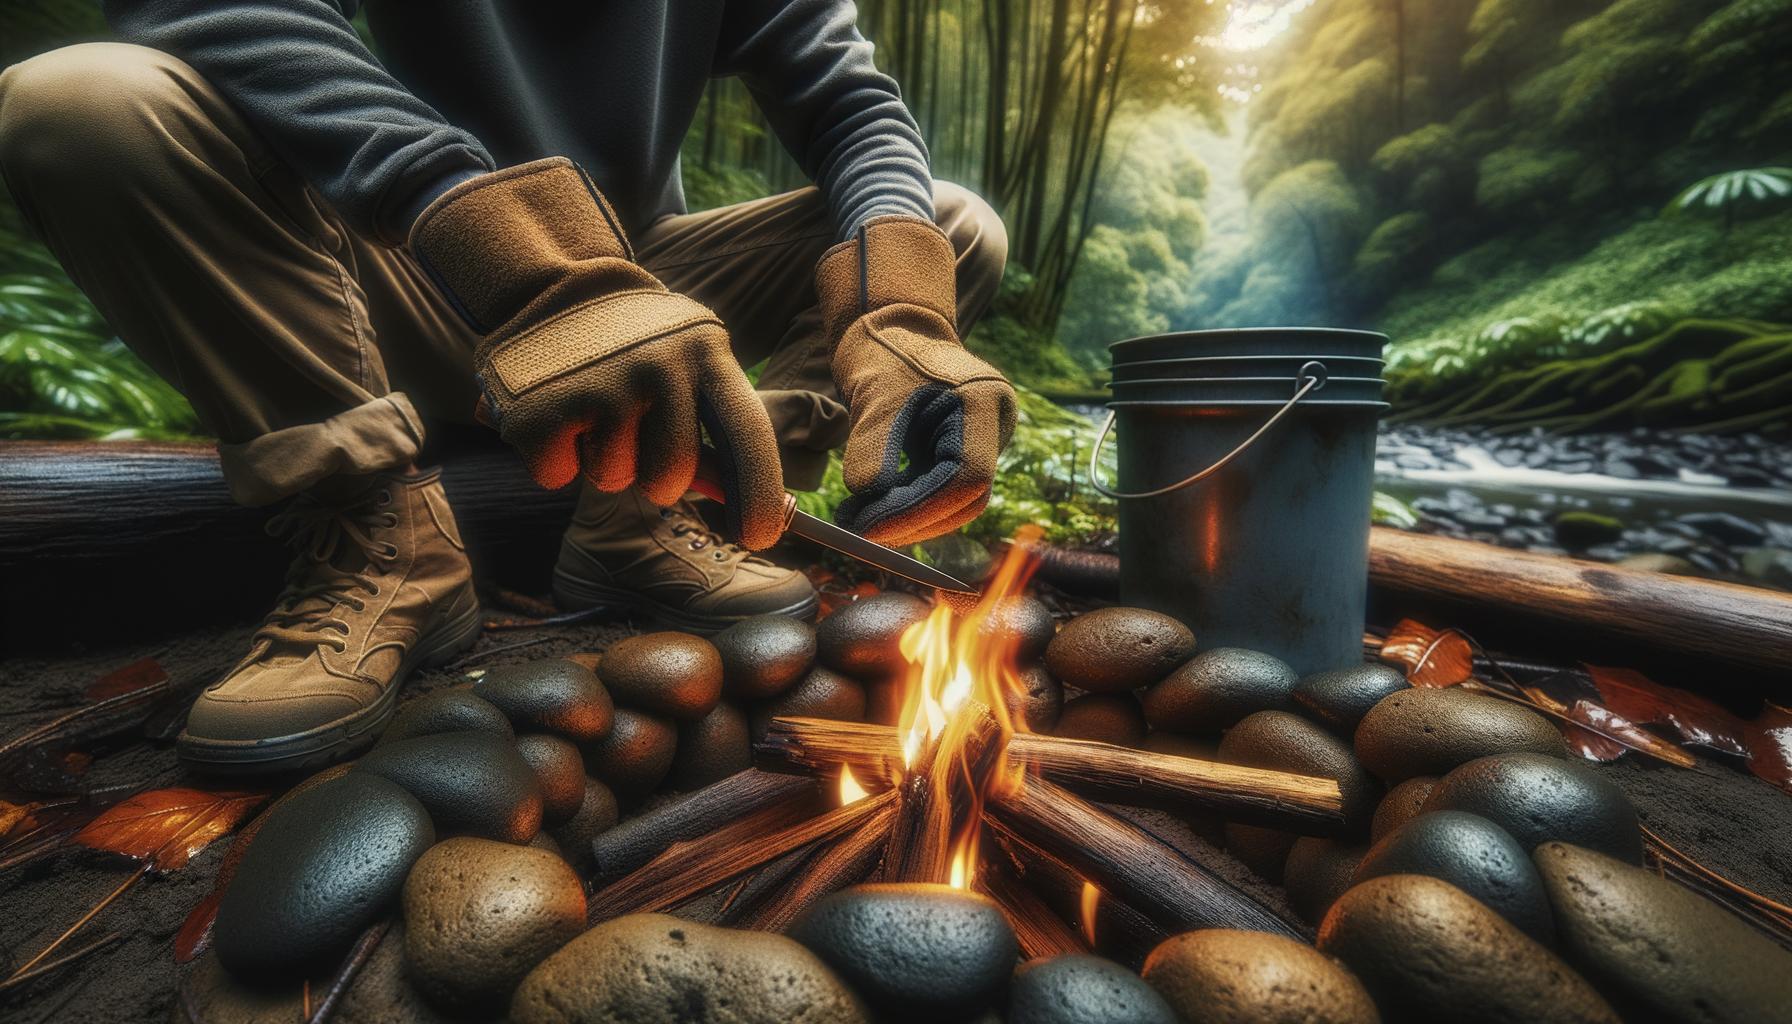
Using a fire pit in winter adds warmth and atmosphere to outdoor gatherings, but it comes with its own set of essential safety practices.
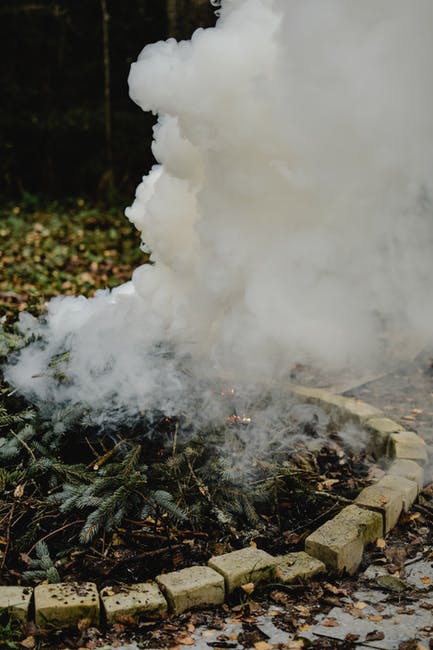
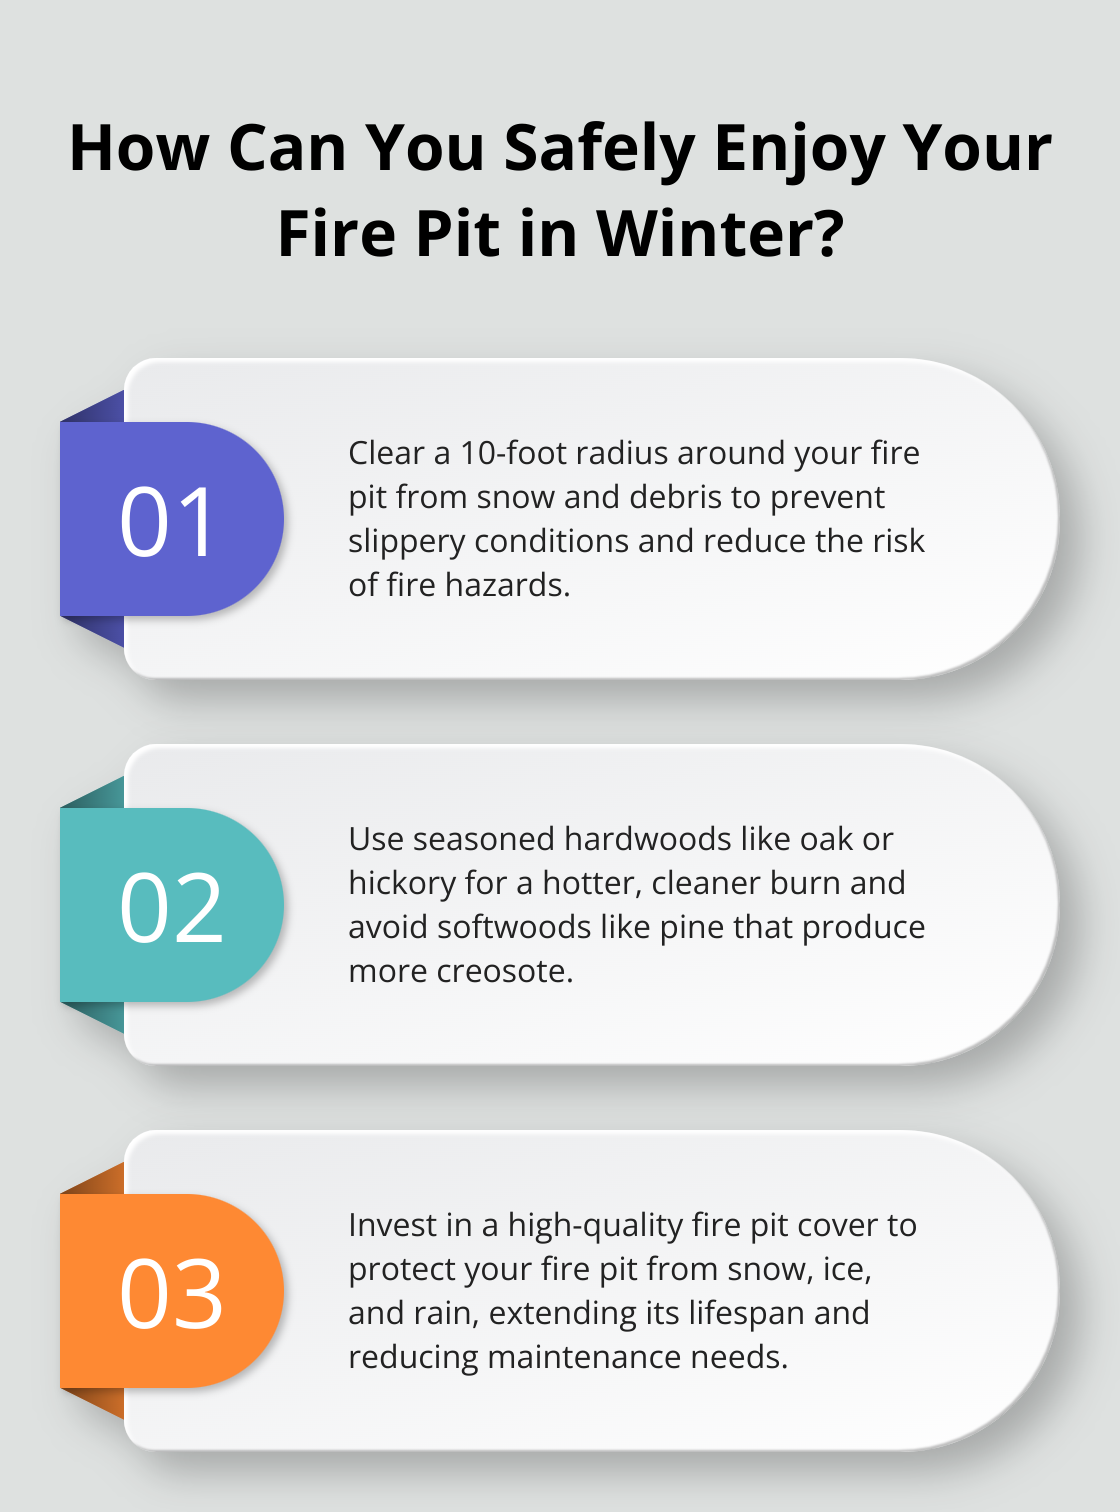
Clear the Surrounding Area
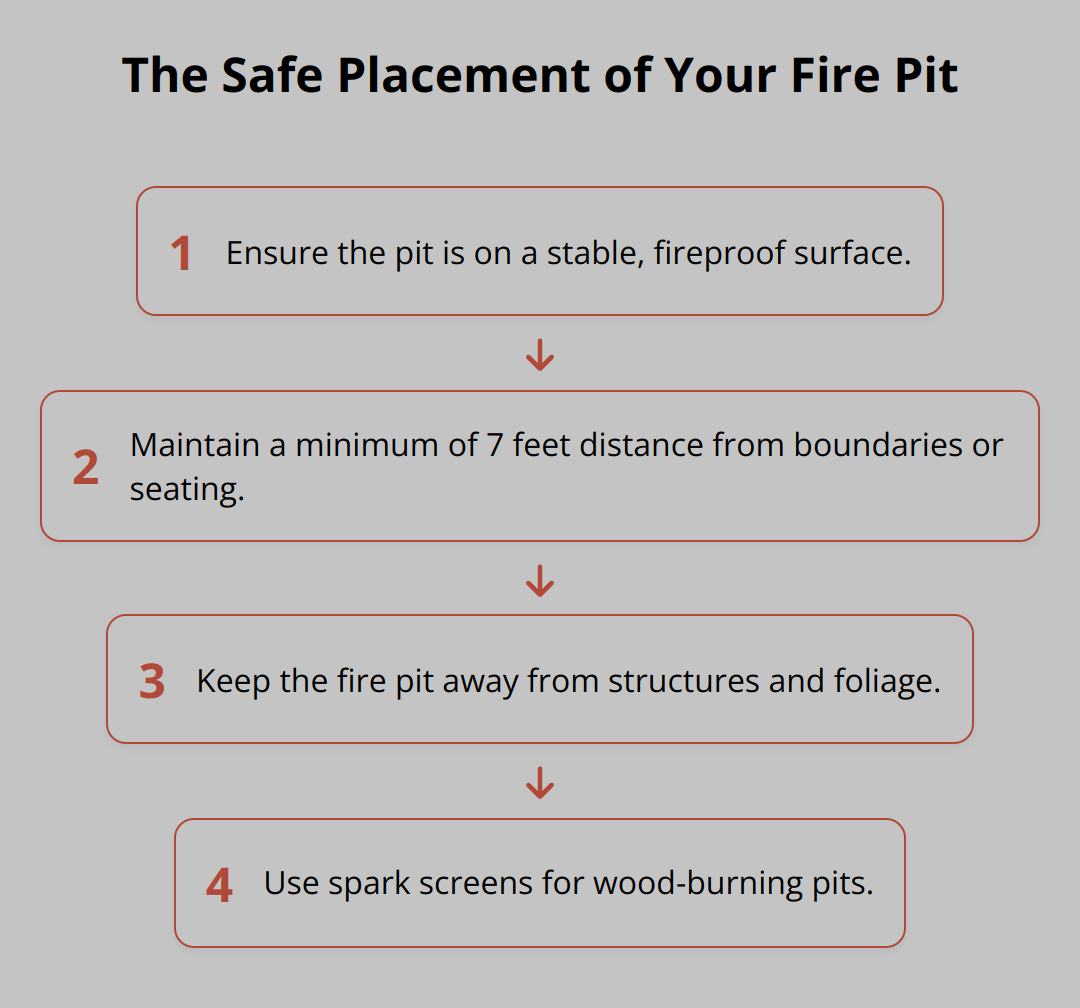
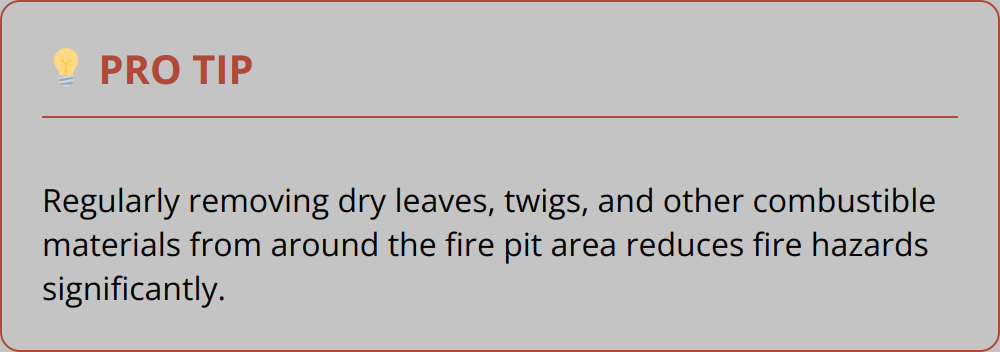
One primary concern is ensuring the area around your fire pit is cleared of snow and debris. Snow and wet leaves can create slippery conditions and even cause unwanted flare-ups. A clearance of at least 10 feet is recommended to prevent any potential hazards. This practice not only mitigates risks but also makes it easier to move around the fire pit.
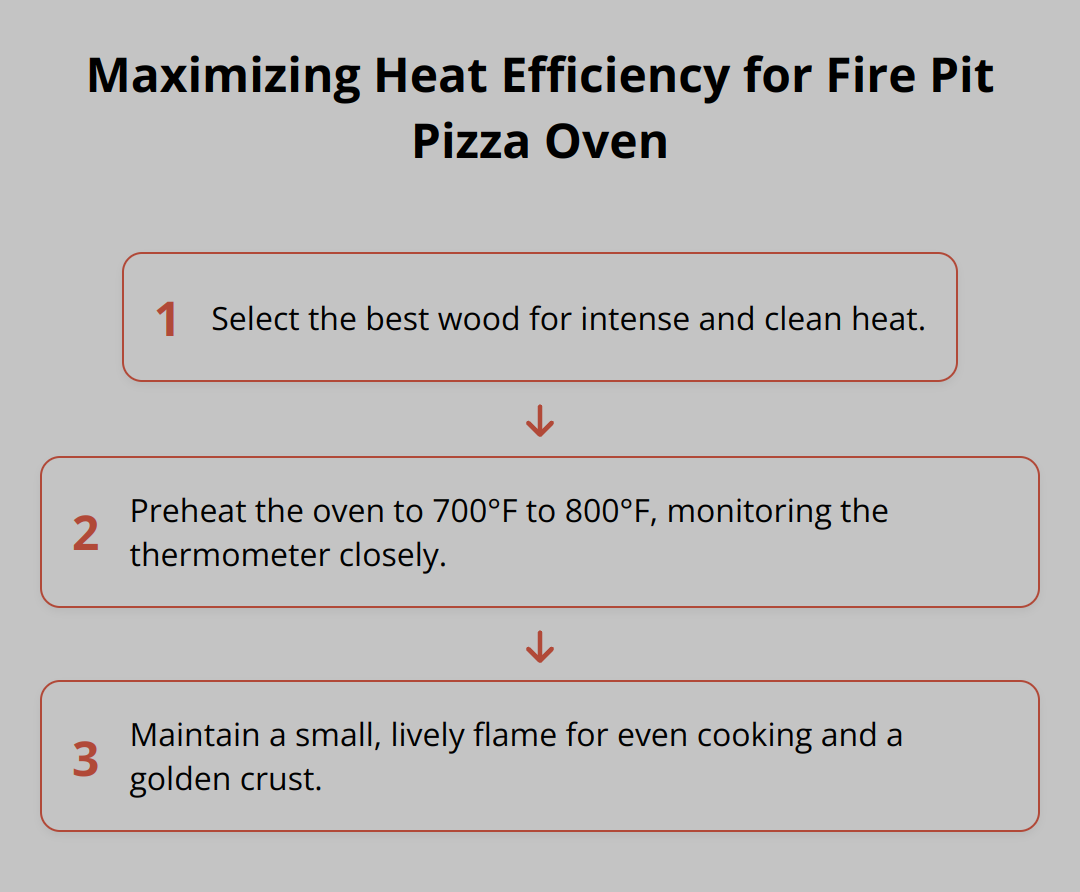
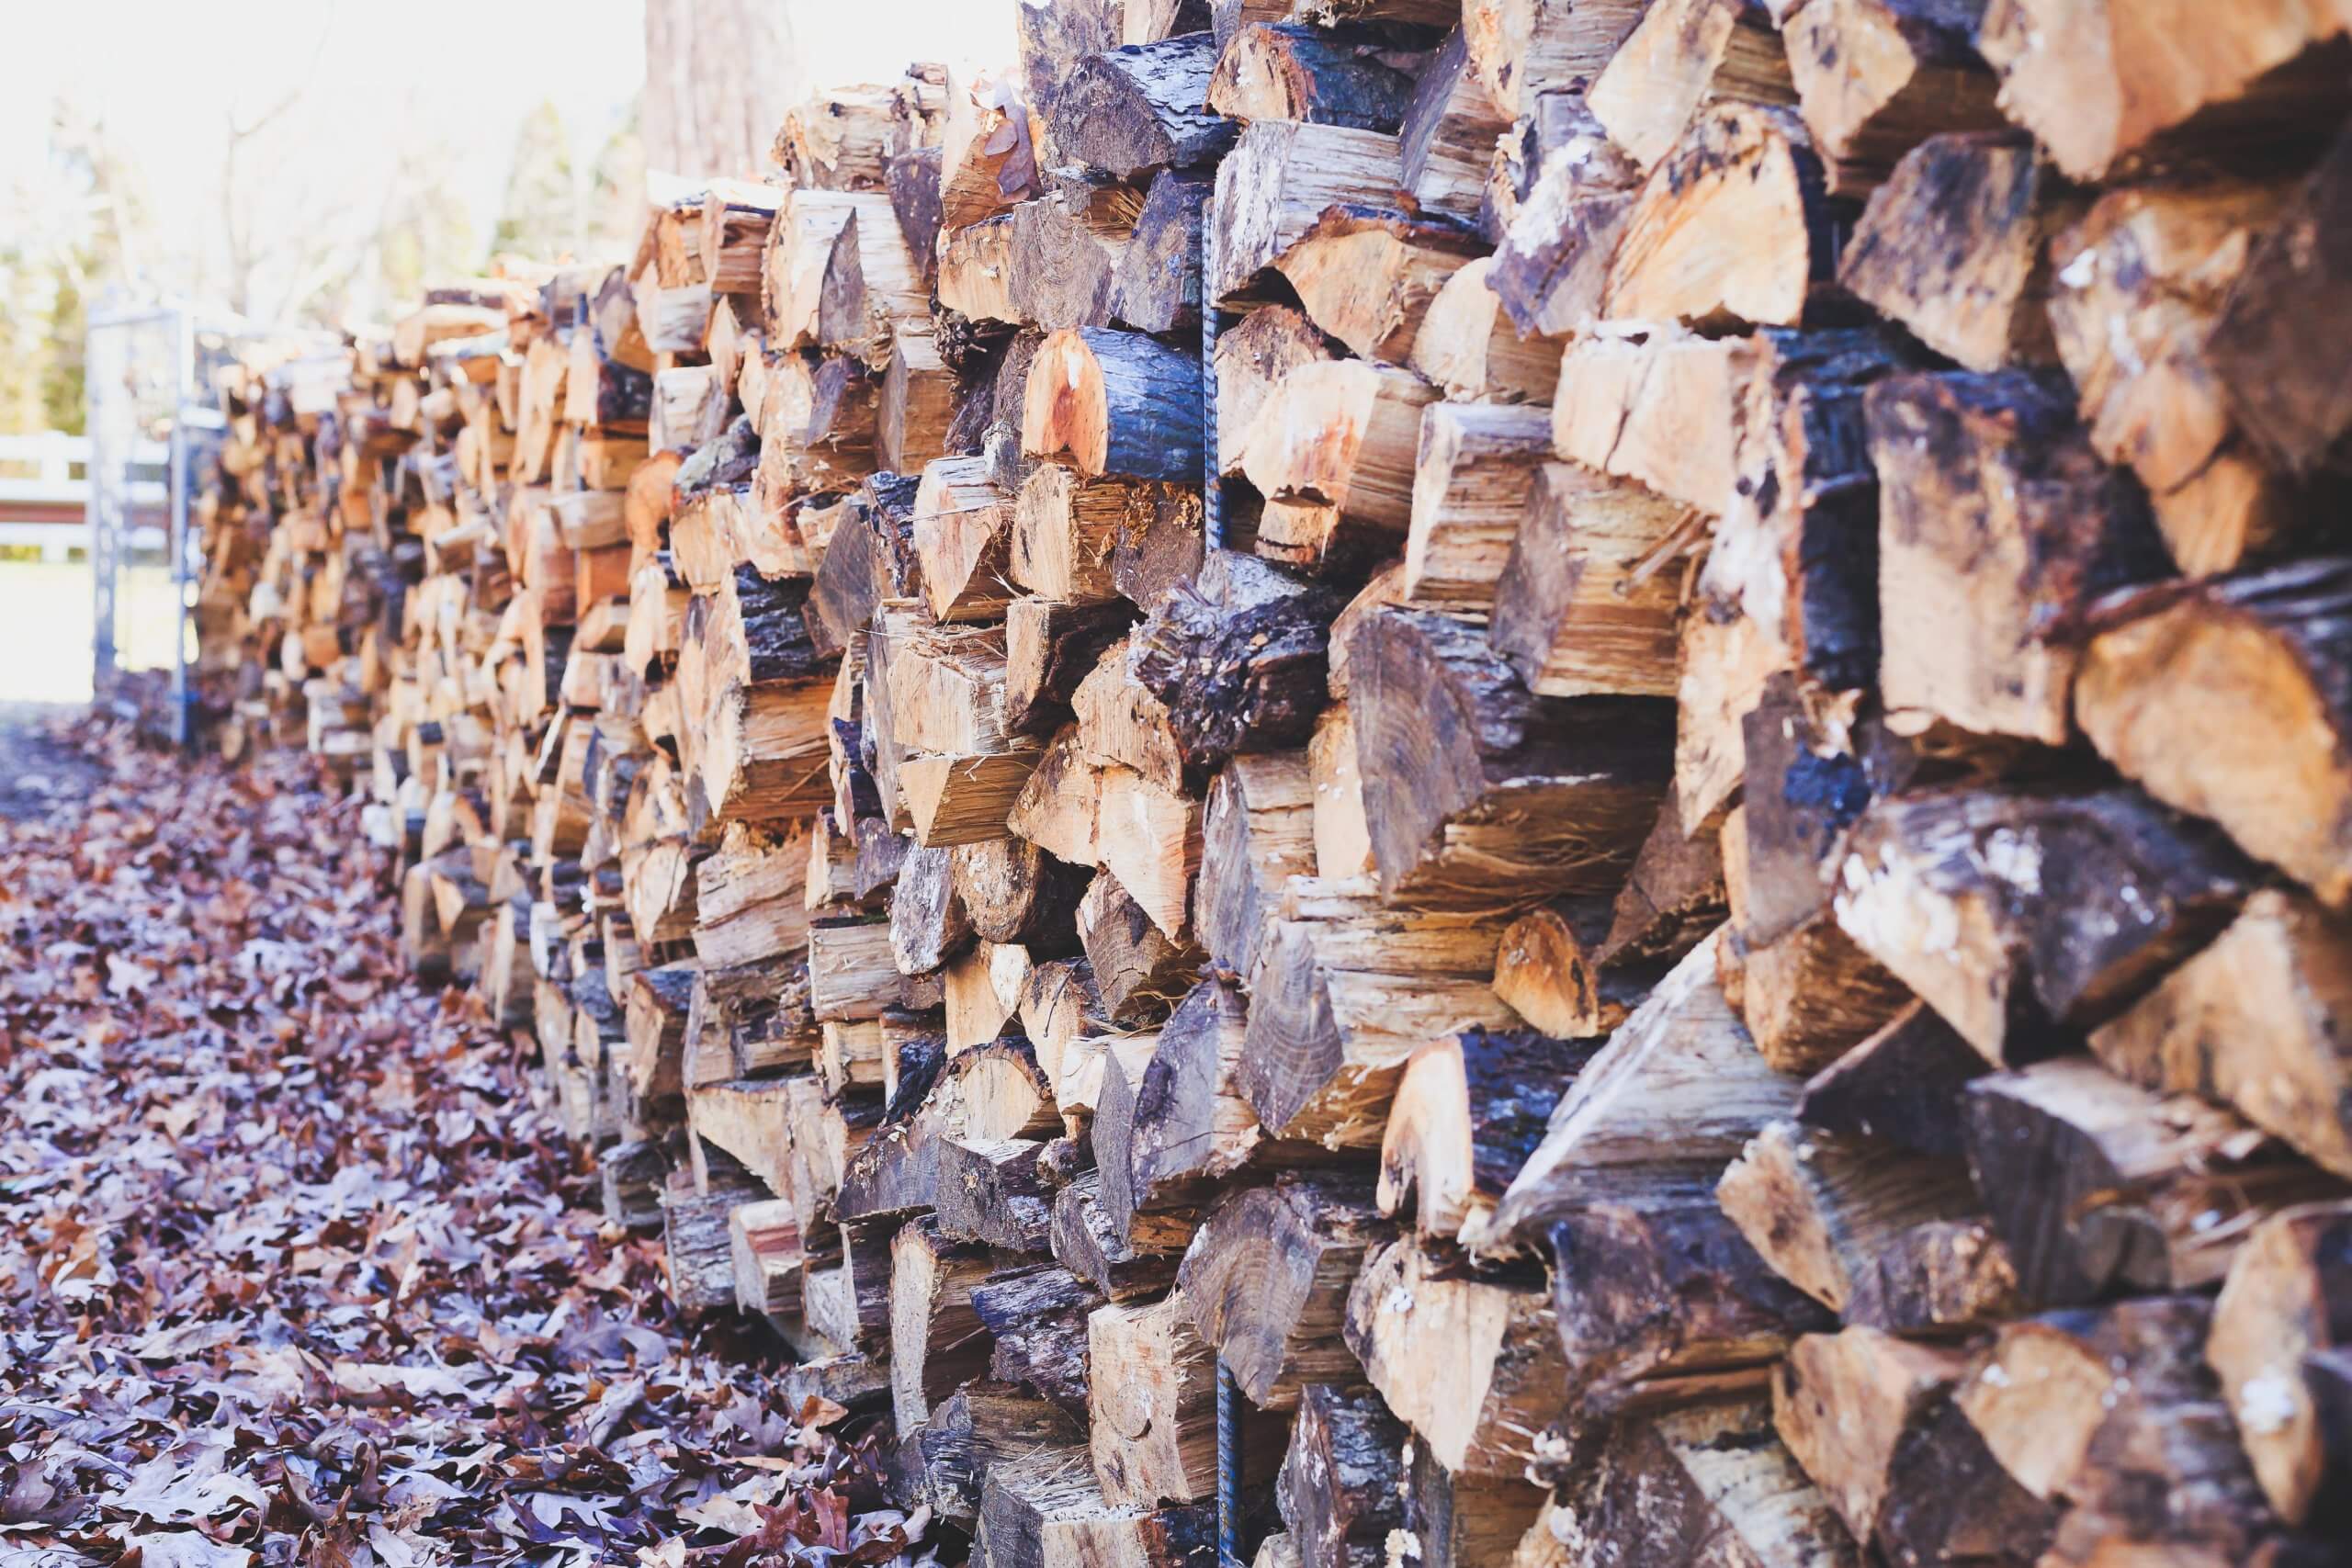
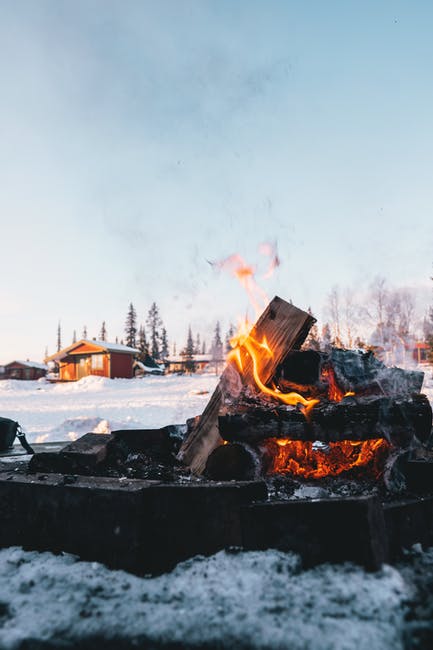
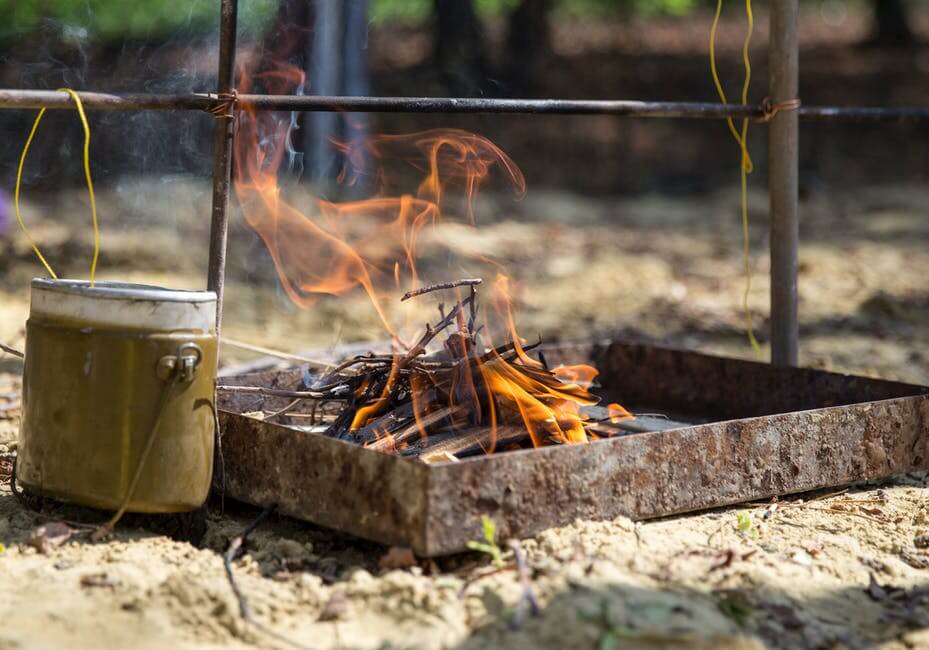
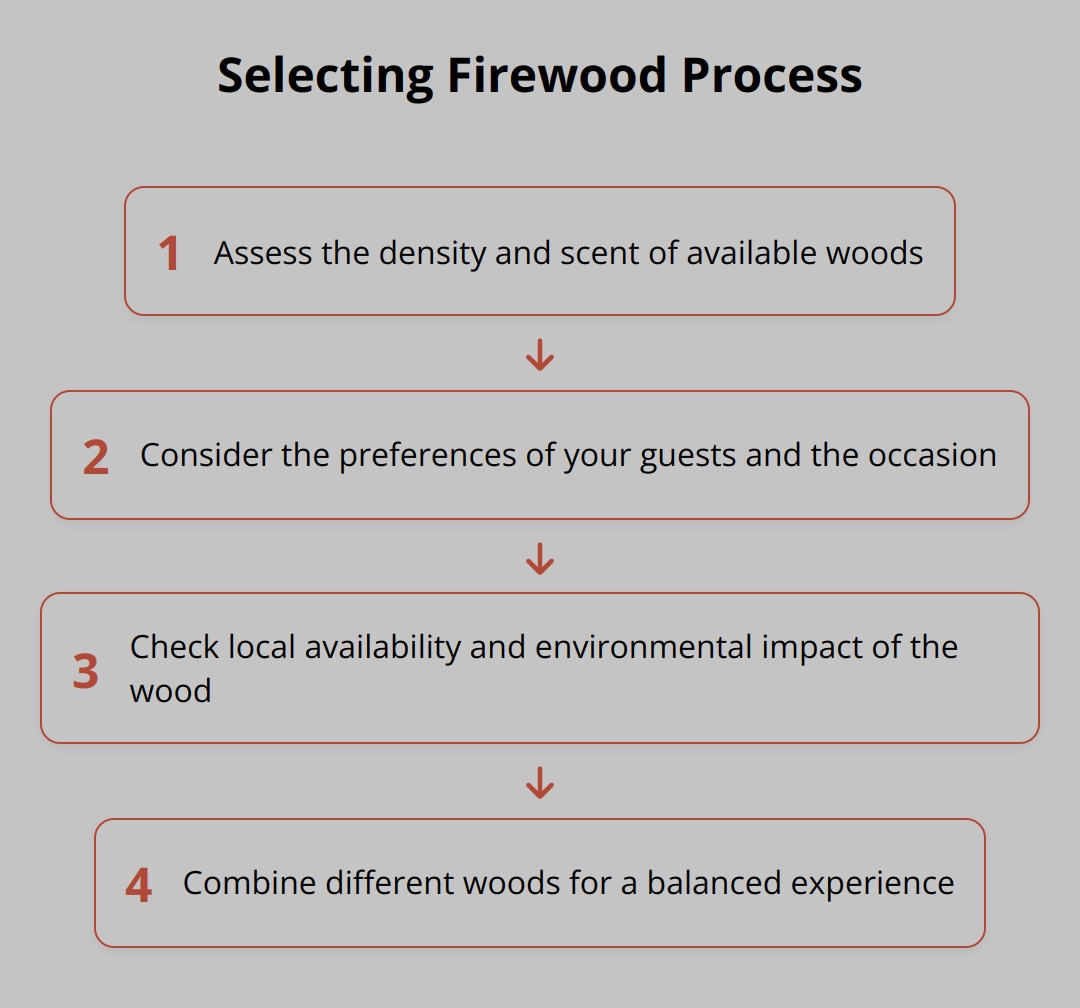
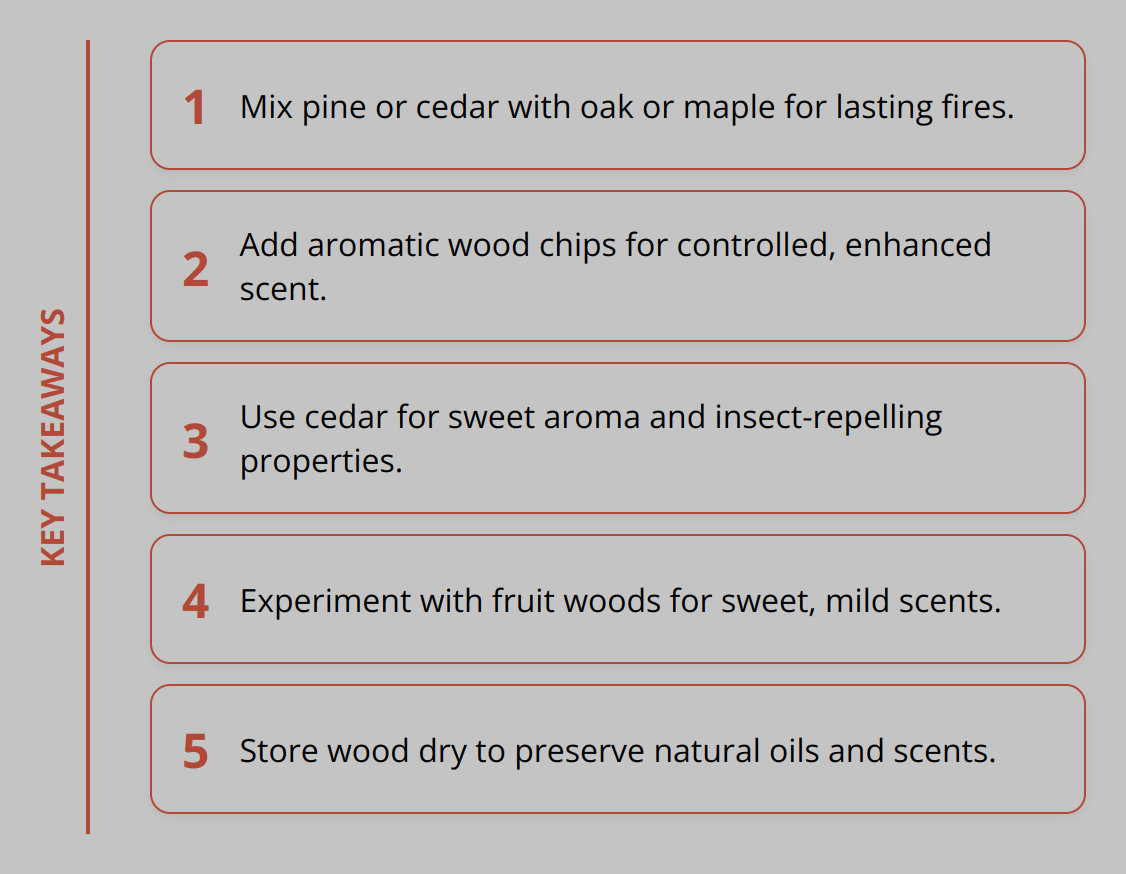
Select the Right Firewood
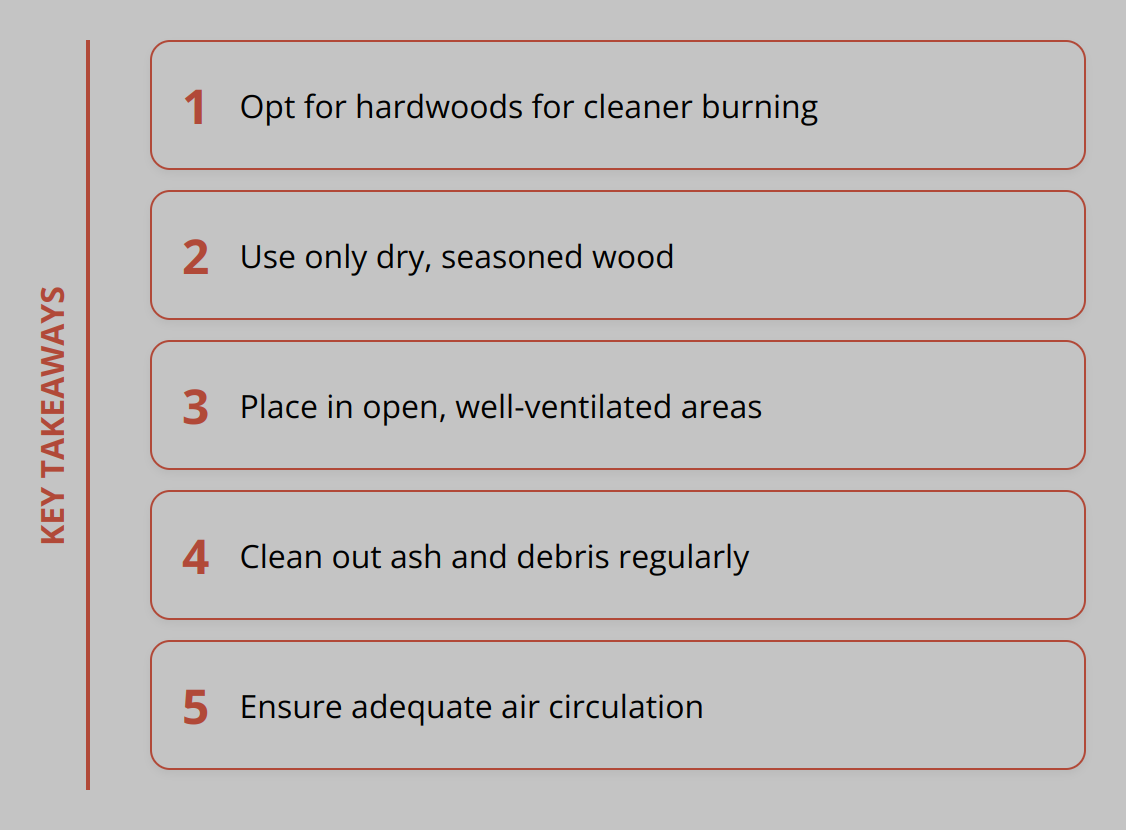
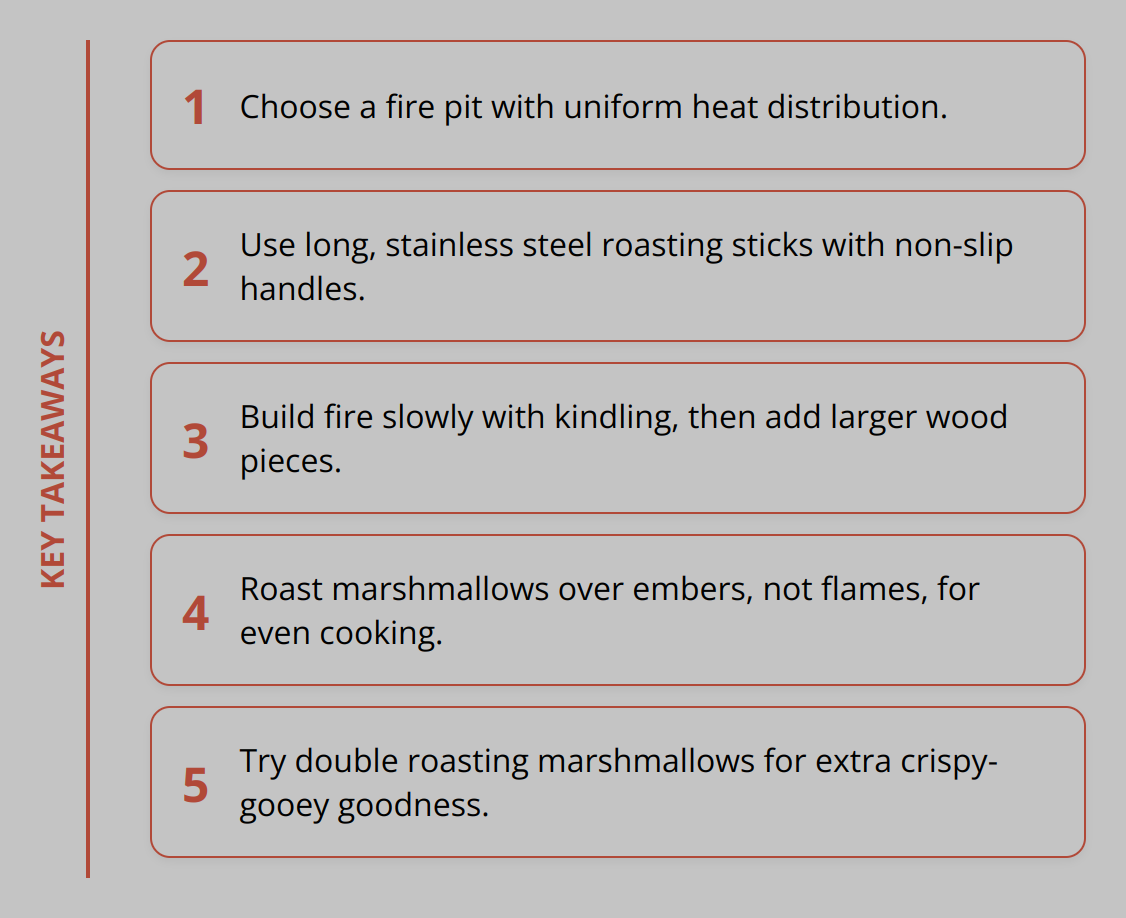
The type of firewood and kindling you use makes a significant difference. Opt for seasoned hardwoods like oak, hickory, or maple. These woods have a lower moisture content, which helps in achieving a hotter and cleaner burn. Avoid using softwoods such as pine, as they produce more creosote and could potentially lead to dangerous build-ups. For kindling, small dry sticks and twigs are your best bet because they ignite quickly and maintain a steady flame.
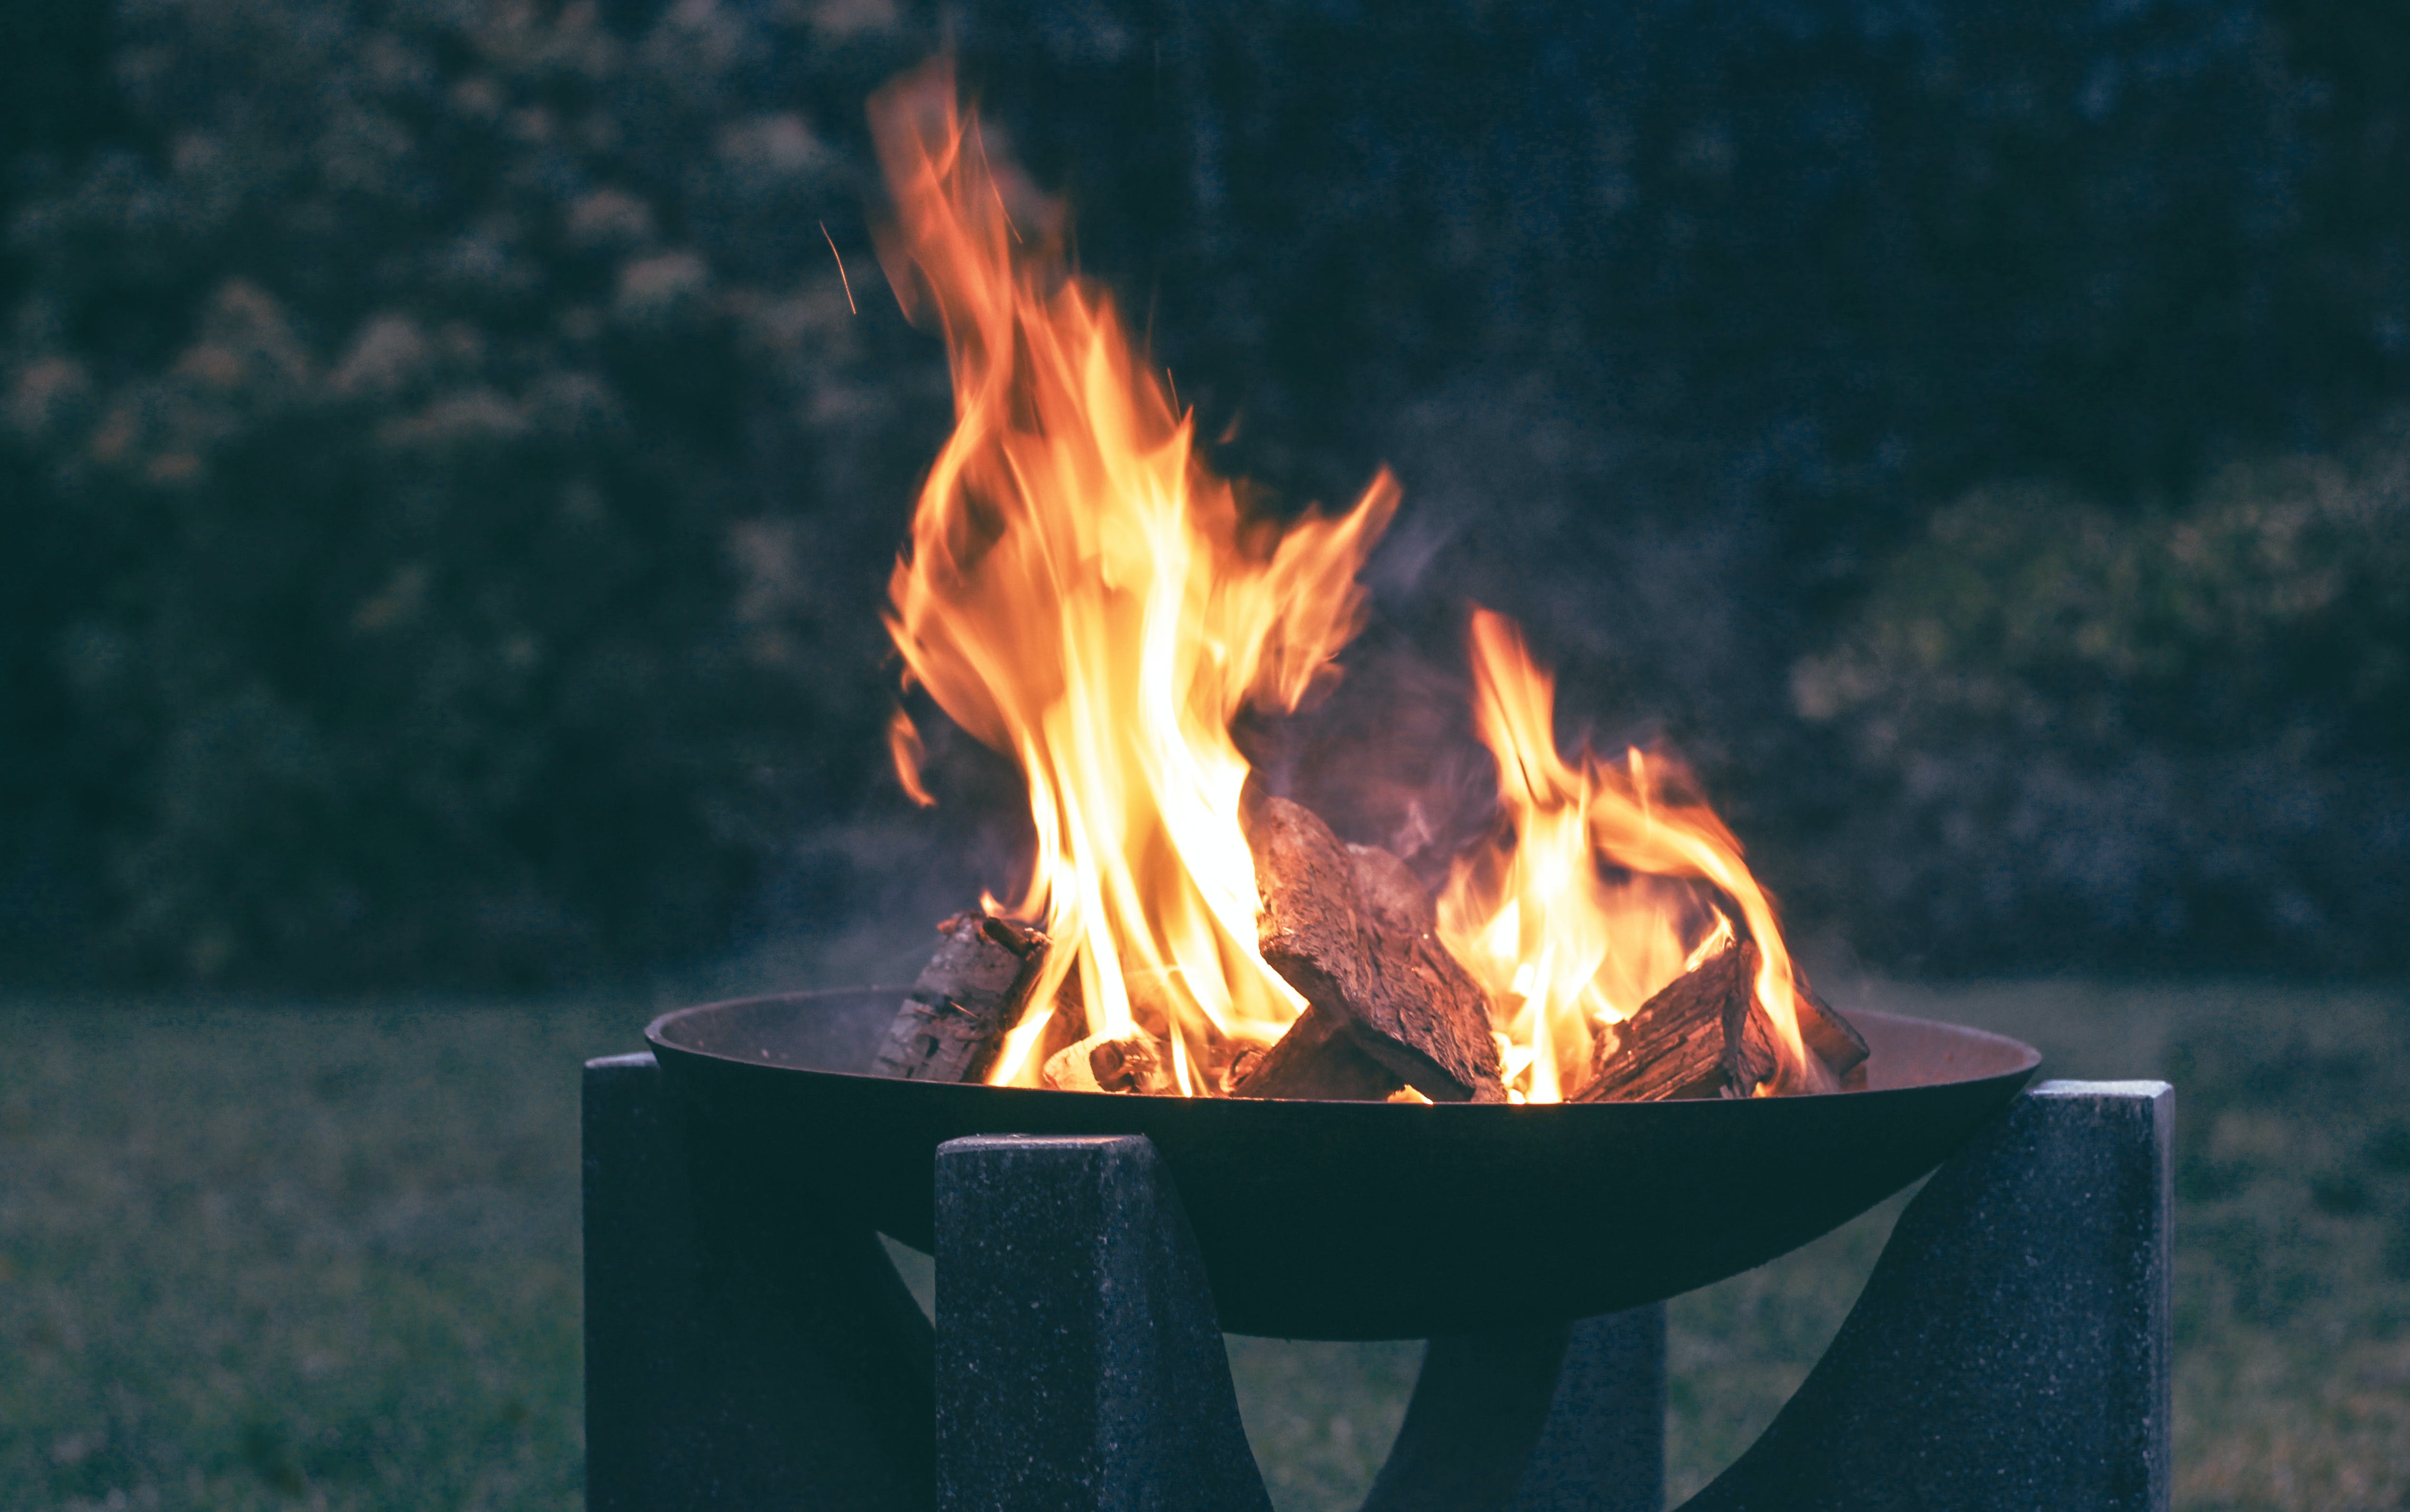
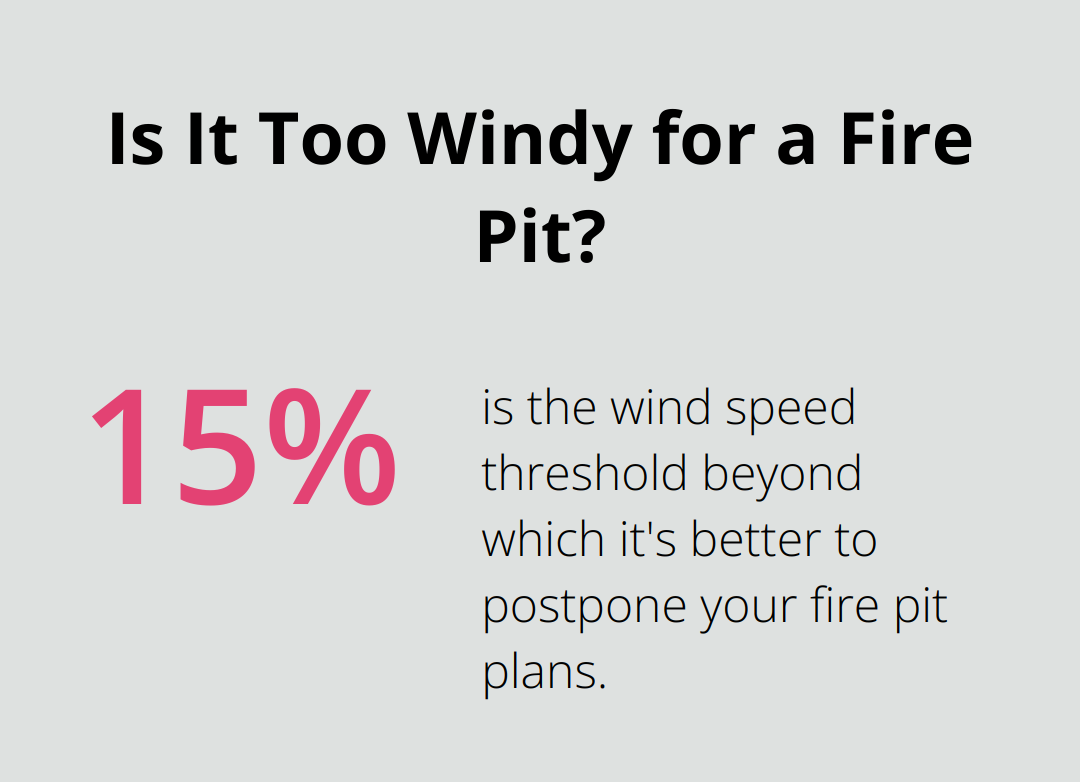
Monitor Wind and Fire Size
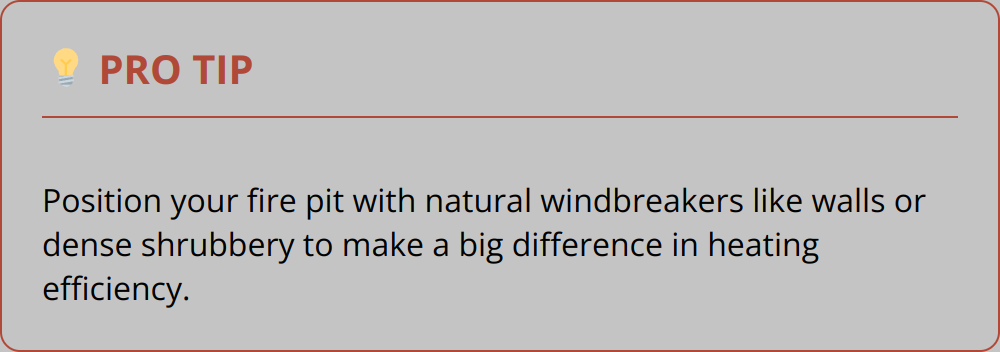
Monitoring the weather, particularly wind conditions, is non-negotiable for safe fire pit usage. Strong winds can blow sparks and embers into unwanted areas, posing a risk of spreading fires. If the wind speed exceeds 15 mph, it’s better to postpone your fire pit plans. Additionally, keeping the fire size manageable is crucial. A large fire not only increases the risk of accidents but also requires more maintenance. A fire pit with flames 2-3 feet high is often sufficient for warmth without unnecessary risks.
Observing these practices can go a long way in making your winter fire pit gatherings both enjoyable and safe. For more specialized tips, consider checking our tips for using a fire pit in the wind and outdoor fire safety guidelines, which go deeper into maintaining safe and efficient fires.
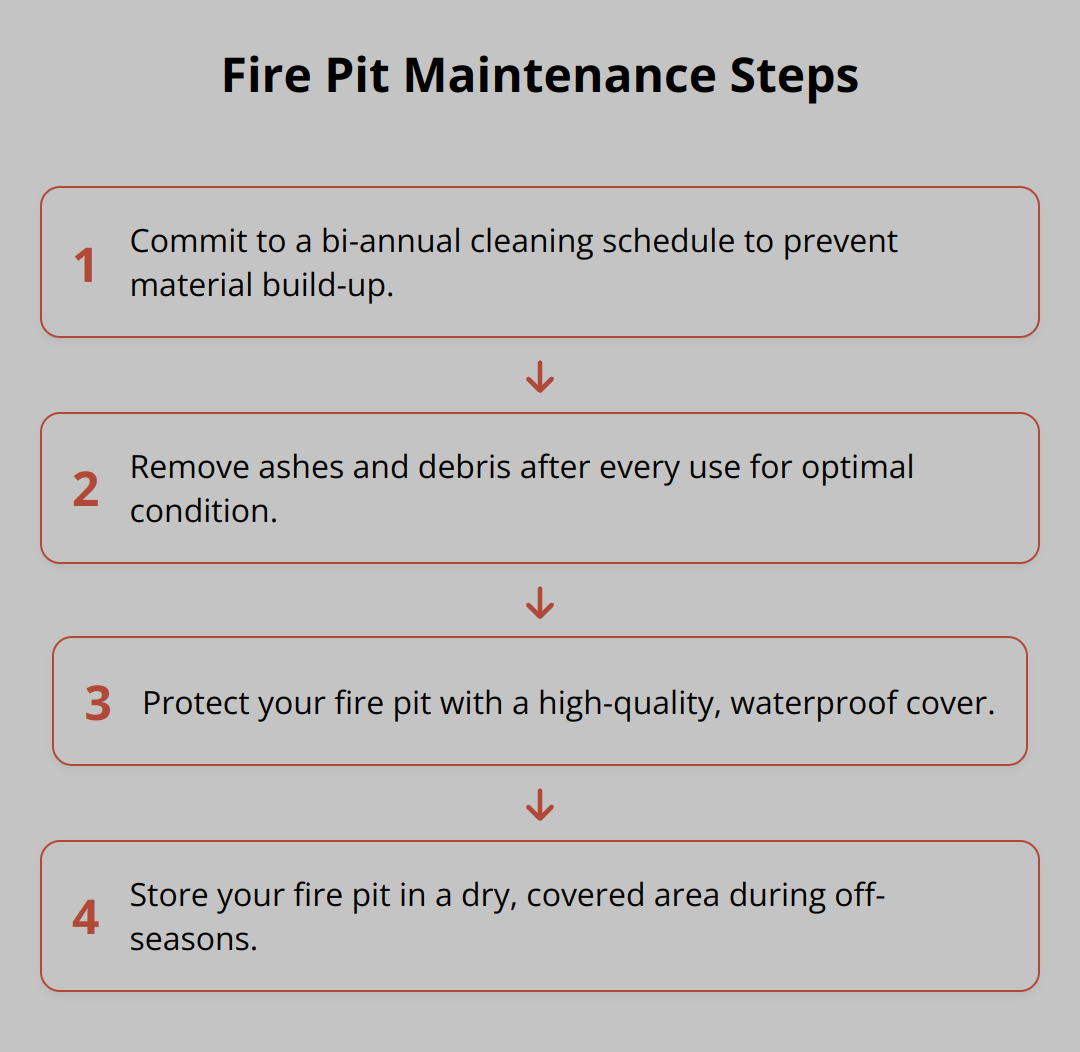
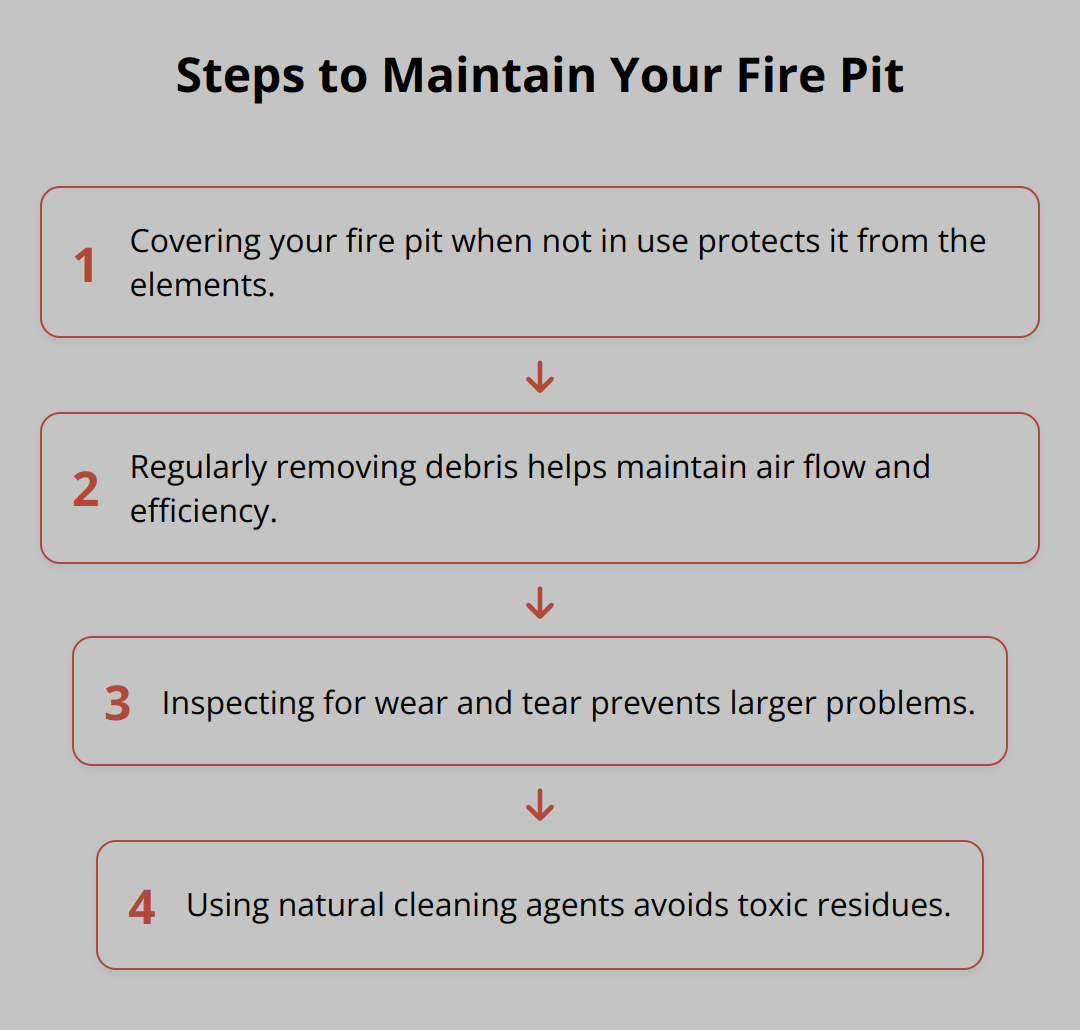
Maintenance Tips for Winter
Keeping a fire pit in top condition during winter requires consistent and practical maintenance. Here are some essential steps to follow:
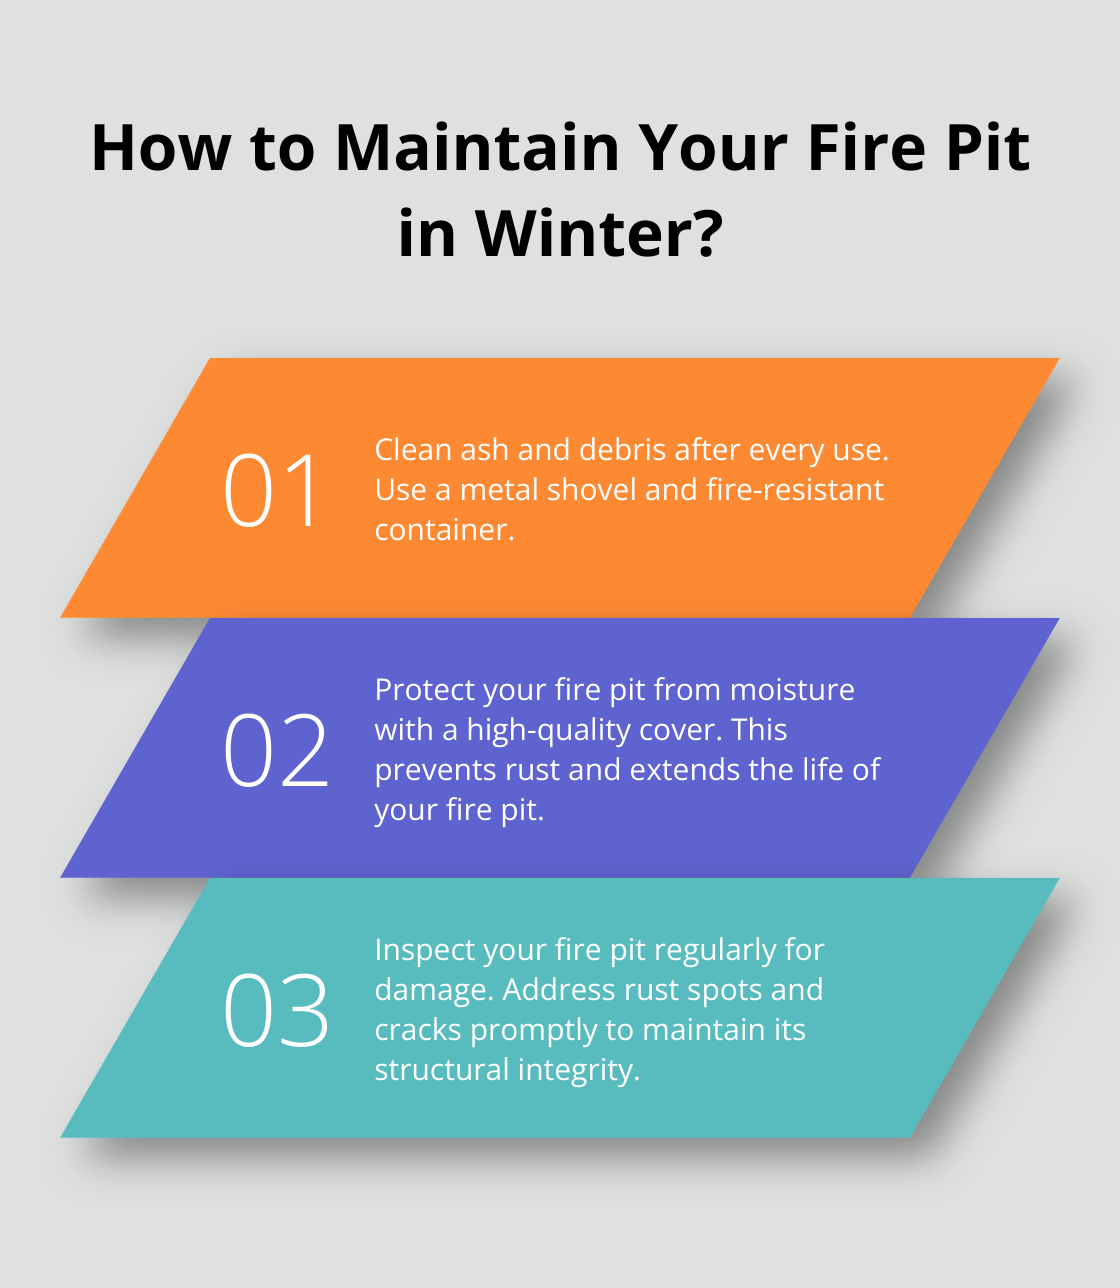
Regularly Clean Ash and Debris
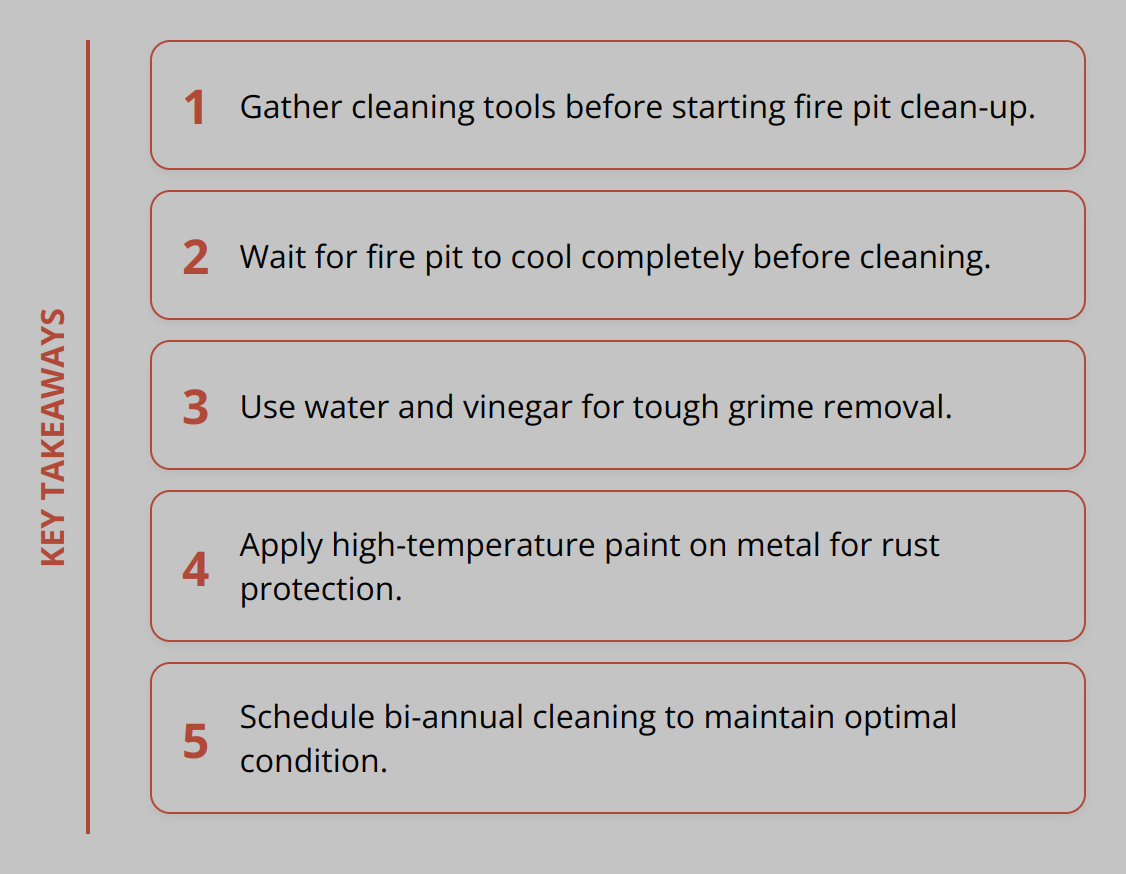
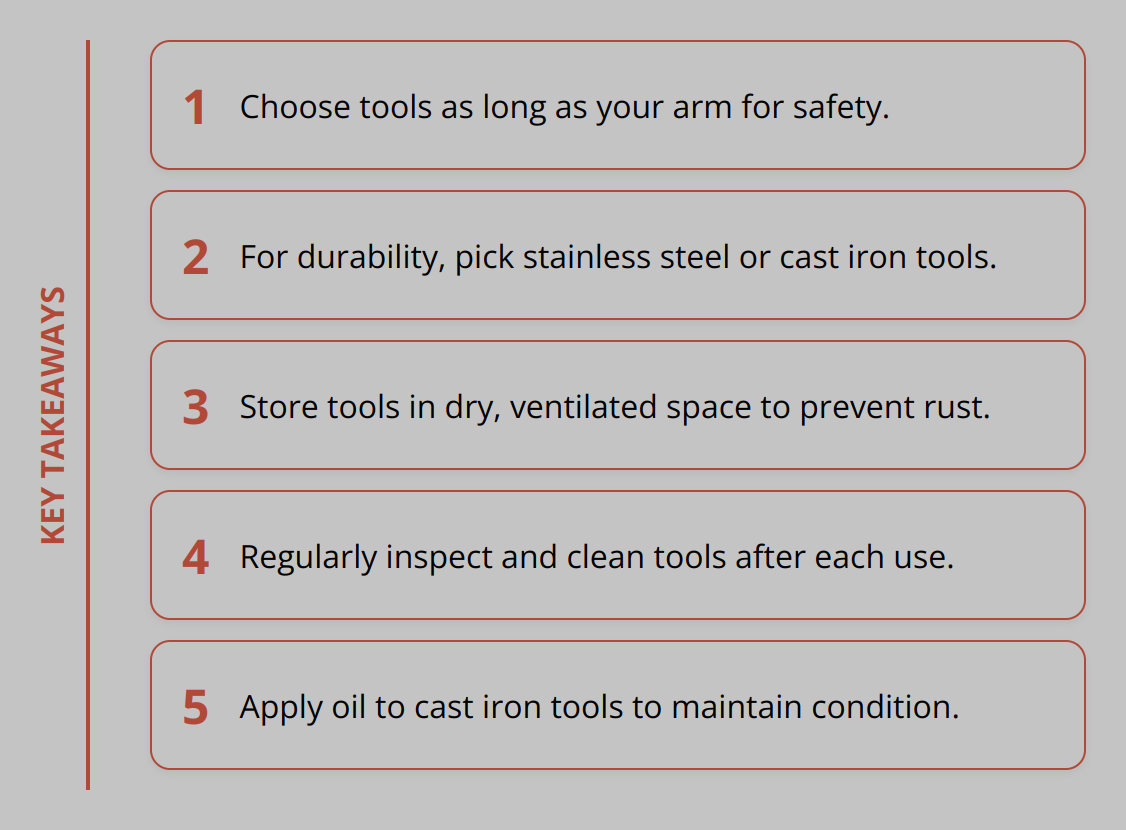
Ash buildup can obstruct airflow and reduce the efficiency of your fire pit. Aim to clean out ash and debris after every use. Make sure the ash has cooled completely before removal. Using a metal shovel and a fire-resistant container ensures safe ash disposal. Removing the debris keeps your fire pit ready for the next gathering and minimizes the risk of fire hazards.
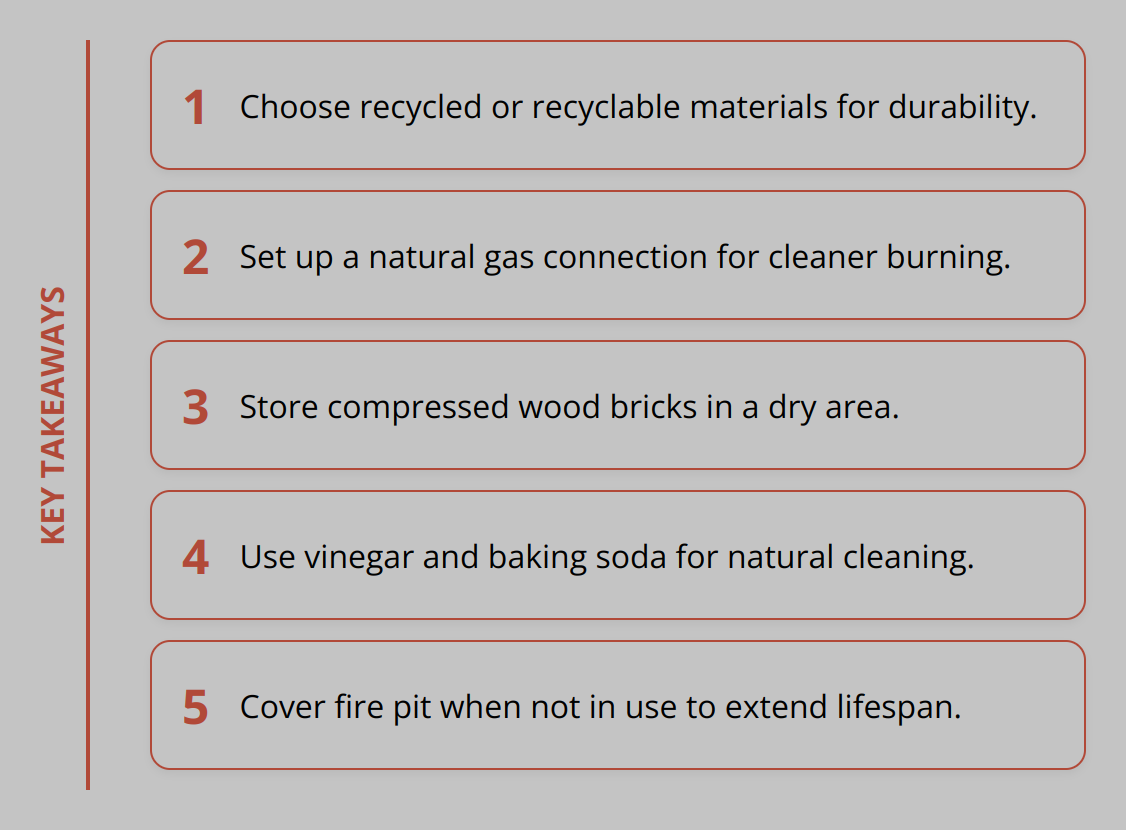
Protect Fire Pit from Moisture and Ice
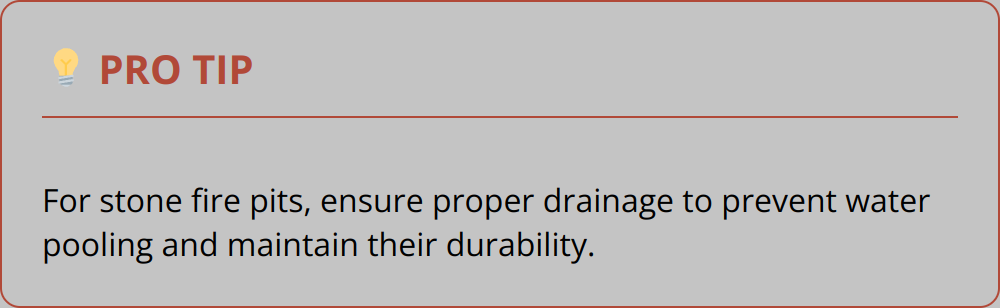
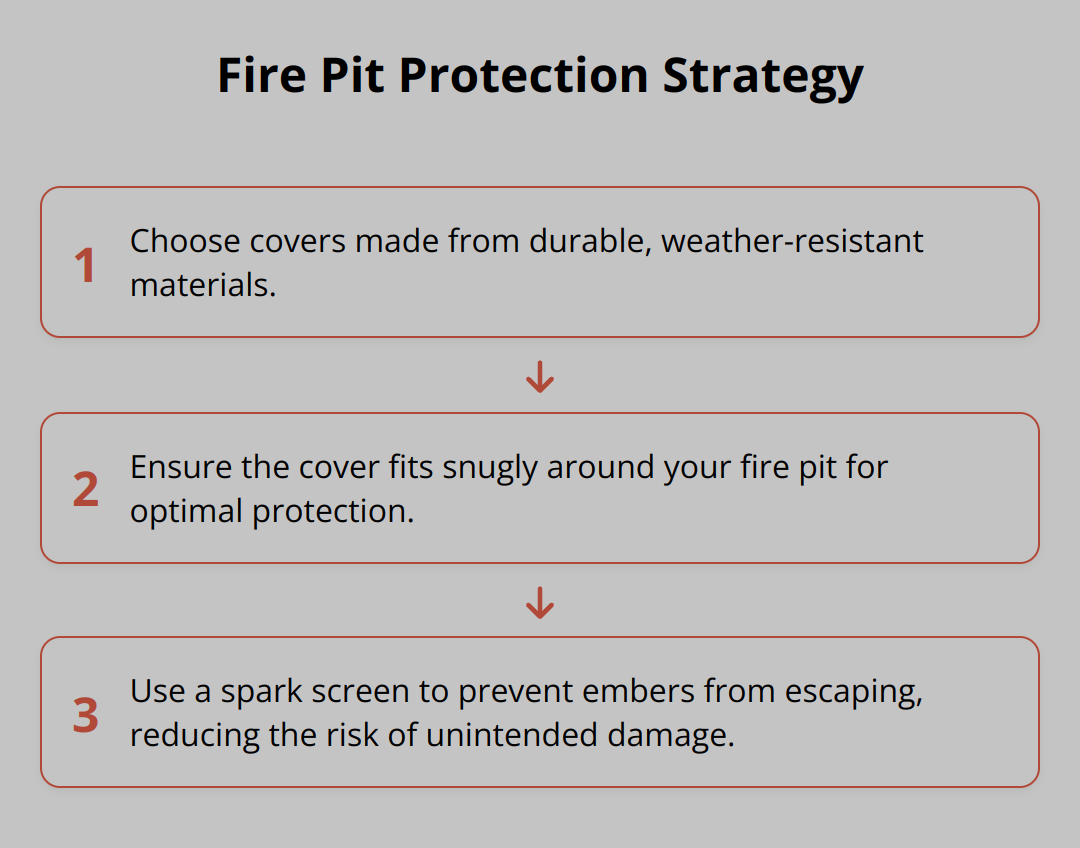
Moisture can cause significant damage to your fire pit, leading to rust and degradation. Invest in a high-quality fire pit cover to protect the structure from snow, ice, and rain. This precaution can extend the life of your fire pit considerably. For more tips on protecting your fire pit from water damage, visit keeping your fire pit from filling with water.
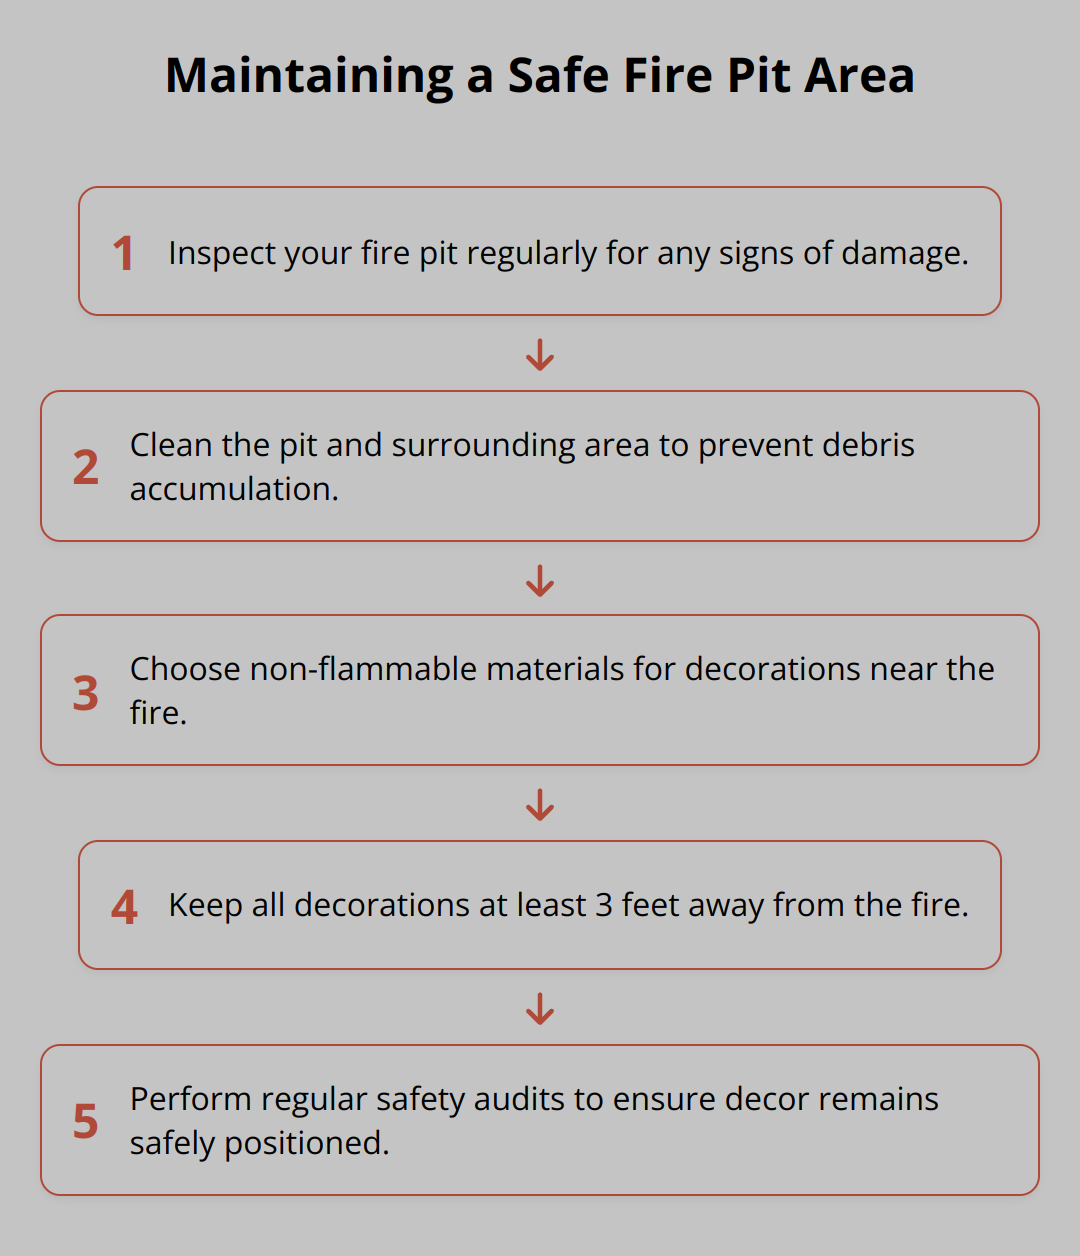
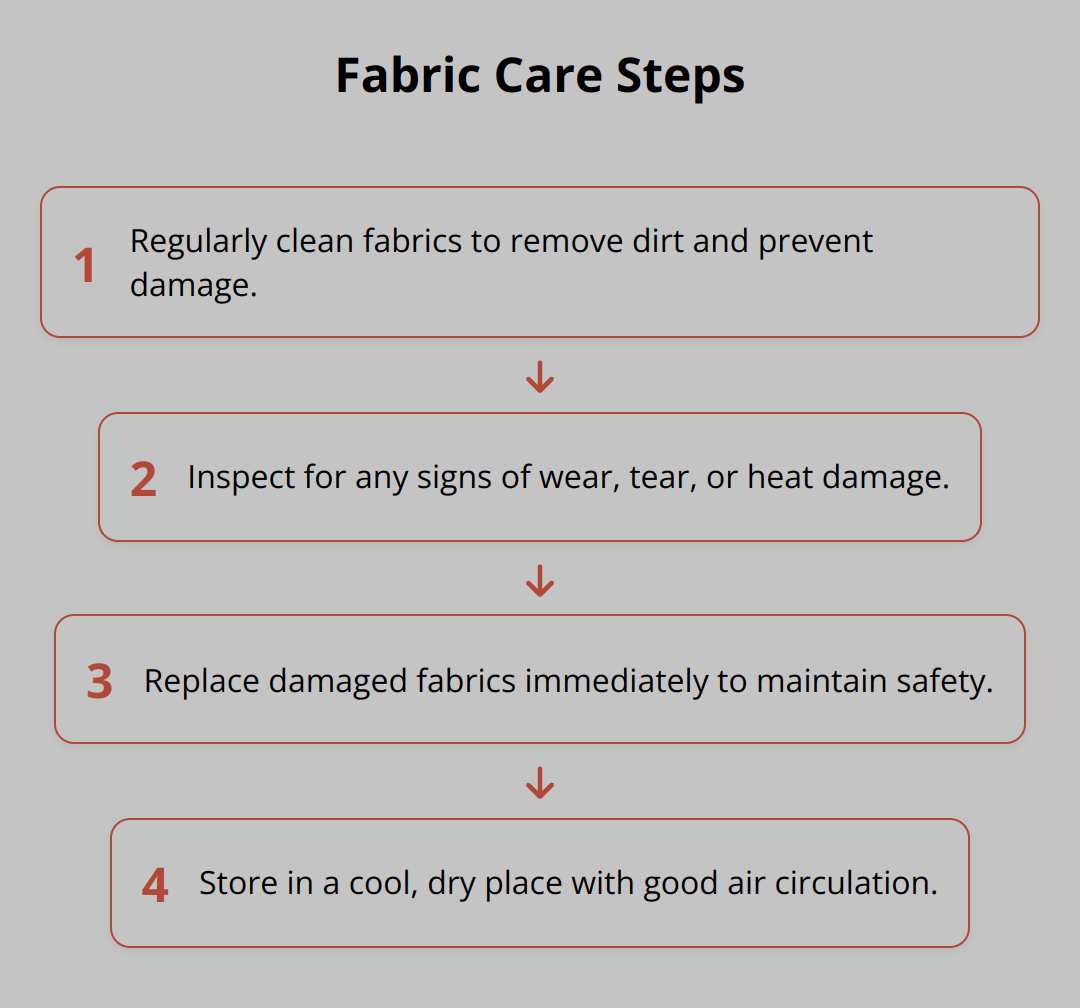
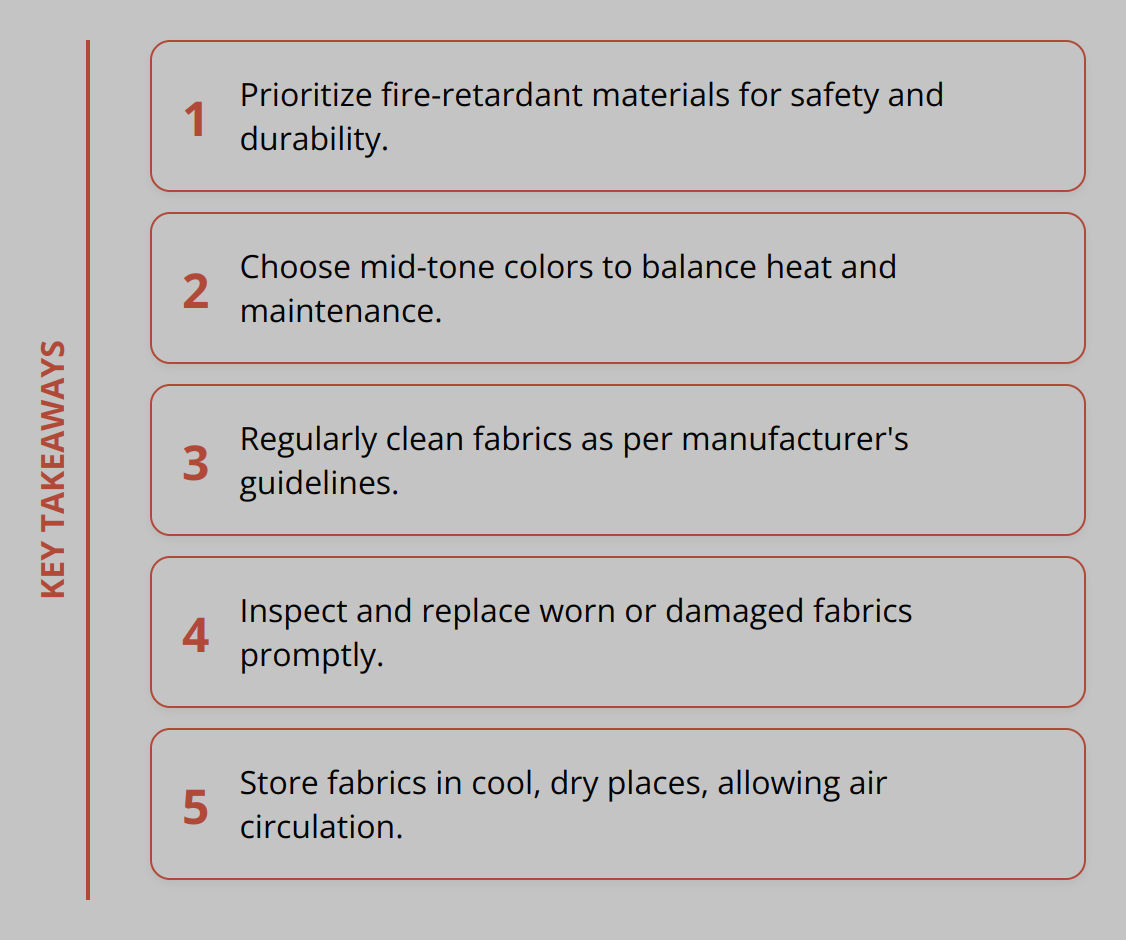
Check for Damage and Repair Promptly
Winter weather can be harsh on a fire pit, so it’s critical to inspect it regularly for any signs of wear and tear. Look for cracks in the metal, rust spots, and other signs of damage. Address these issues promptly to avoid more significant problems later on. Replacement parts and repair kits can be lifesavers in maintaining the structural integrity of your fire pit. For further insights on maintaining your fire pit’s longevity, explore fire pit maintenance.
Consistent maintenance ensures your fire pit remains a joy to use, providing warmth and ambiance throughout the winter.
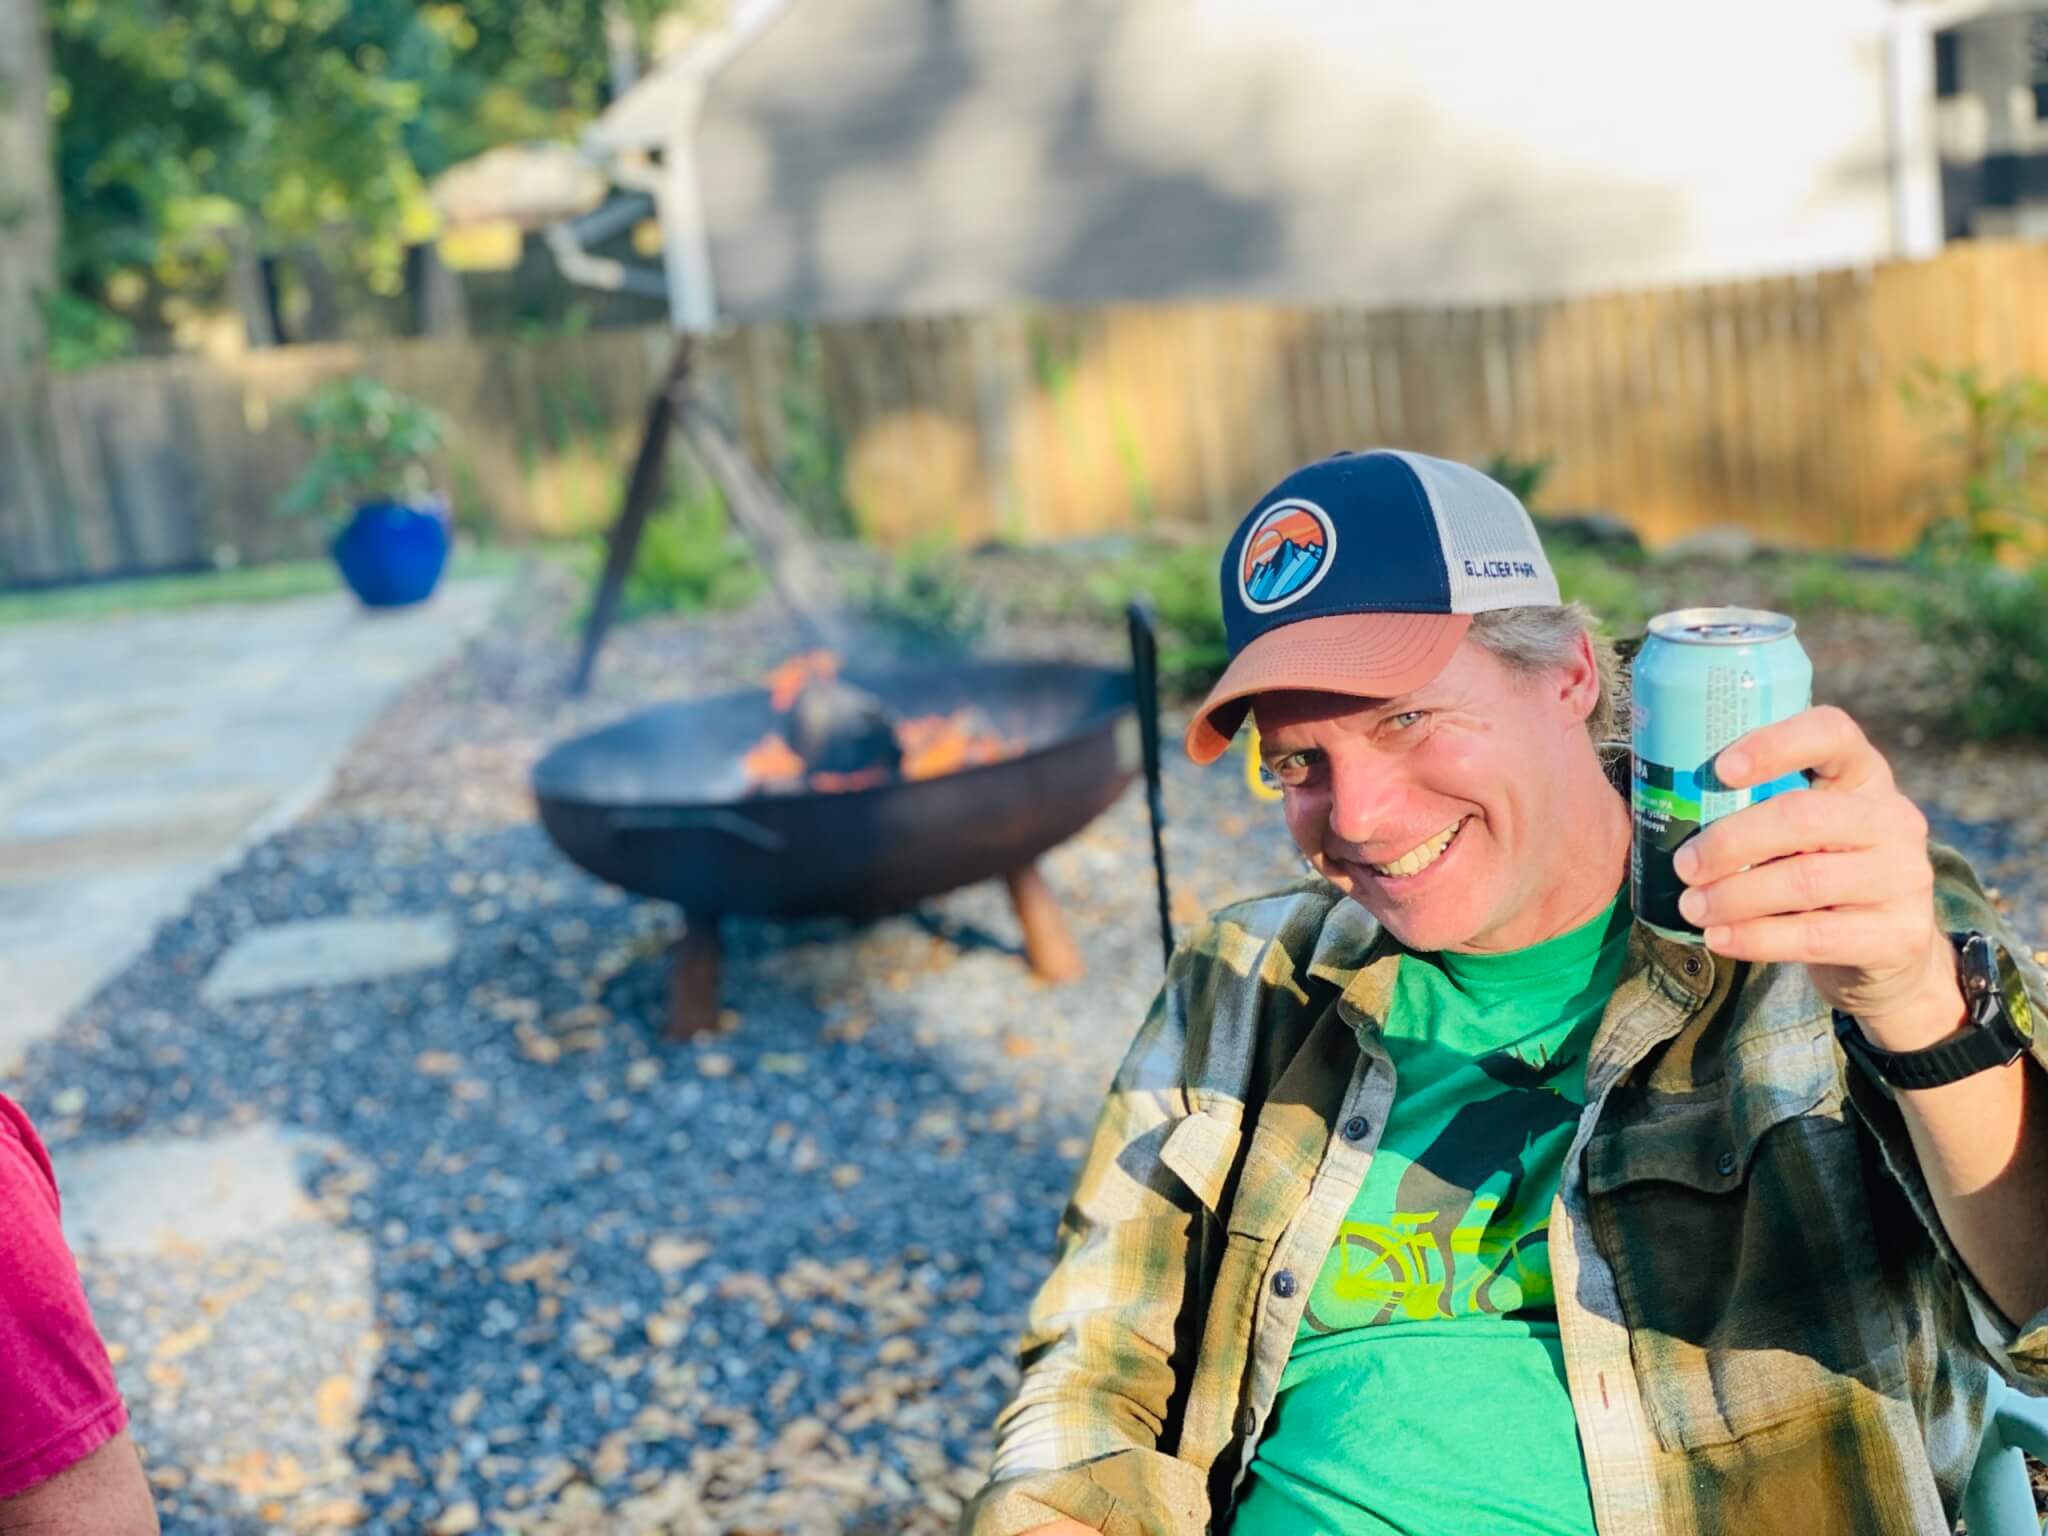
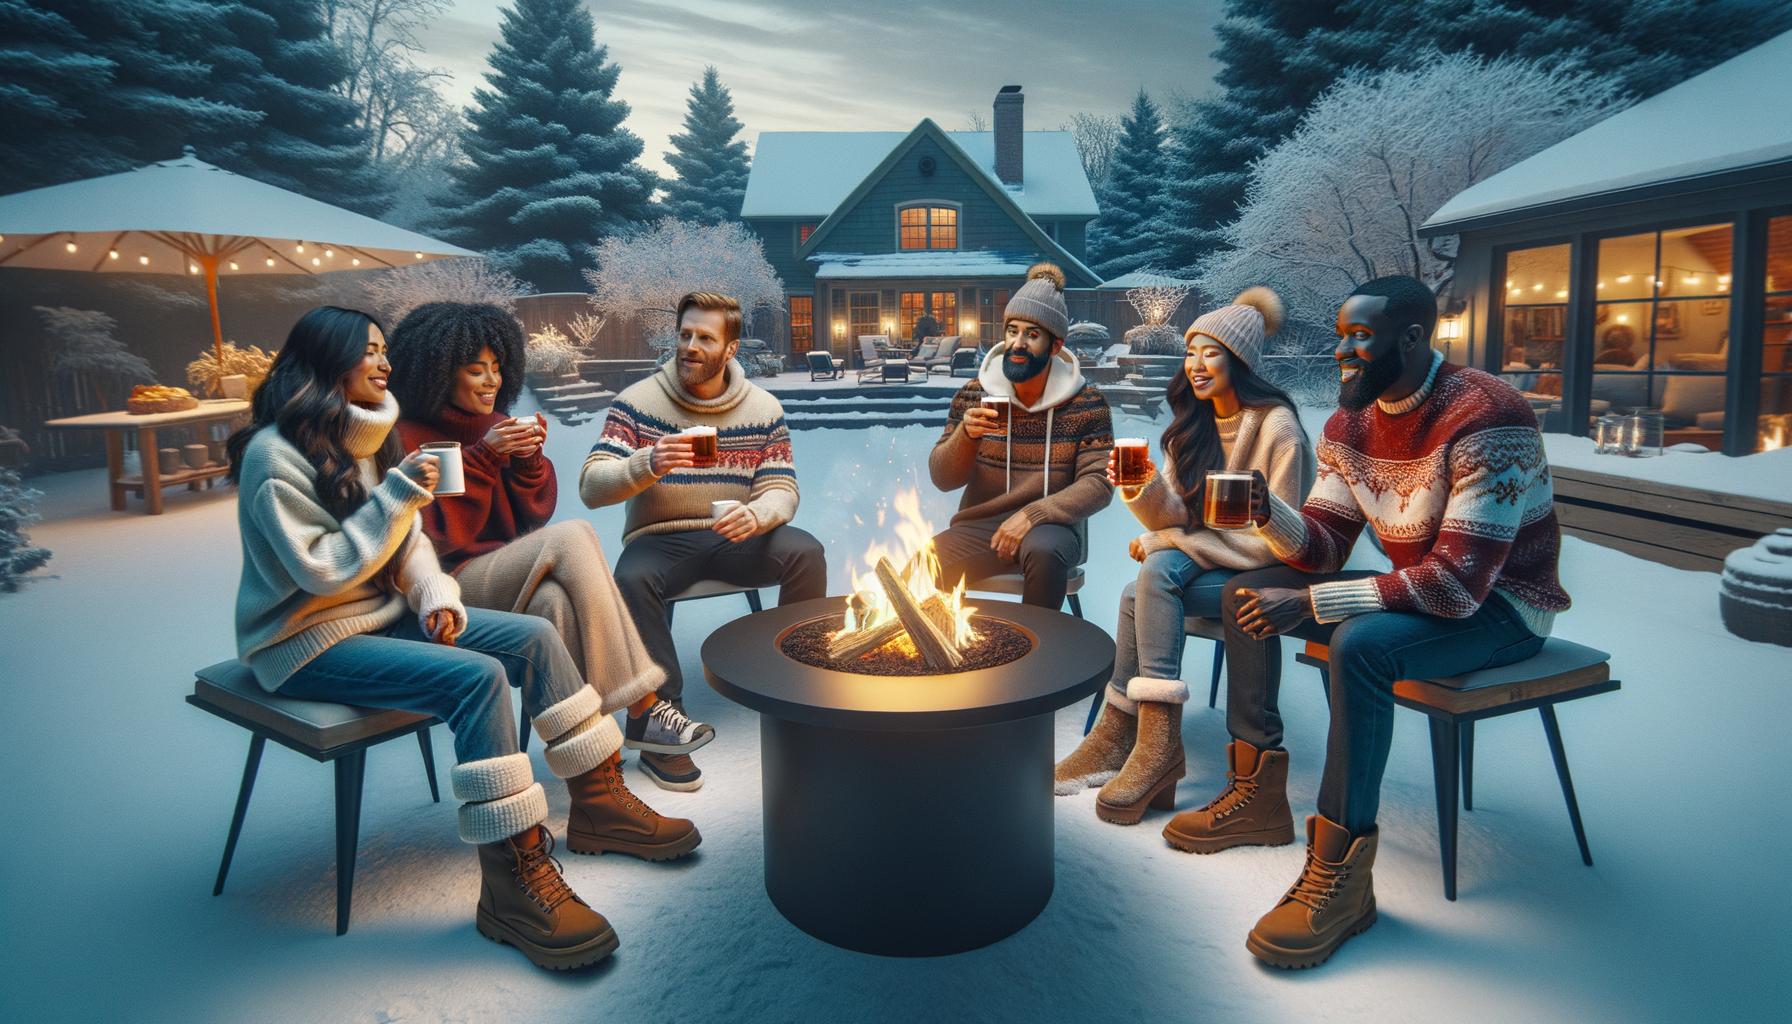
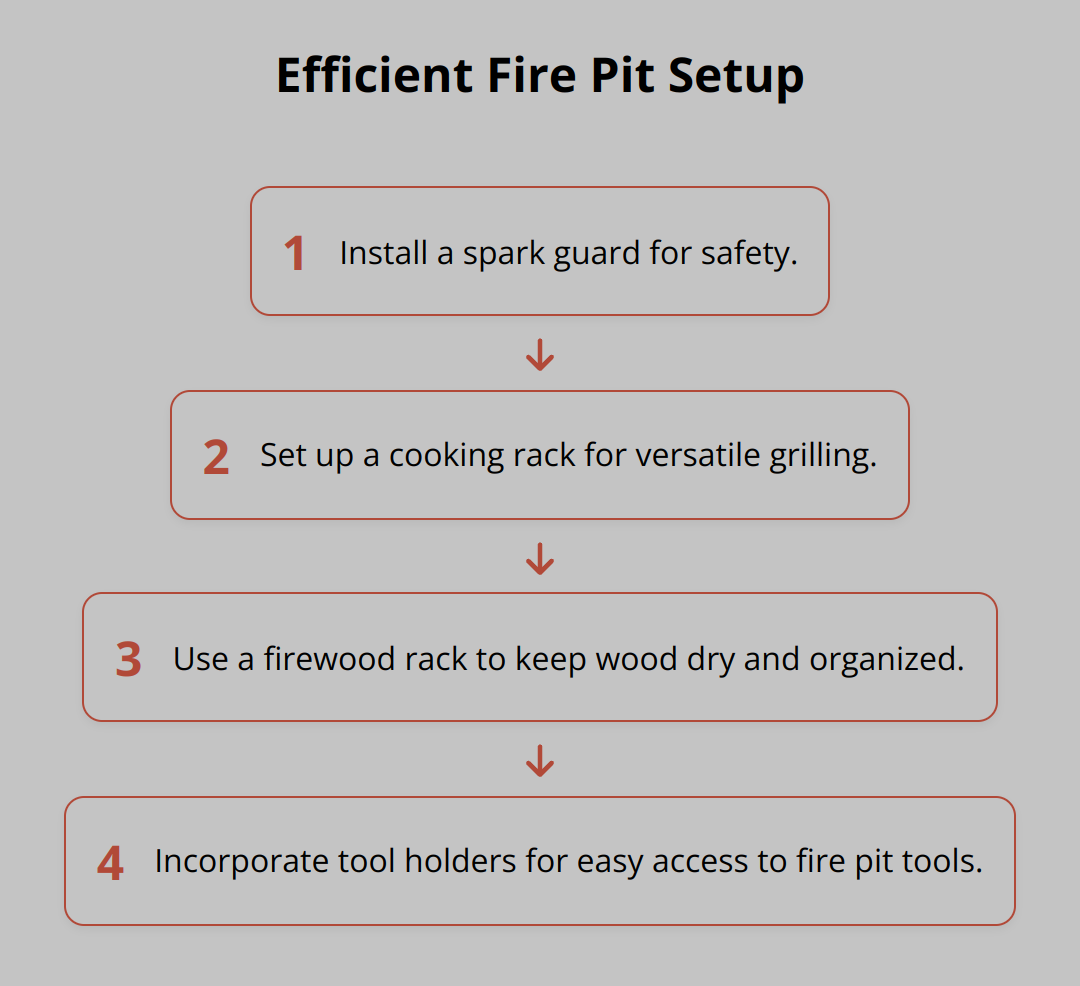
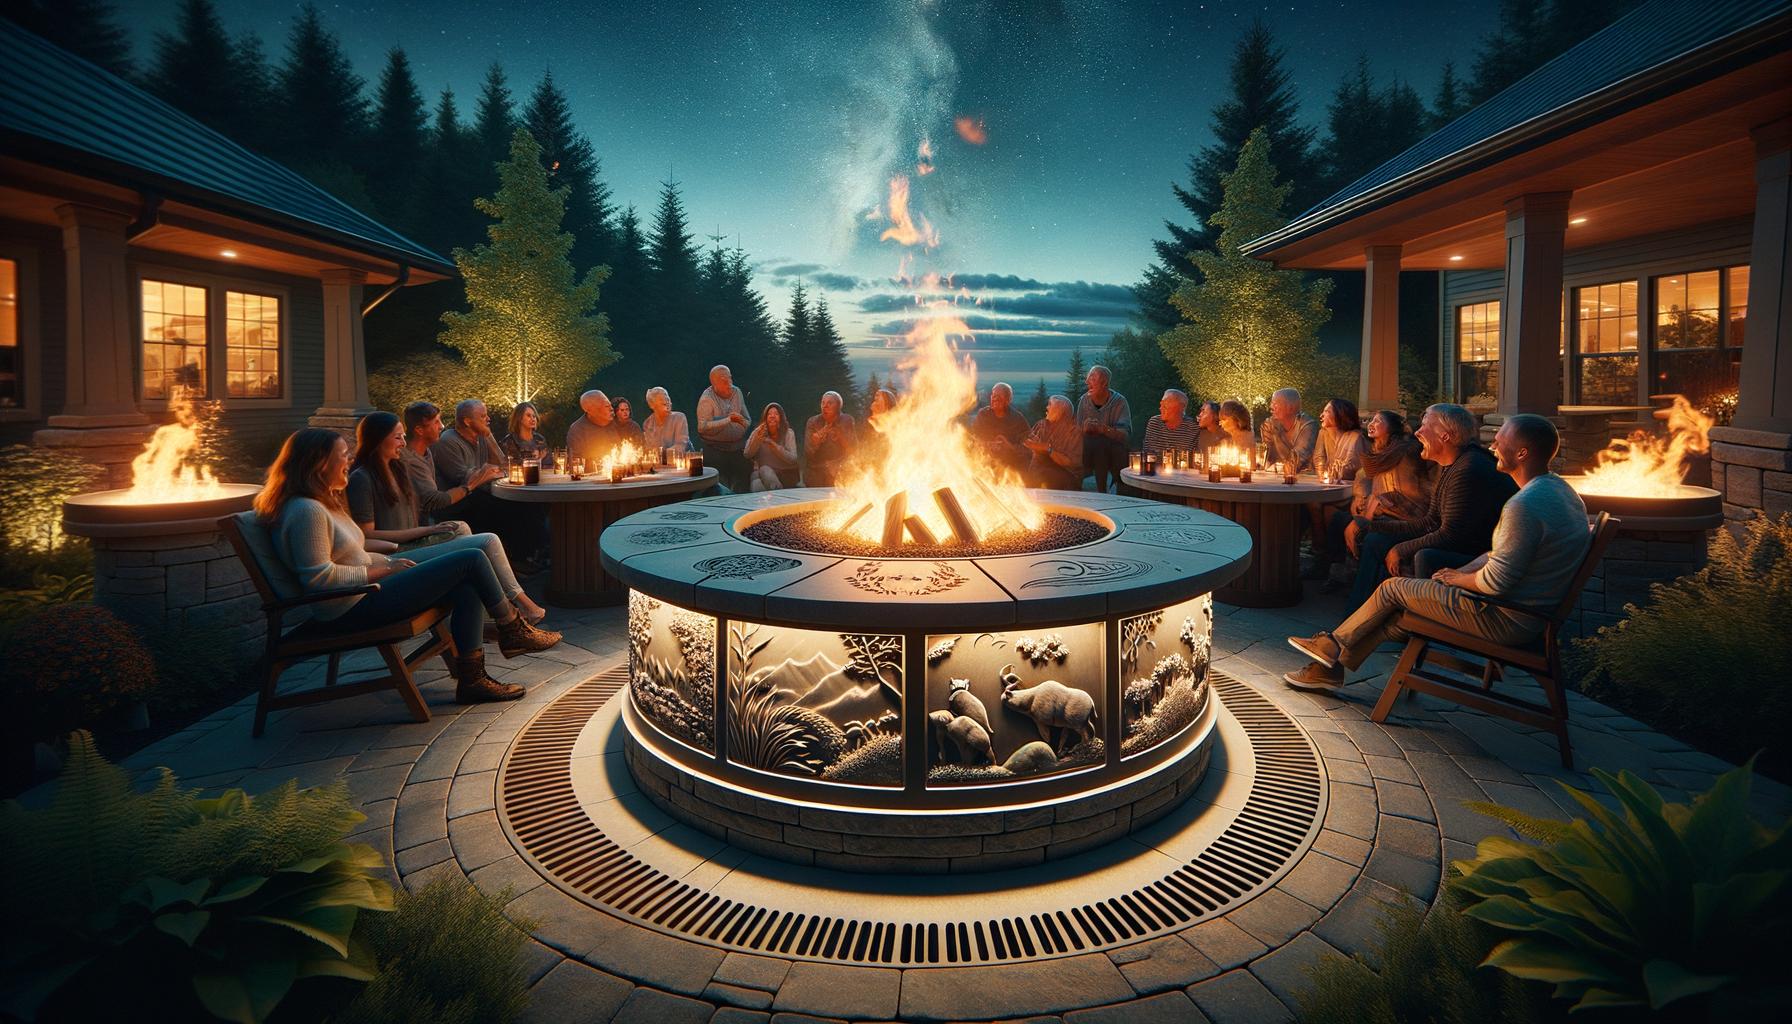
Enjoying Your Winter Fire Pit
Winter gatherings around a fire pit can be incredibly enjoyable with the right setup and thoughtful additions.
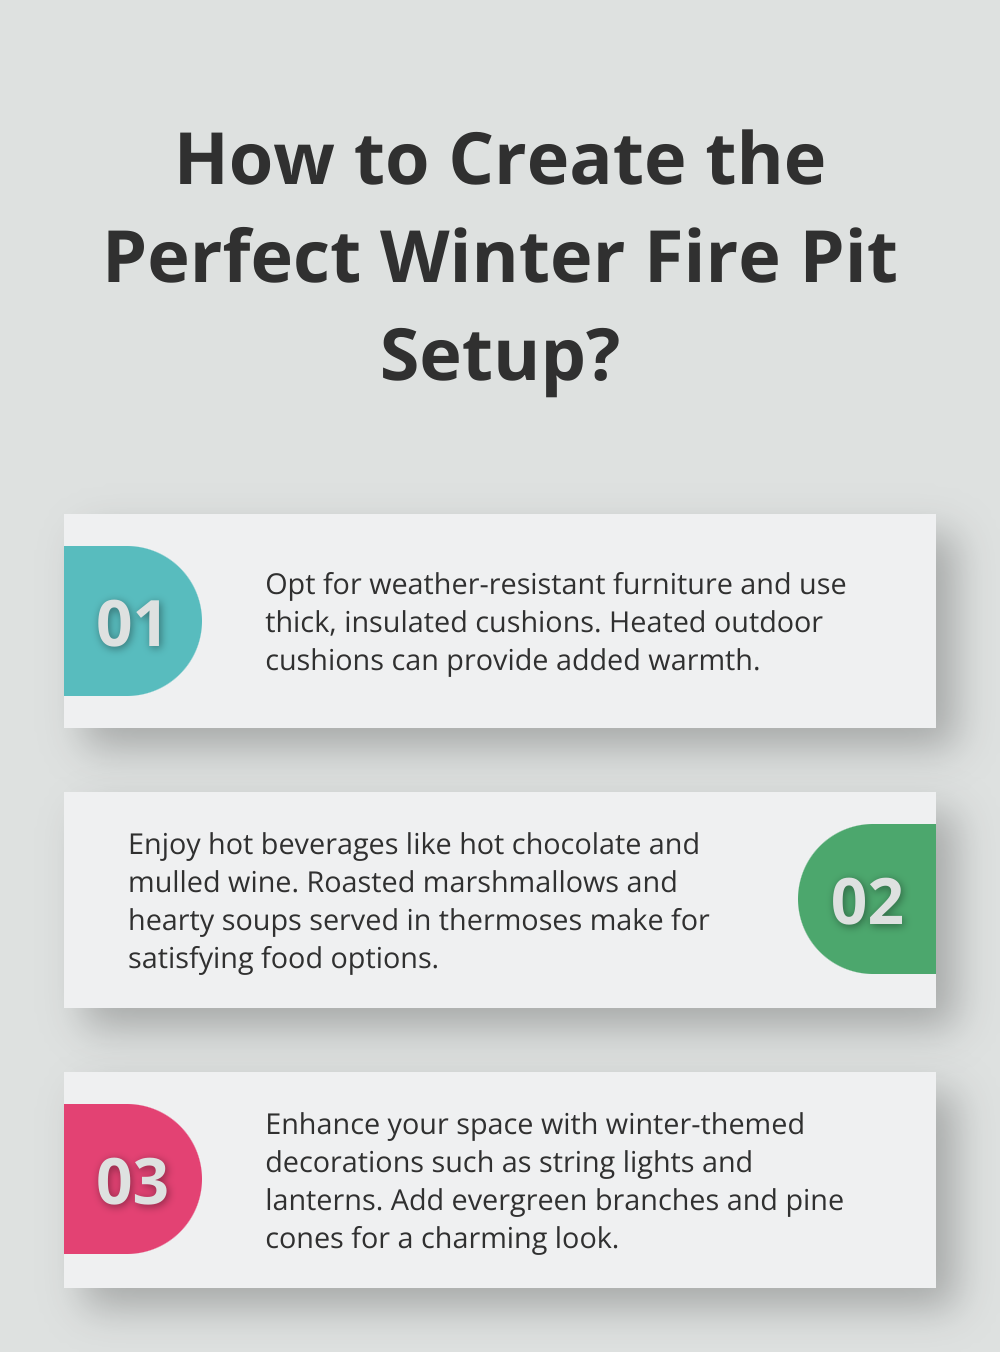
Cozy Seating Arrangements
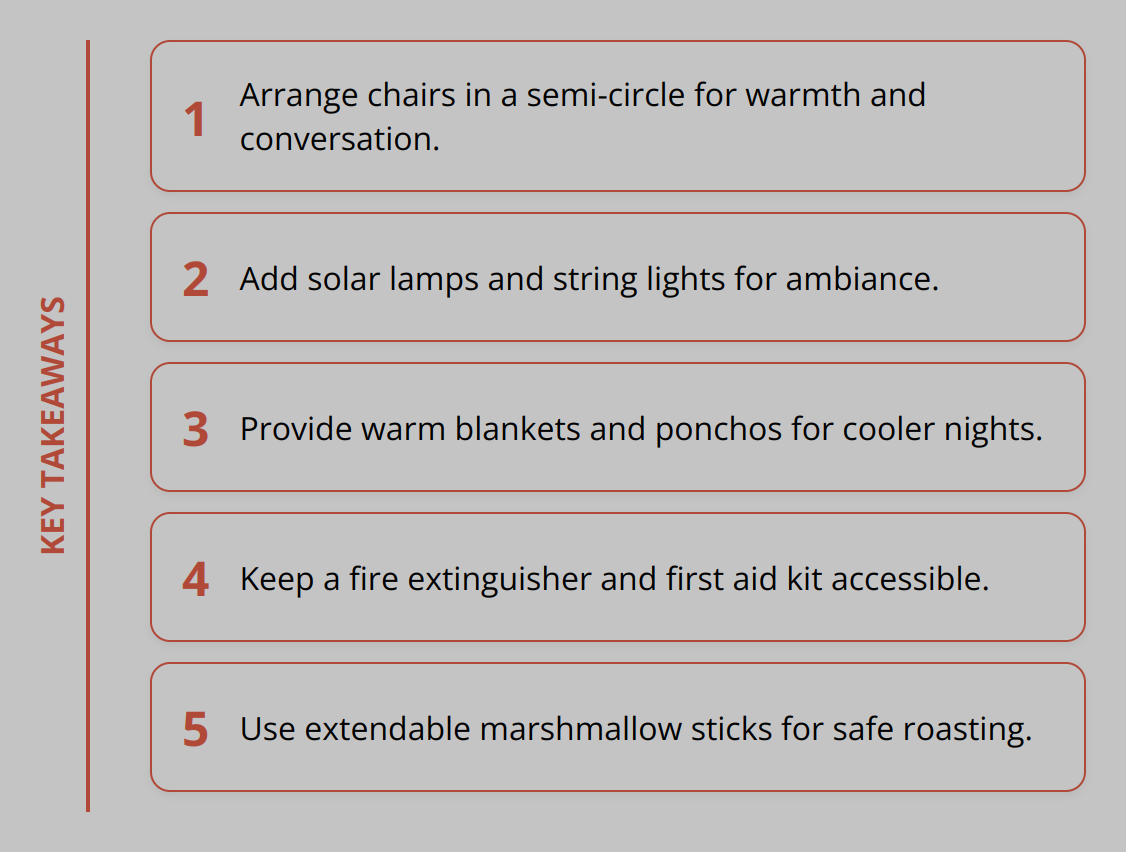
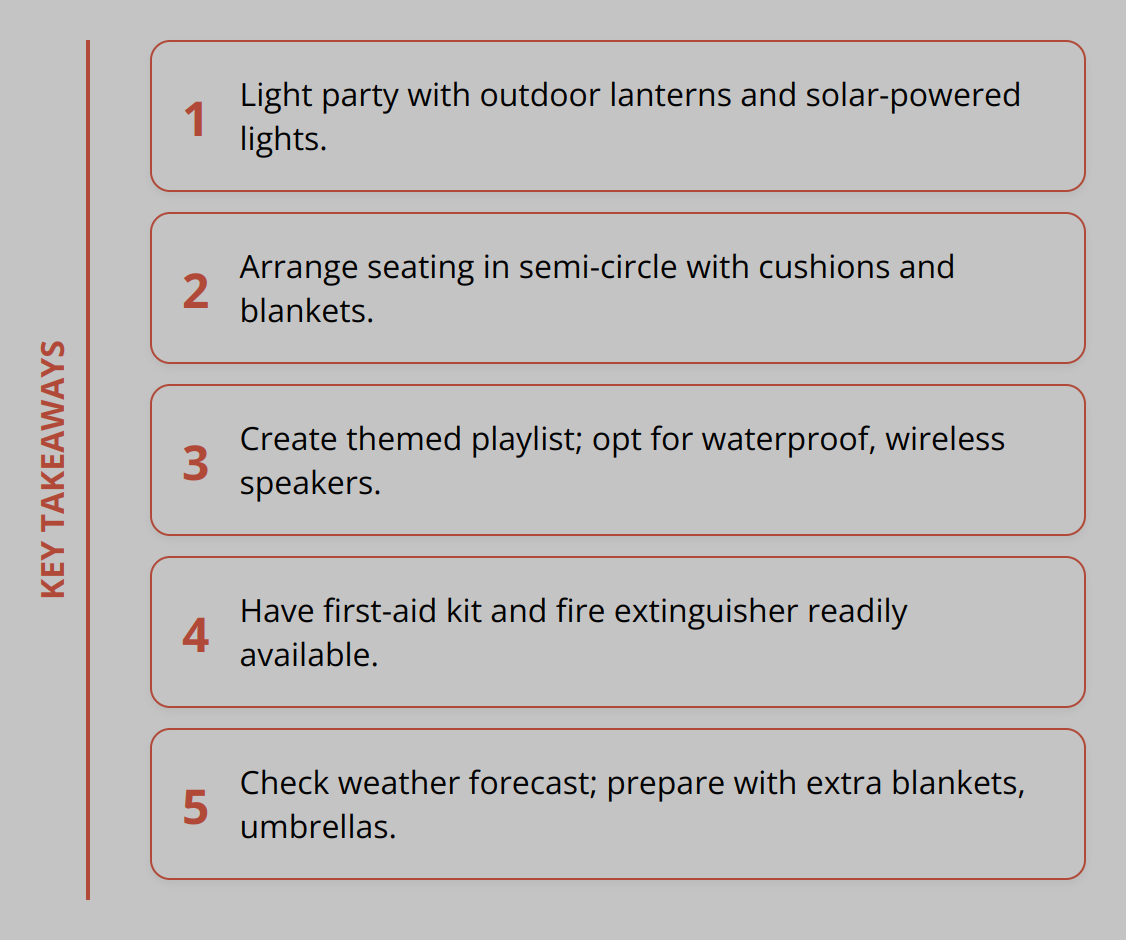
Creating a comfortable seating arrangement is key. Opt for weather-resistant furniture that can withstand cold temperatures. Add thick, insulated cushions and throws to maintain warmth. Adirondack chairs are a popular choice due to their sturdy build and comfort. Arrange the seating in a semi-circle around the fire pit, allowing everyone to feel the warmth and engage in conversation easily. For added warmth, you can use heated outdoor cushions, which can be found in many home improvement stores.
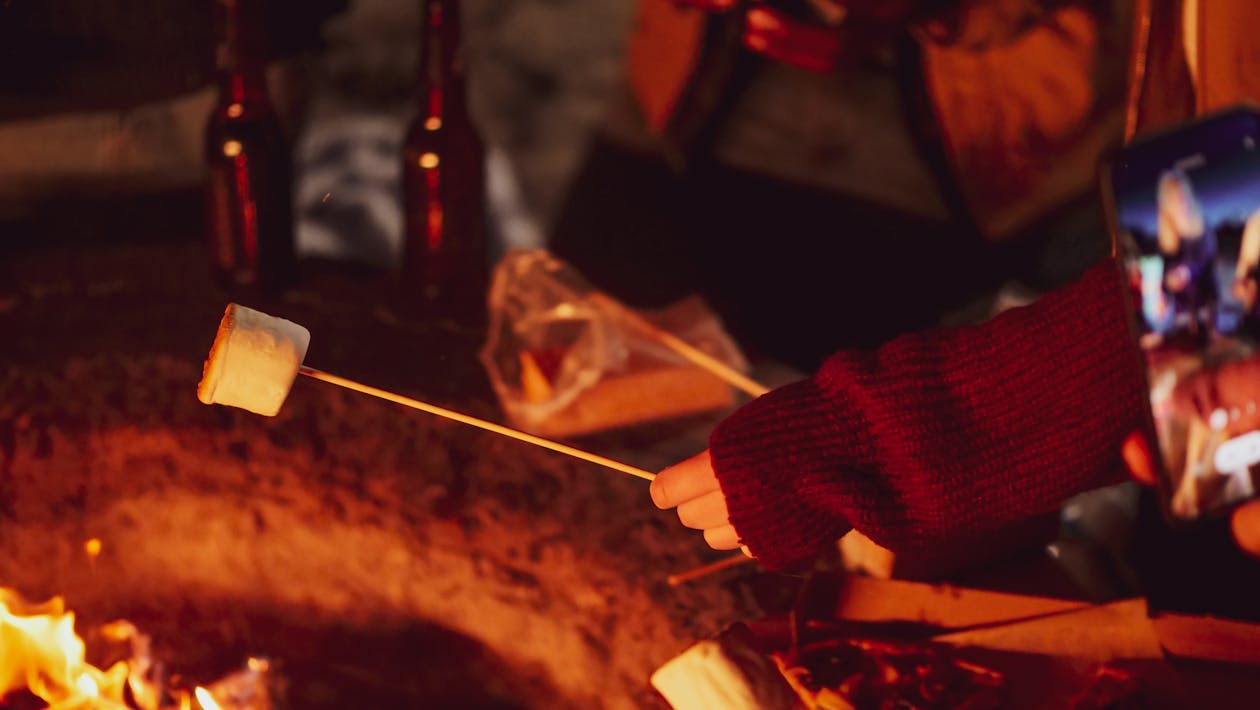
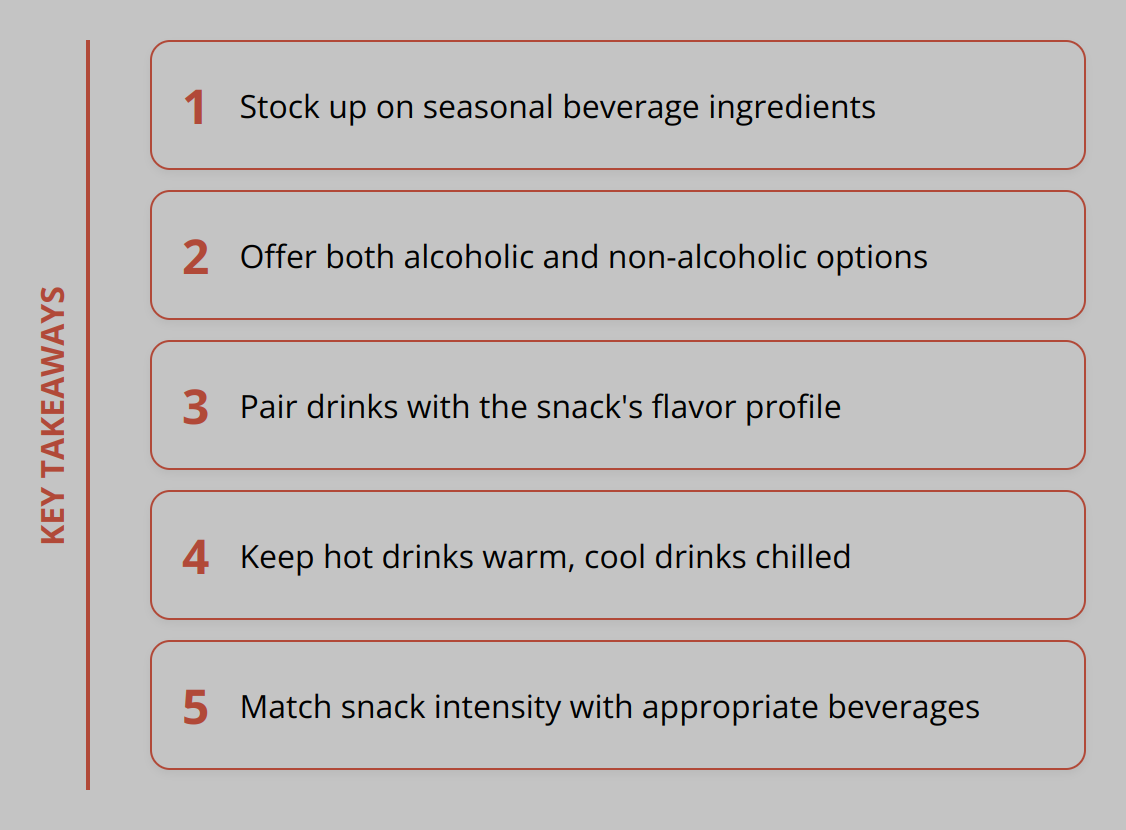
Warm Beverages and Comfort Foods
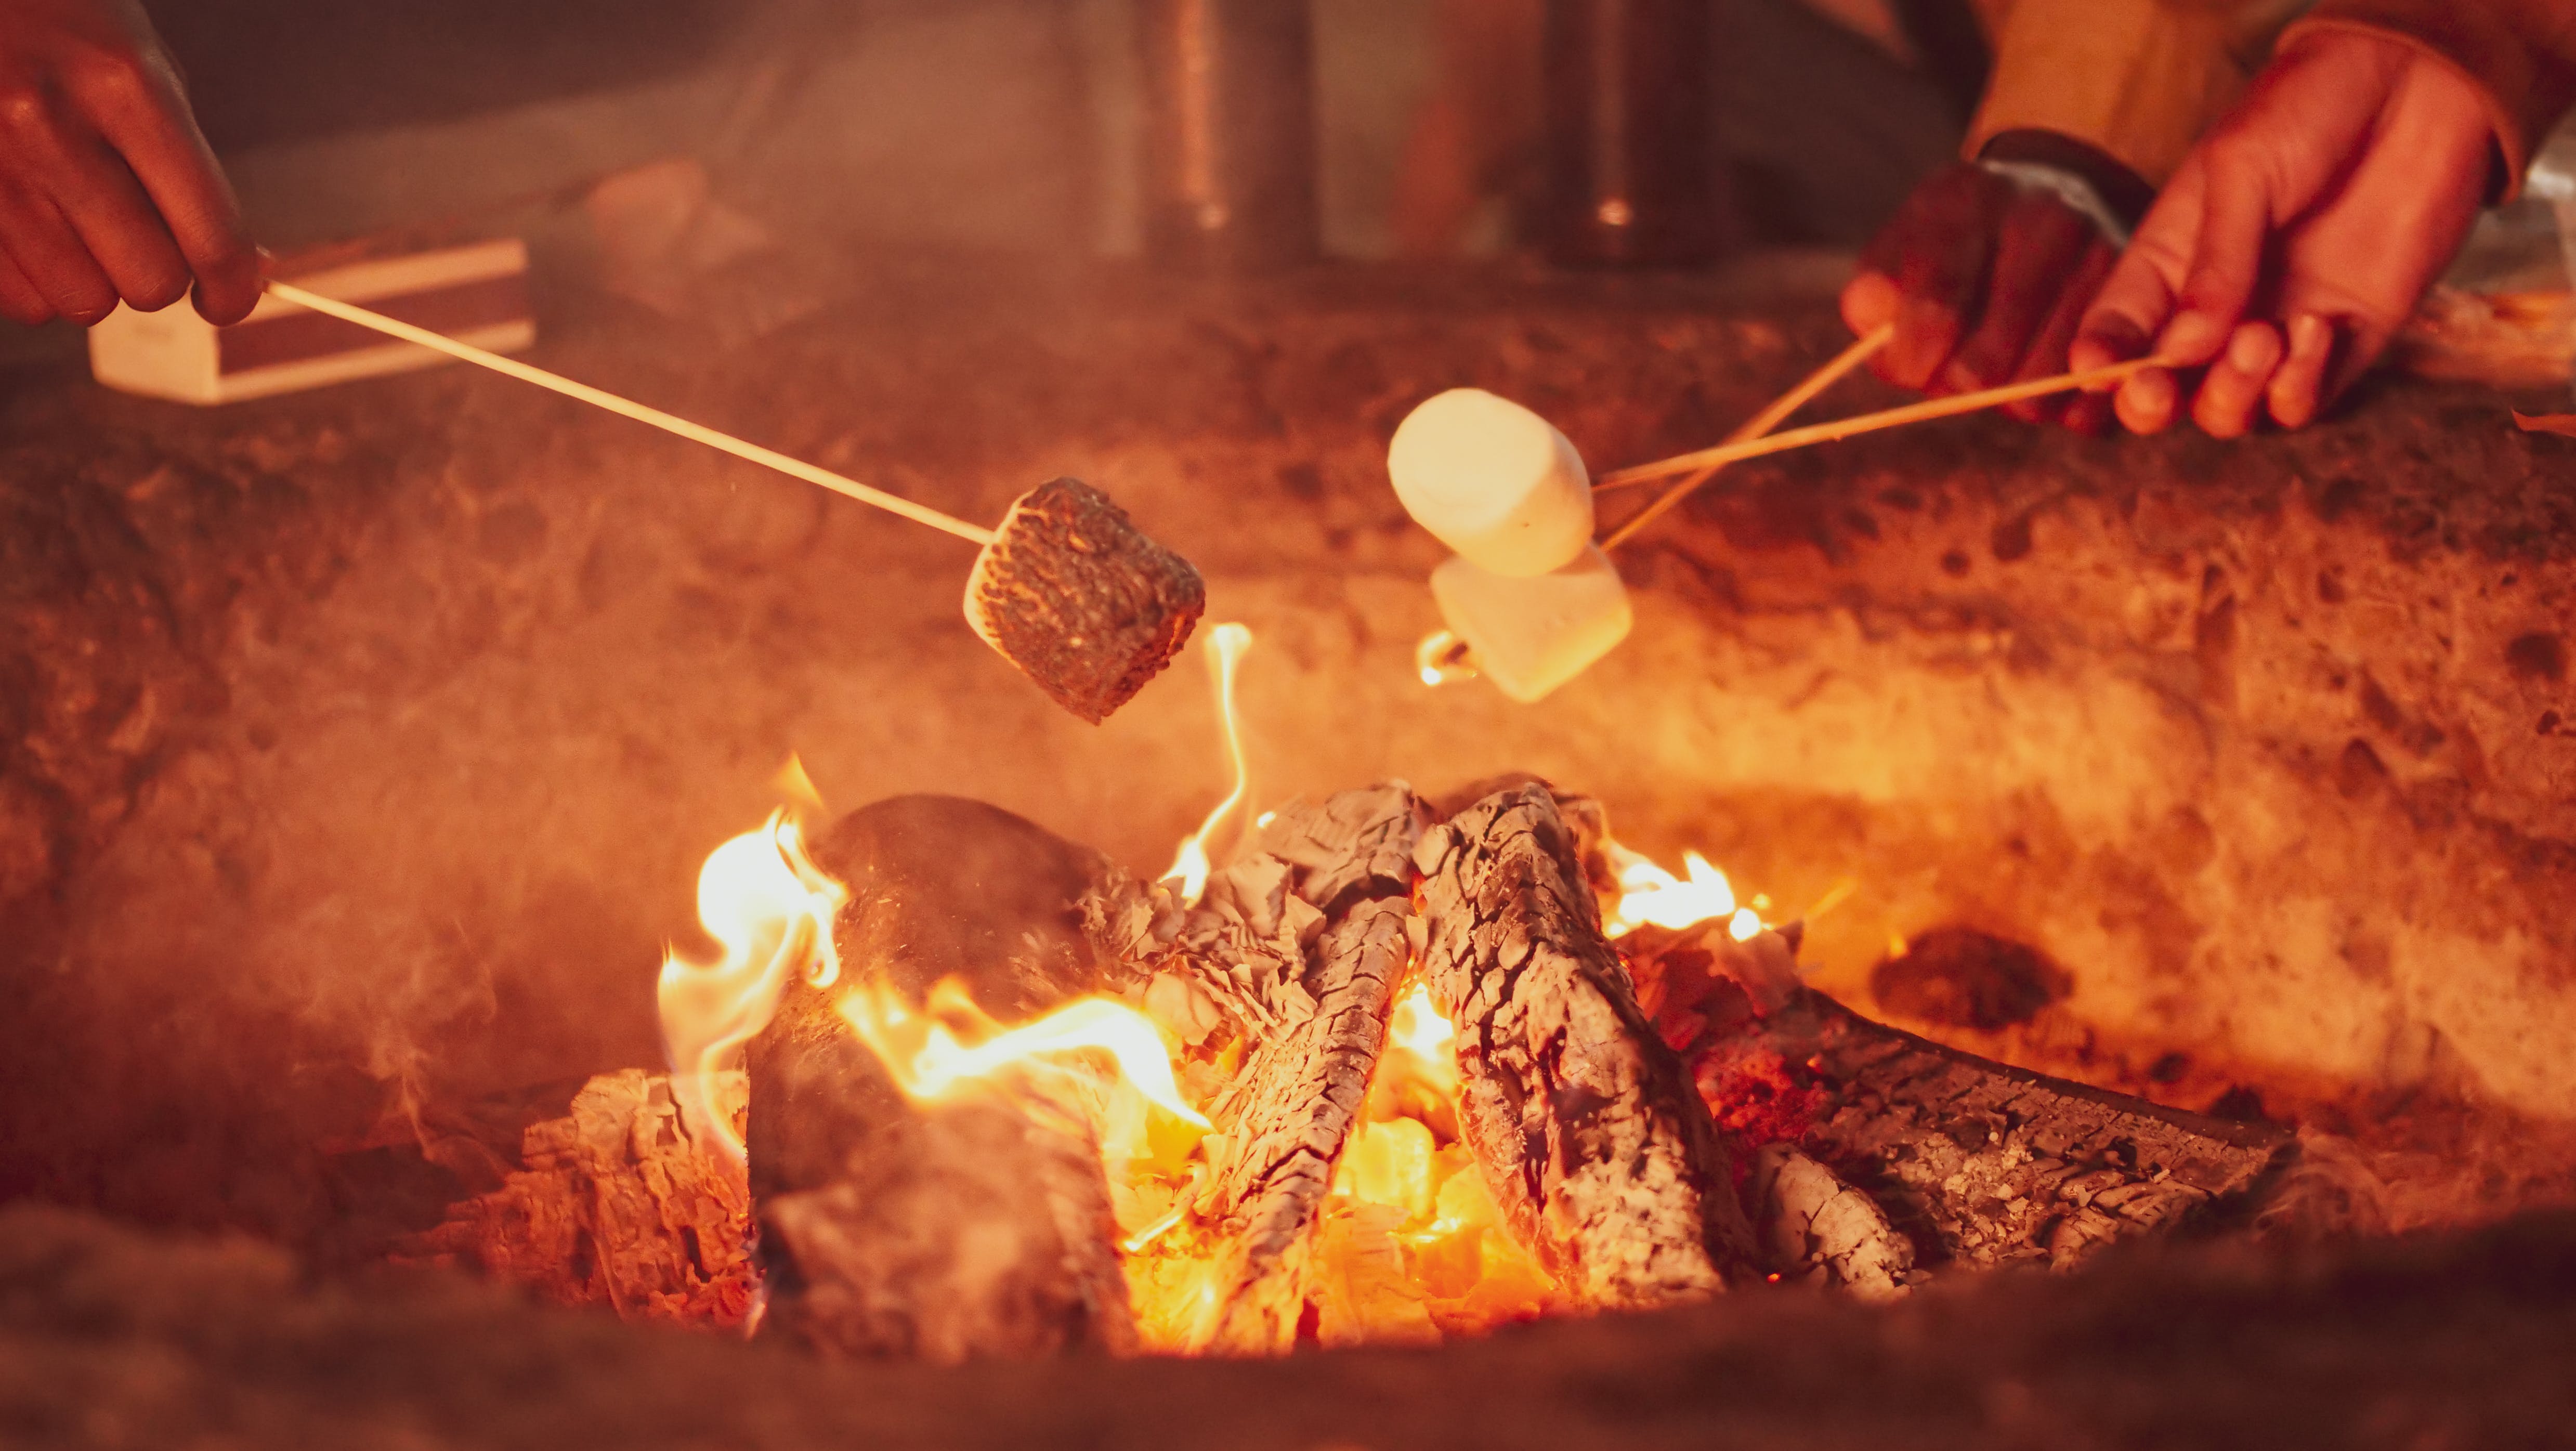
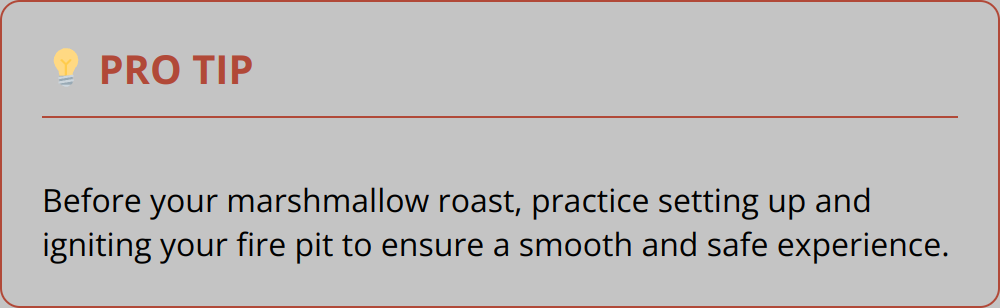
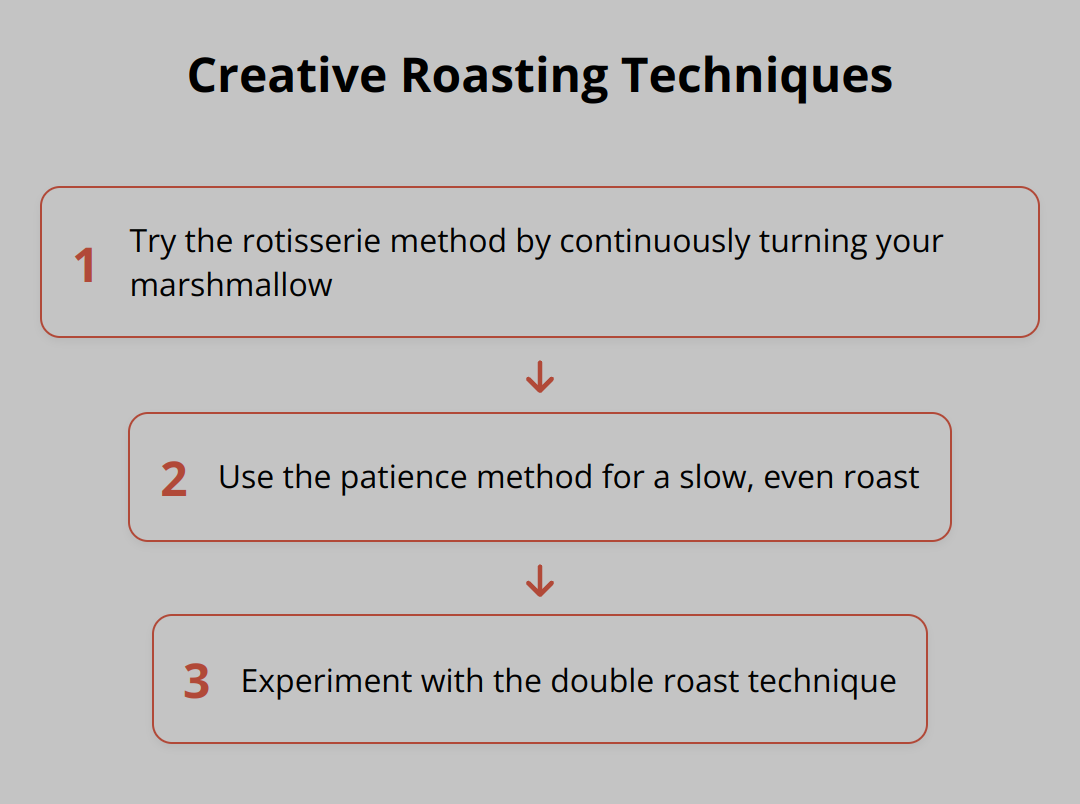
There’s nothing like enjoying a hot beverage by the fire pit on a cold night. Hot chocolate, mulled wine, and hot toddies are popular choices that add to the cozy atmosphere. For food, consider easy-to-eat options like roasted marshmallows, s’mores, and hot dogs. Using long-handled skewers, you can safely roast these over the fire. Hearty soups or chili served in thermoses can also make for a warm, satisfying meal.
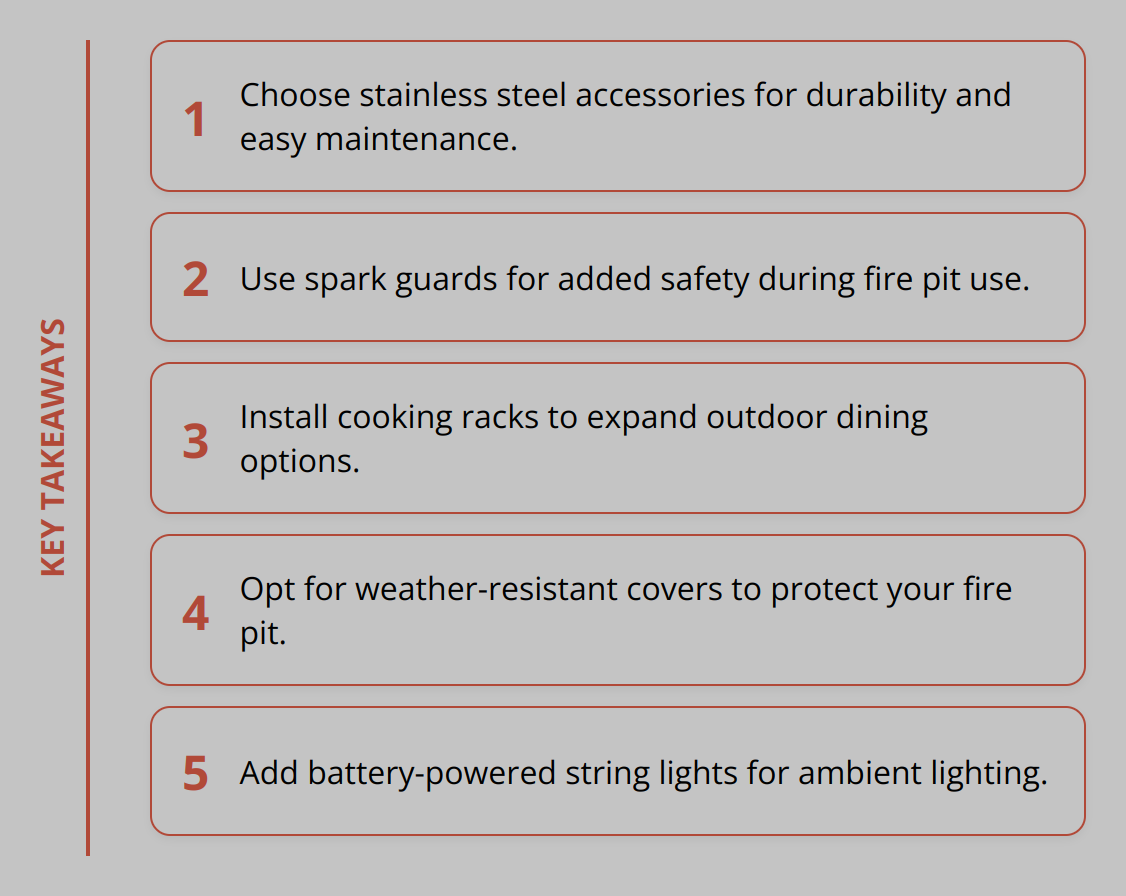
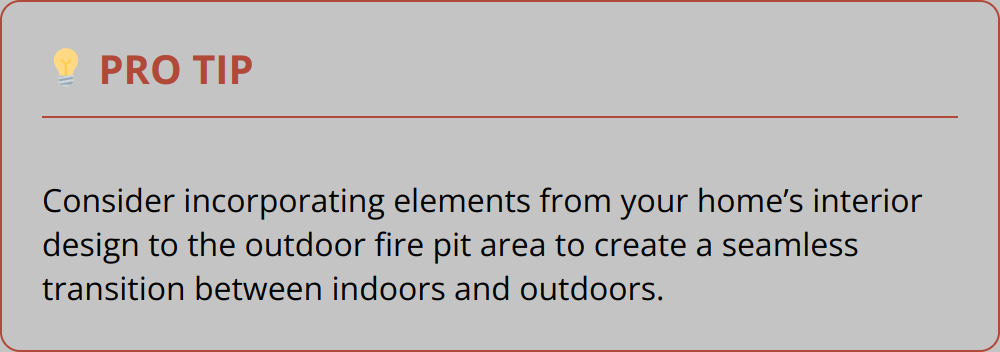
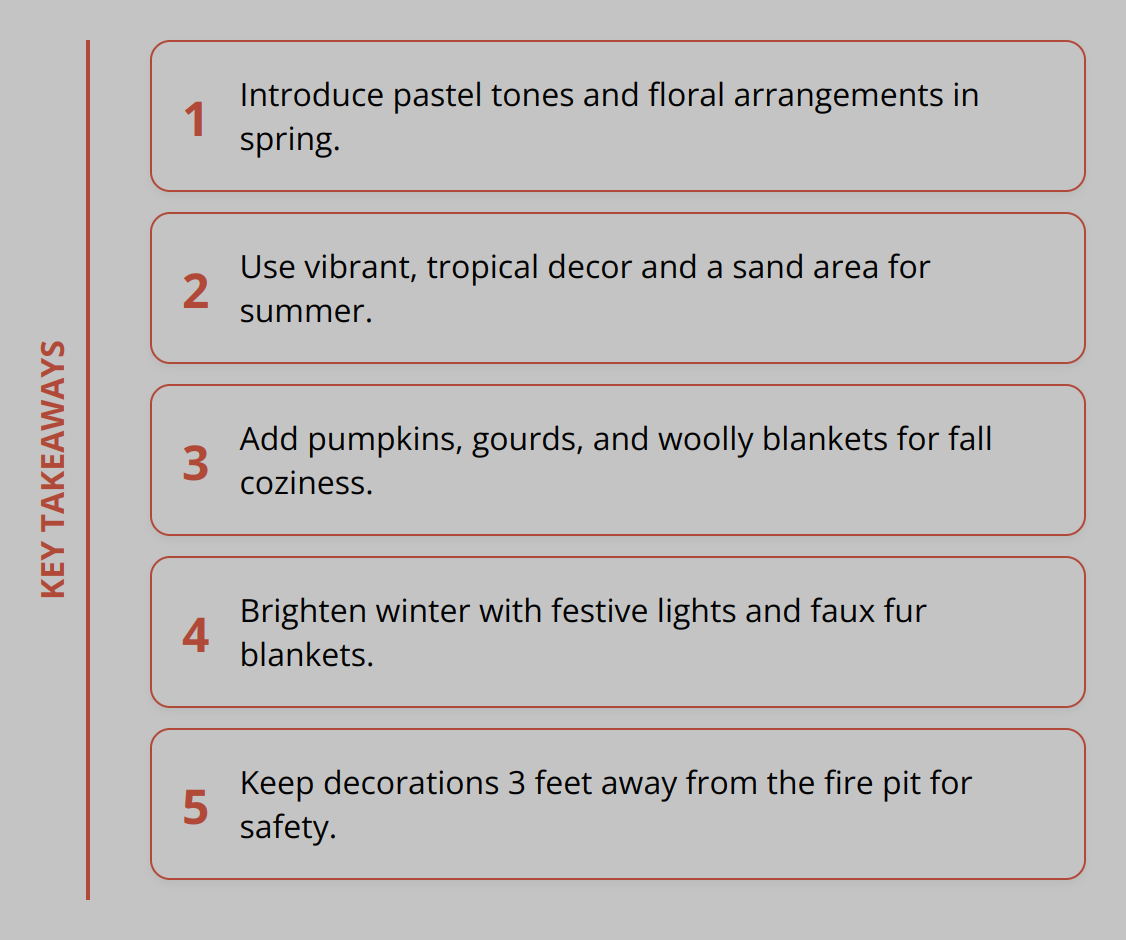
Seasonal Decorations and Accents
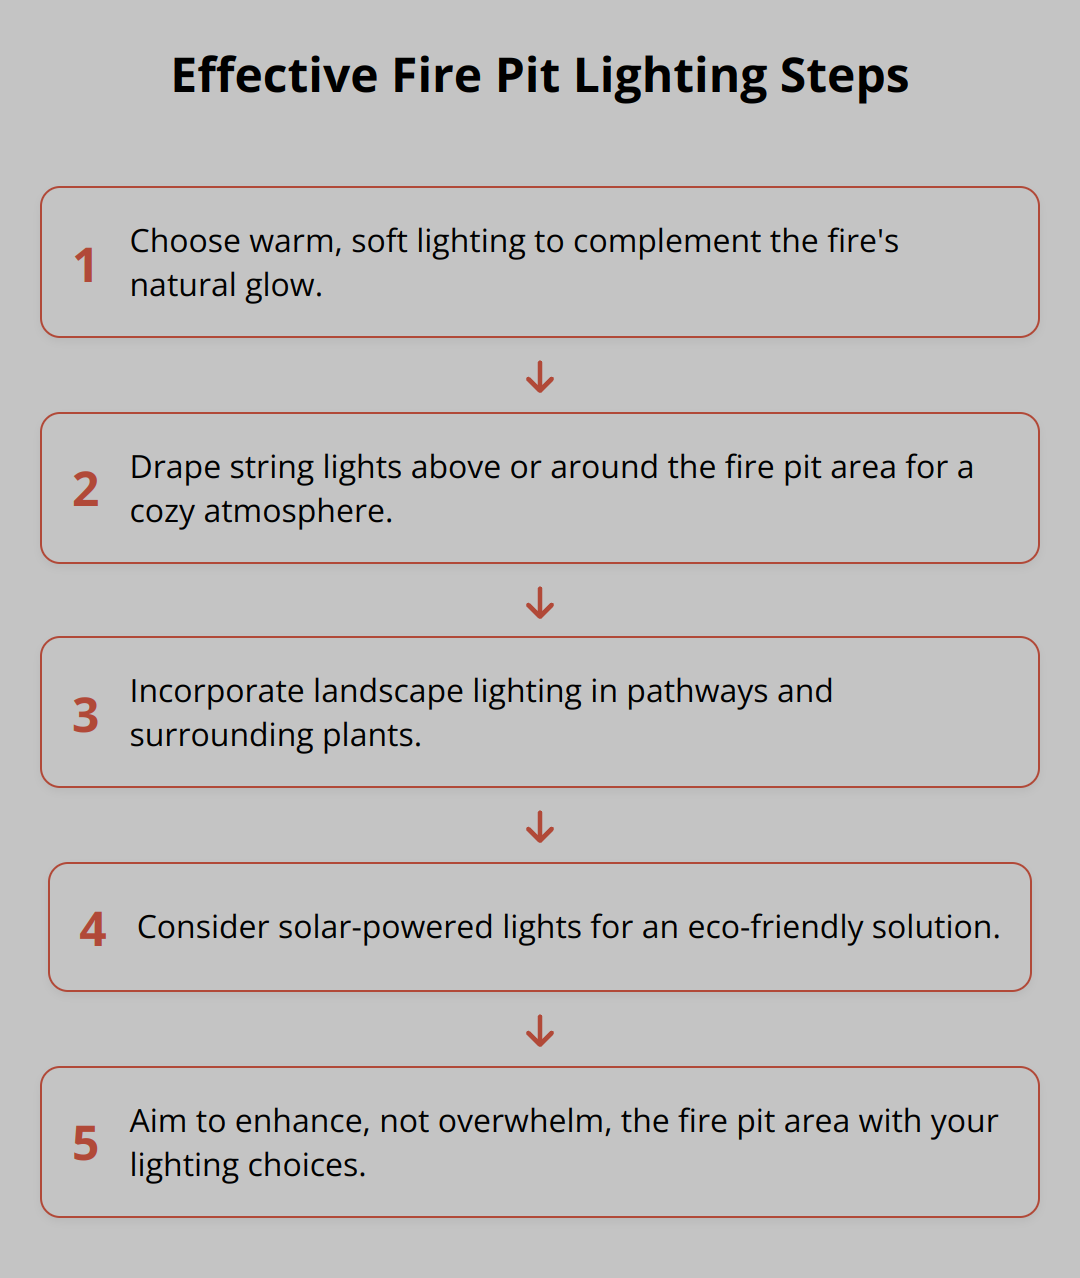
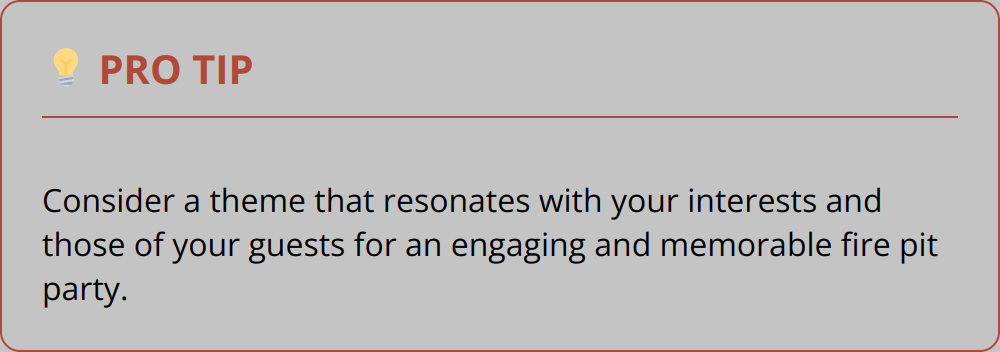
Decorating your outdoor space with winter-themed accents can enhance the ambiance. String lights along the fence or patio provide additional lighting and create a festive mood. Lanterns with LED candles can be placed on tables or hung from trees to add a charming glow. Consider adding elements like evergreen branches, pine cones, and winter wreaths around the seating area. These decorations not only look appealing but also make the space feel more inviting.
Incorporating these practical tips will make your winter fire pit gatherings more enjoyable. For more ideas on how to make your outdoor space welcoming in the colder months, check out these tips on creating an inviting space.
Final Thoughts
Utilizing a fire pit in winter provides warmth and a unique charm to outdoor gatherings. Prioritizing safety measures like clearing the area around the fire pit and selecting the right firewood is essential. These steps help in preventing accidents and ensuring a enjoyable experience.
Regular maintenance cannot be overlooked. Cleaning out ash and debris, protecting your fire pit from moisture, and promptly addressing any signs of damage are crucial practices. These tasks ensure your fire pit remains in top condition, extending its life and functionality.
Enhancing your winter fire pit experience can be as simple as arranging cozy seating, offering warm beverages and comfort foods, and adding seasonal decorations. Thoughtful touches like insulated cushions, hot drinks, and festive lights create a welcoming atmosphere for your guests.
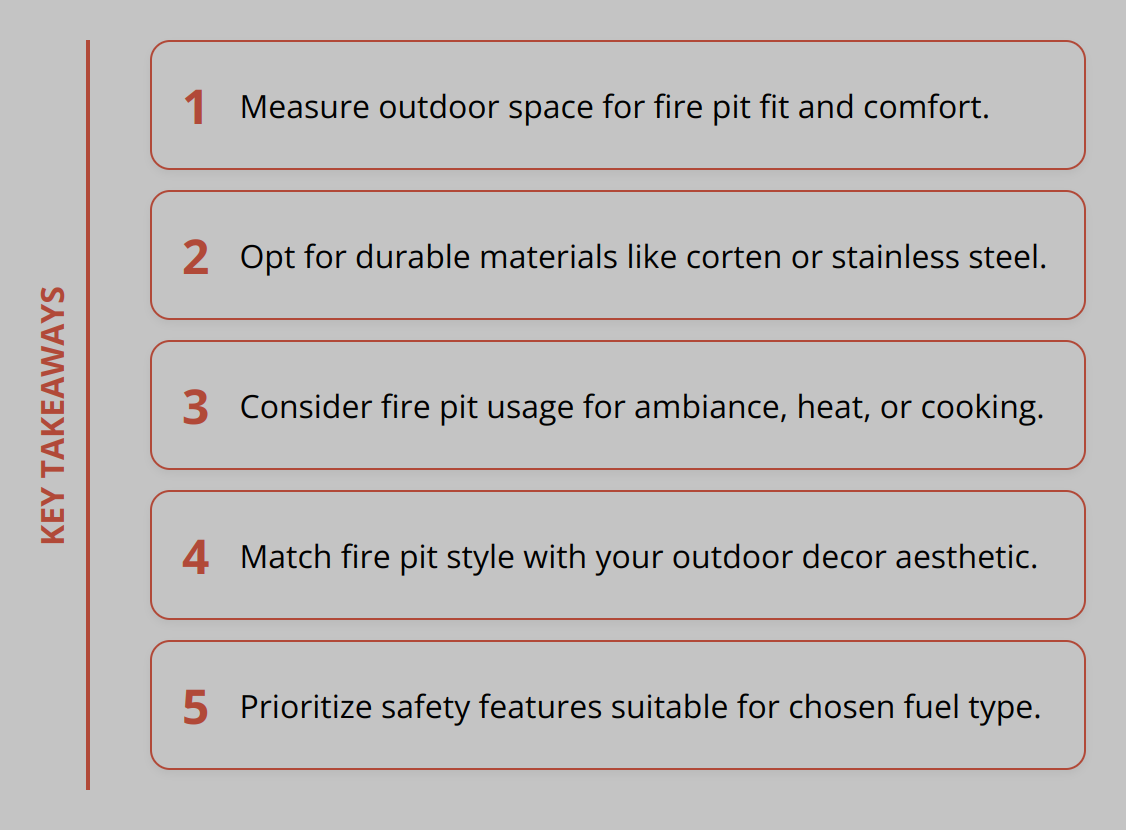
S&S Fire Pits offers a range of handmade, one-of-a-kind fire pits crafted from solid USA corten steel. Their products are guaranteed for life and built to withstand the elements. Visit S&S Fire Pits to browse over 100 unique products designed to enhance your outdoor living experience. For more insights, check out our additional fire pit safety tips.


![Key Takeaways - Rustic Fire Pit Settings [Guide]](https://ssfirepits.com/wp-content/uploads/2024/05/Rustic_Fire_Pit_Settings__Guide__4_2024_05_26_07_04_02_631946_00_00.png)


![Key Takeaways - Entertaining Kids Around Fire [Guide]](https://ssfirepits.com/wp-content/uploads/2024/04/Entertaining_Kids_Around_Fire__Guide__5_2024_04_10_07_11_25_016248_00_00.png)


![Key Takeaways - Summer Fire Pit Tips [Beginner's Guide]](https://ssfirepits.com/wp-content/uploads/2024/04/Summer_Fire_Pit_Tips__Beginner_s_Guide__5_2024_04_05_07_11_06_720505_00_00.png)


![Key Takeaways - Fire Pit Seating Arrangements [Beginner's Guide]](https://ssfirepits.com/wp-content/uploads/2024/03/Fire_Pit_Seating_Arrangements__Beginner_s_Guide__5_2024_03_30_07_10_06_885938_00_00.png)